12.31.2011

2011 {My Favorite} Top 5 Posts

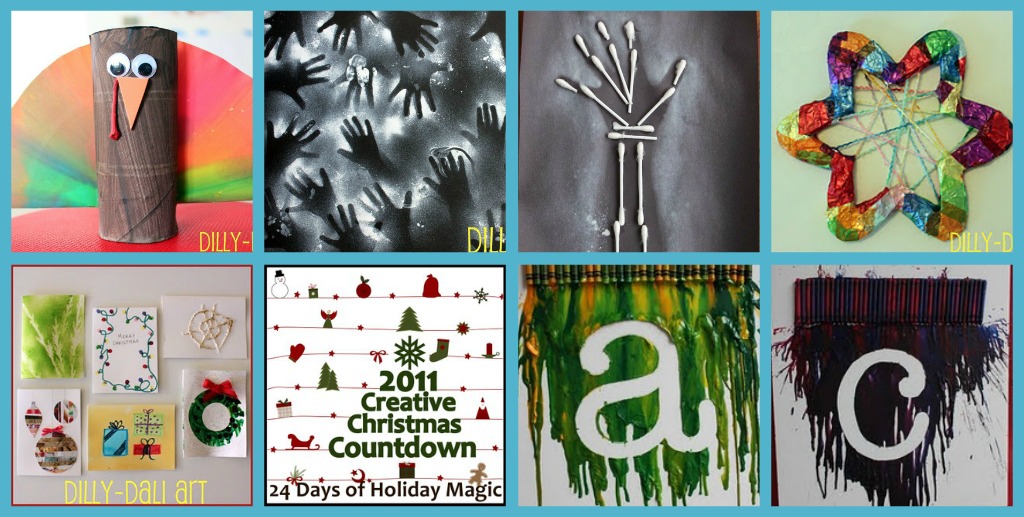
Here are my 5 favorite posts from 2011 
(in random order)
Though I love all of the posts we do,
 these specific posts evoke special memories


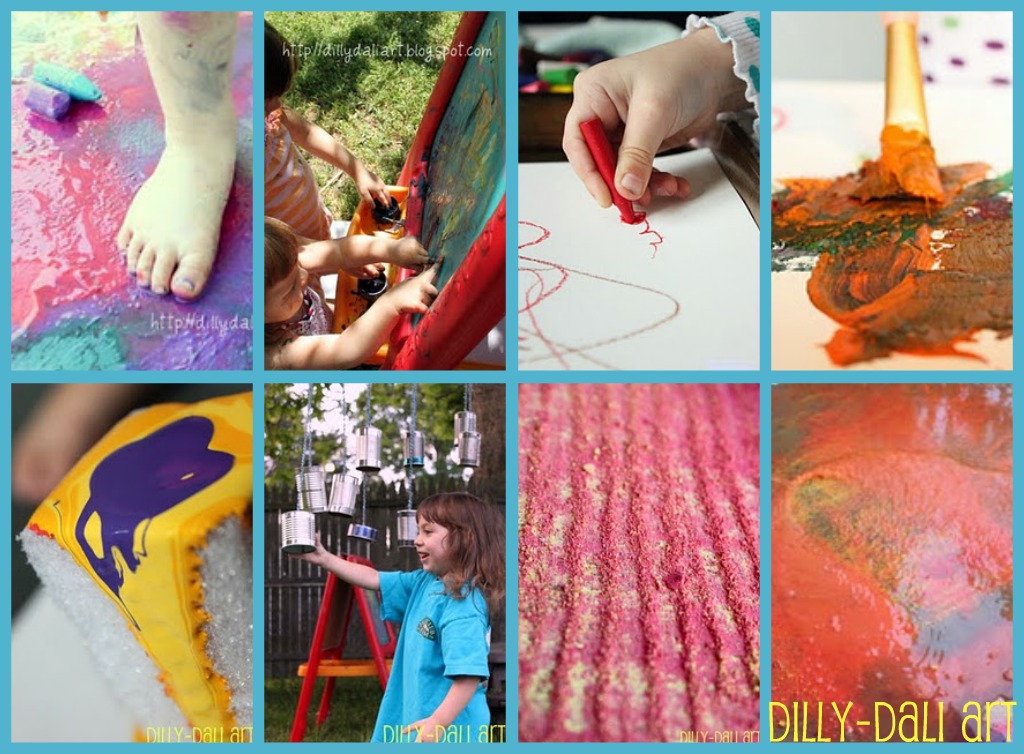
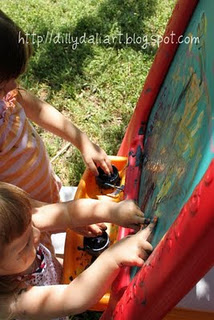
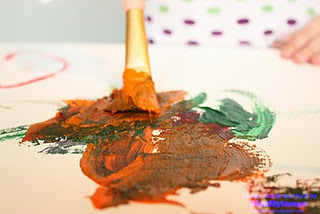
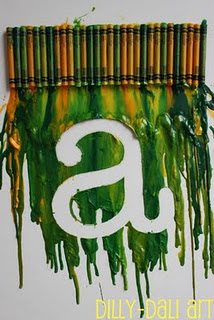
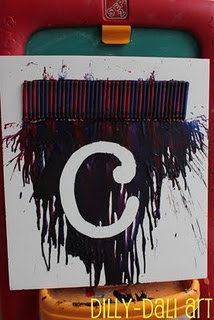
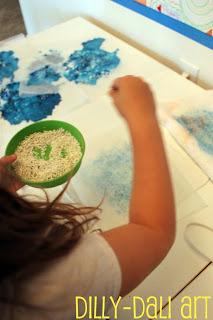
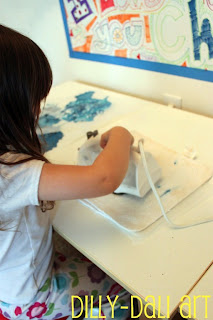
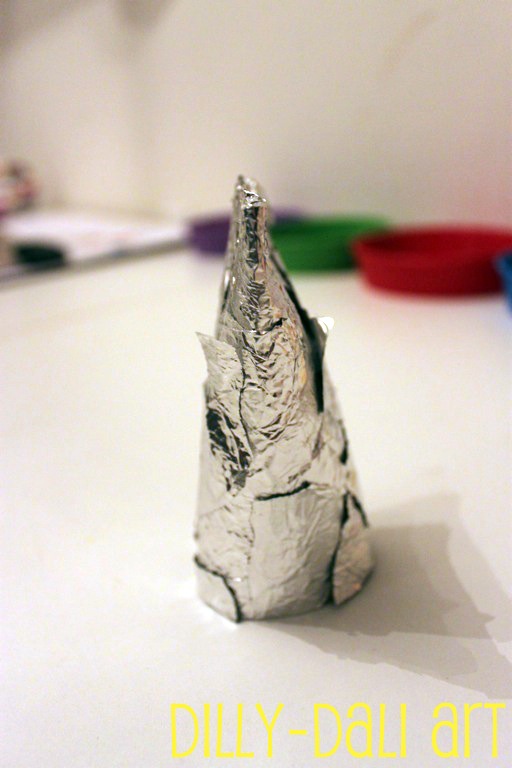
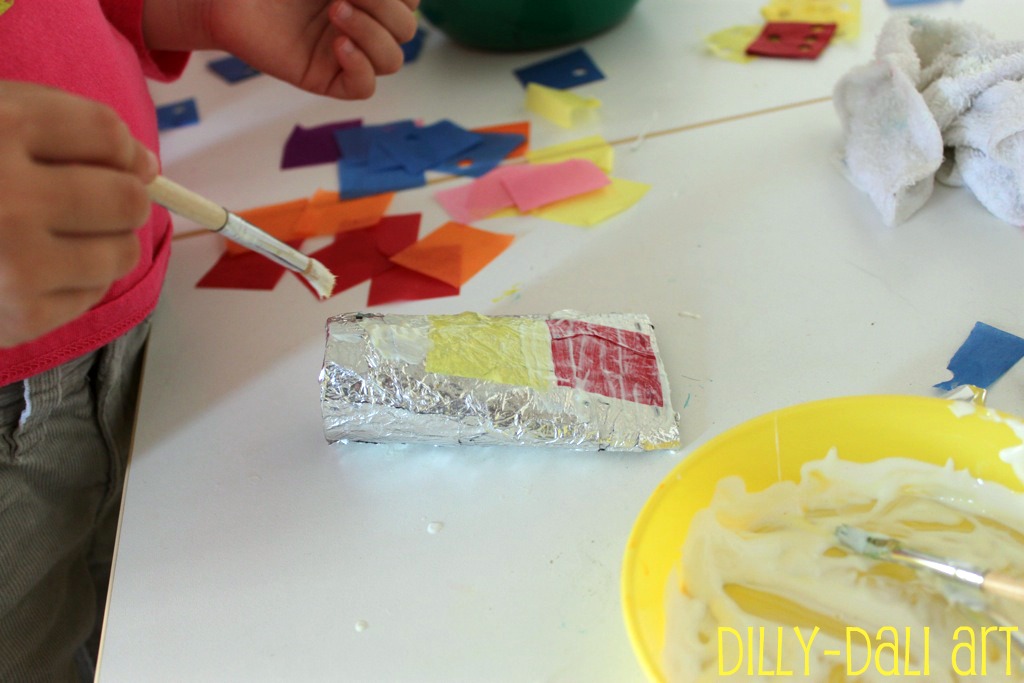
Tall painting popped up all over the web and I was hesitant to try it. 
I'm glad we did, I love the bright colors!

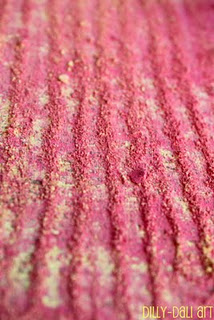
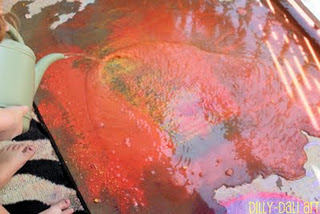
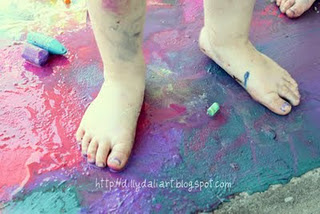
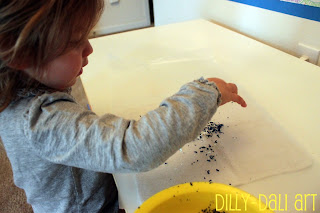
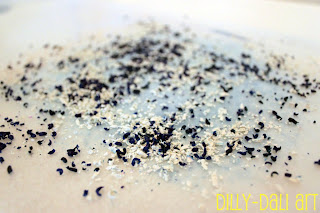
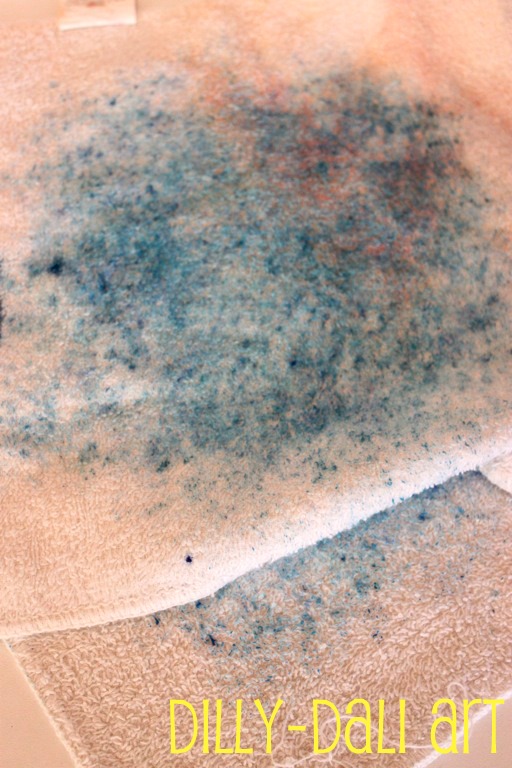
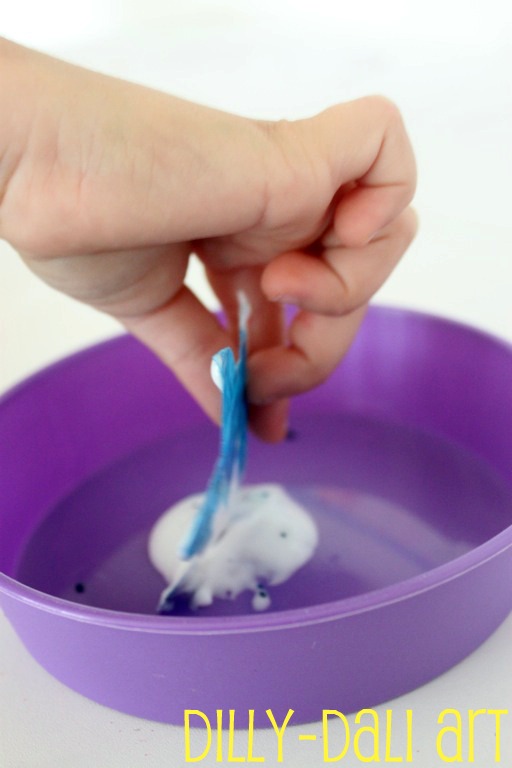
We love playing outside and chalk is our go to outdoor art material.
We use it in water, we use the dust, we use it on the easel, we bring it to the park, we've painted with it.
The possibilities with chalk are endless and I'm sure we'll have more fun with chalk in 2012


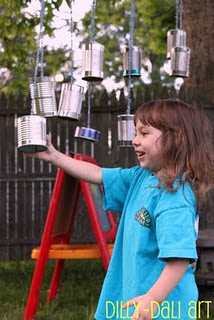
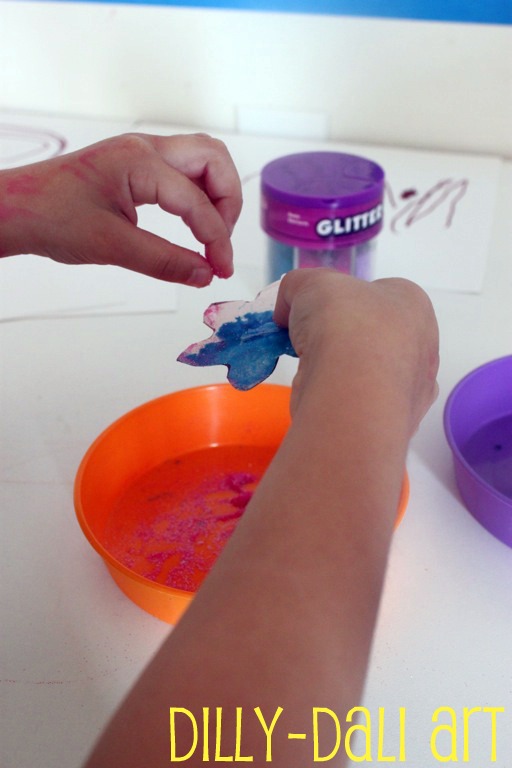
I love this post because of how simple it is and how much enjoyment it brought.
Just cans hung up in a tree with yarn. 
The clinking and the laughter turned out to be the best Mother's Day present ever.

Being outdoors is our favorite thing, adding art to the mix makes it even better!
No doubts about it, there will be more art outdoors to come in 2012!


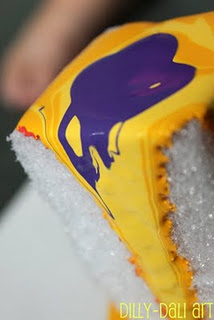
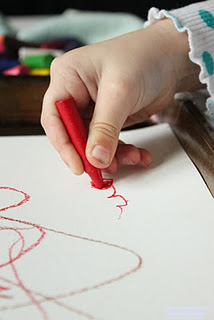
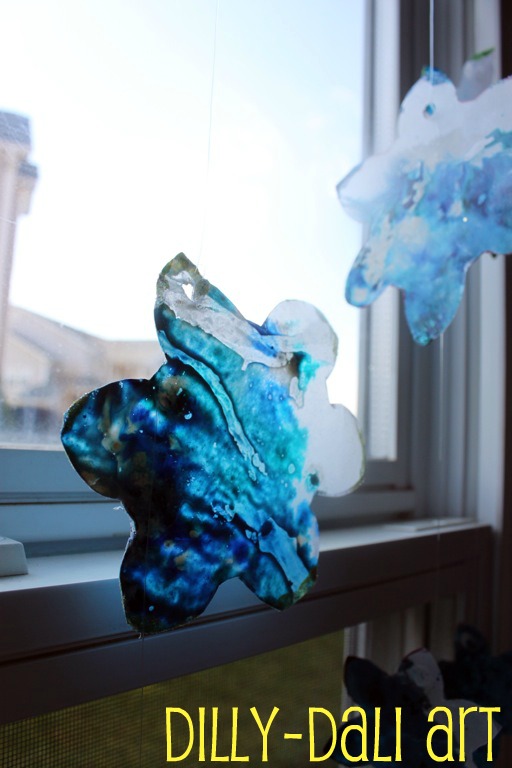
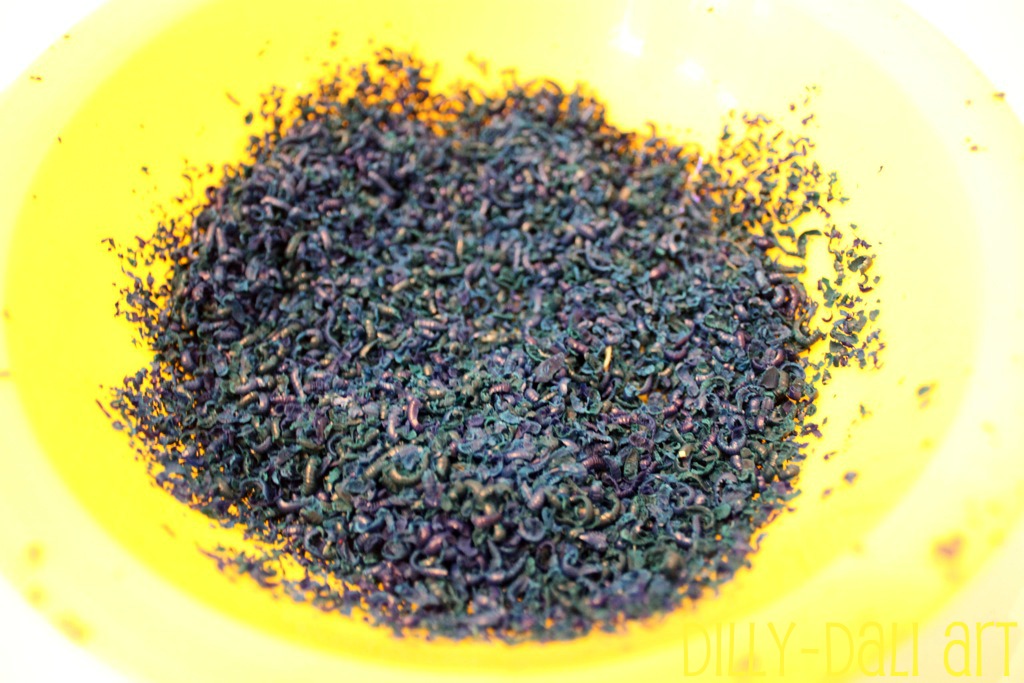
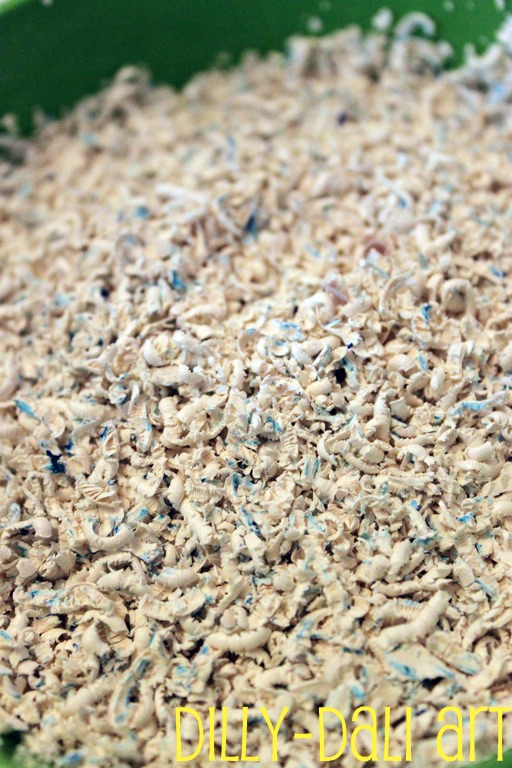
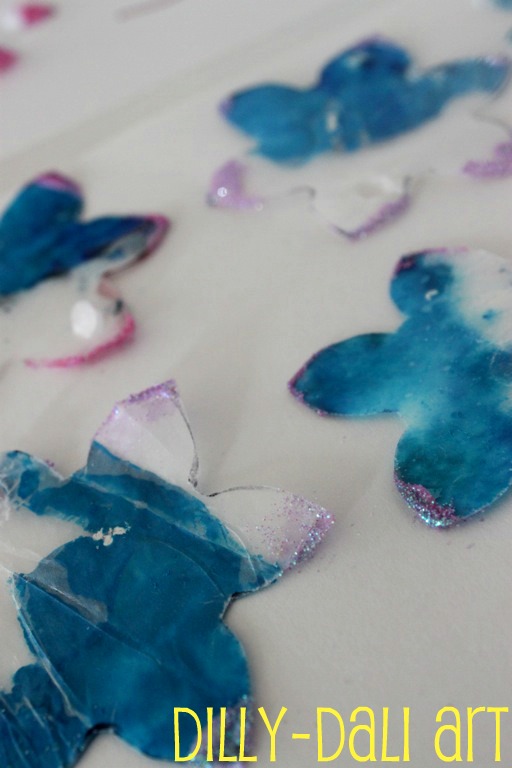
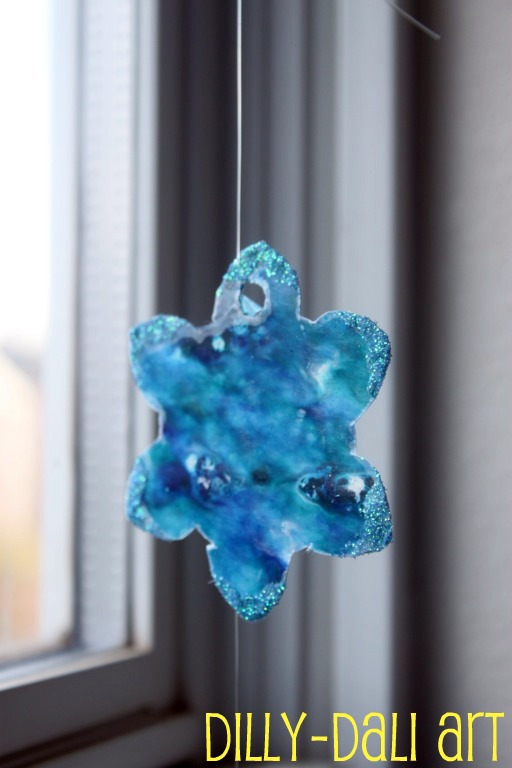
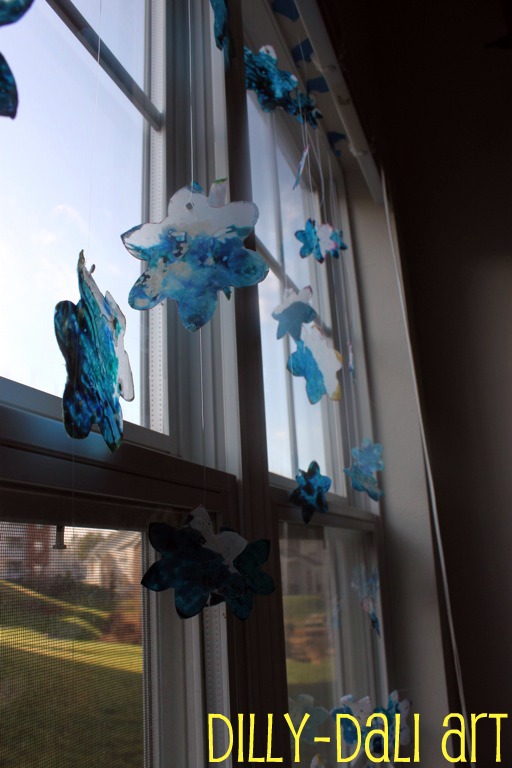
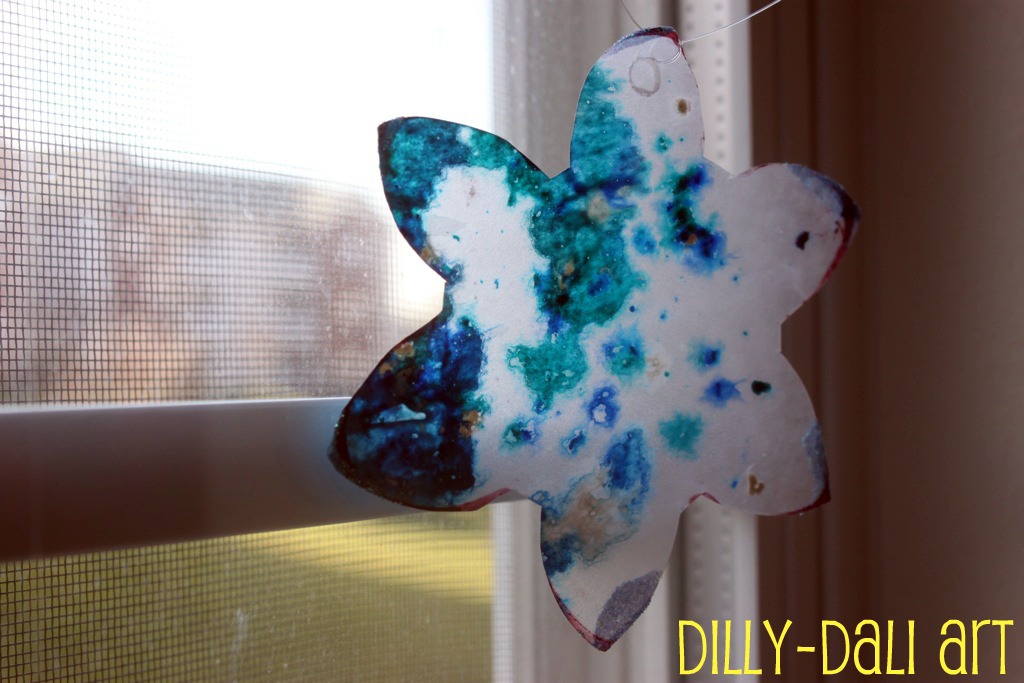
For some reason I'm drawn to melted crayons.
I loved how smoothly the crayons drew on the warmed paper 
and
 how the wax built up layer upon layer when used as "paint"
Expect more melted crayons in 2012!


I want to thank all of my readers, friends, family, and especially my girls for keeping me motivated enough to write this blog.
I hope you all had a fantastic 2011
and
I look forward to an amazing 2012!
Happy New Year!

Lilypie Third Birthday tickersLilypie Fifth Birthday tickers


12.30.2011

2011 {Most Viewed} Top 5 Posts


Here is a round-up of my top 5 most viewed posts from 2011


Thank you everyone for making 2011 a fantastic first year for my blog
I have big ideas for 2012
 and 
hope you'll all continue to follow along

5. Spin Art Turkeys
We made these cute turkeys to top our table for Thanksgiving!


4. Negative Art and Cotton Swab Bones
We created negative art inspired by a cave in Argentina


then made it spooky for Halloween by adding bones!


3. Christmas Tree Star
After many years of being topper-less, we finally made a star for our tree!


2. Homemade Christmas Cards
Six different homemade card ideas with a linky at the end! 


This post was day 2 of the amazing 2011 Creative Christmas Countdown!


1. Melted Crayon Art
After seeing all the great melted crayon art all over the web, we gave it a try with our own little twist, initials!


Lilypie Fifth Birthday tickersLilypie Third Birthday tickers


12.17.2011

Melted Wax Snowflakes


We made snowflakes by melting wax crayon shavings between sheets of wax paper! They are so simple and can really be used for any season at all!


Just grate whatever color crayons you'd like. 
I love using blue and white for winter.


 Sprinkle some shavings on a piece of wax paper.
I think with this activity less is more!


Place another piece of wax paper on top of the shavings.
Cover the wax paper with a few sheets of paper or a towel
and iron on low setting 
You only have to iron long enough to get the look you desire
It doesn't take long at all!

Be sure to use a towel or sheets of paper 
because
 the melted crayon will bleed through the wax paper

 When our sheets were cool enough
I traced a snowflake cookie cutter onto the paper and cut them out 
and punched a hole for hanging
I knew I would be hanging these in the window so I wanted a bit of sparkle
Charlotte dipped just the tips in glue and sprinkled them with glitter

When the glue was dry I strung them up with fishing line
and hung them in the window

They look gorgeous with the sun shining through them!

Like I said, this activity is perfect for any season, just change the colors and shapes to fit whatever holiday or season you're making them for!
Here are a couple examples:
Hearts for Valentine's ~Skip To My Lou
Leaves for Fall ~ Princess Pea Crafts

Lilypie Third Birthday tickersLilypie Fifth Birthday tickers


12.06.2023

Christmas Tree Star


I've been waiting a long time for my daughter to be interested in topping our Christmas tree
She finally told me we needed a star
so we made this
Here's how we did it!

I found a star template online that I liked.
I really liked the look of this six-point star
I traced it onto some cardboard and cut the stars out
Next, the girls covered a toilet paper roll in aluminum foil
then we stapled the top closed
this is the base of our star
 Charlotte covered the aluminum foil with tissue paper squares and Mod Podge
 While we were waiting for the base to dry, we decided to dye some yarn
We put yarn in a bowl
added a few drops of food coloring
and a little bit of water
They soaked overnight
Next, I drew lines from each point on the star
 Then connected the points
and cut it out
When our yarn was dry
Charlotte hot-glued it onto the star

I trimmed the edges and hot-glued the two star halves together
Charlotte and Lexi covered the star with aluminum foil just like they did with the toilet paper roll

 Then, they covered the aluminum foil with tissue paper and Mod Podge
 Here is the star with wet Mod Podge
 Here it is all dry
 We hot-glued the star to the star base and topped our tree
I think it's gorgeous
It compliments our colorful tree perfectly
What do you top your tree with?
Lilypie Fifth Birthday tickersLilypie Third Birthday tickers