Do you remember our version of melted crayon art?
It's my most popular post
and
a lot of people have been giving it a try
which is GREAT!
I've been getting a lot of questions about it
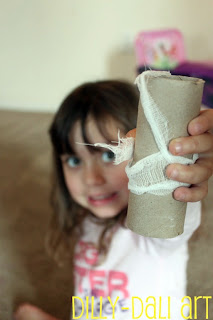
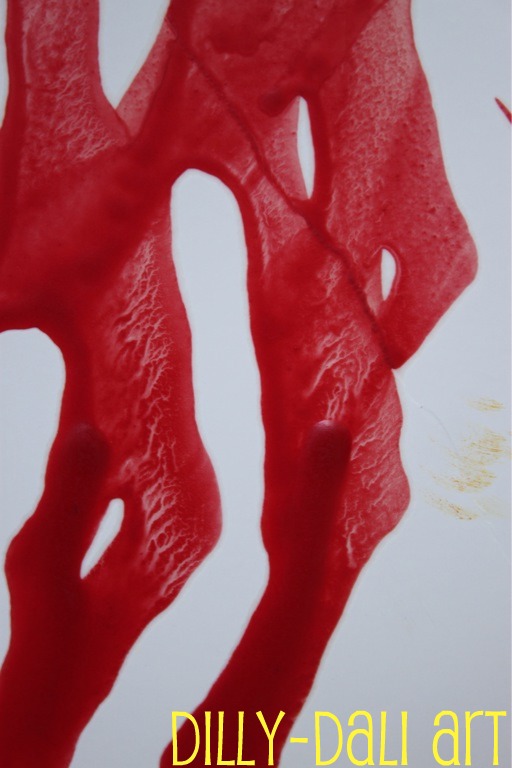
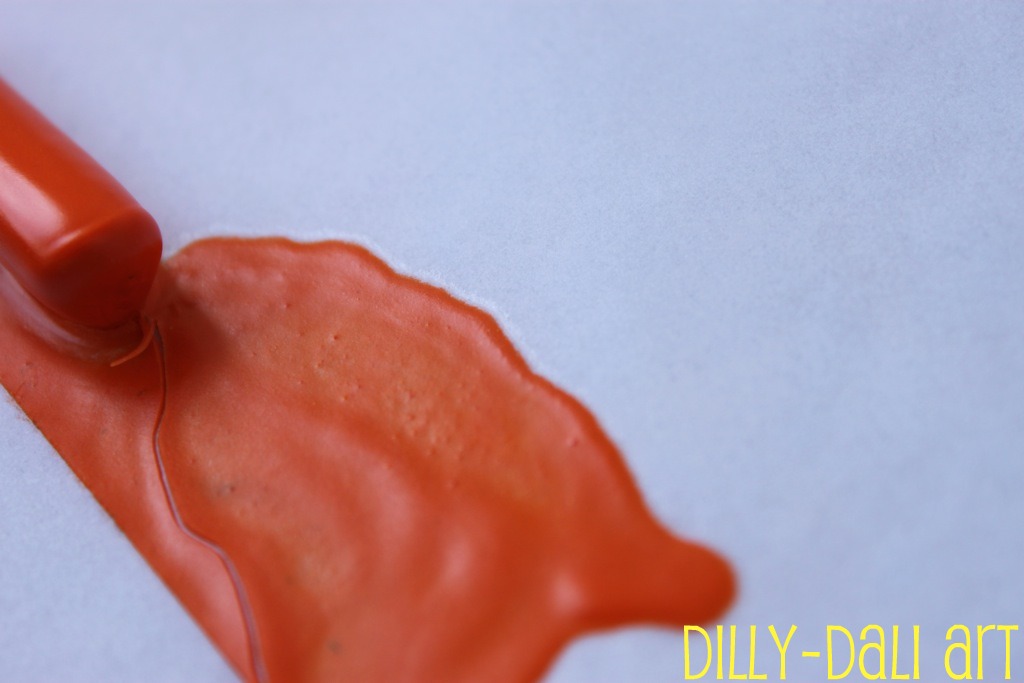
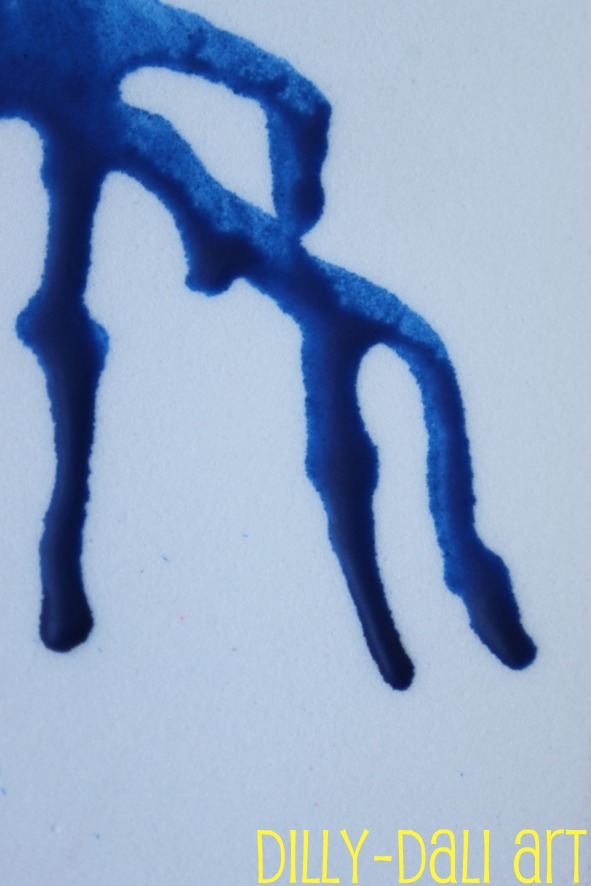
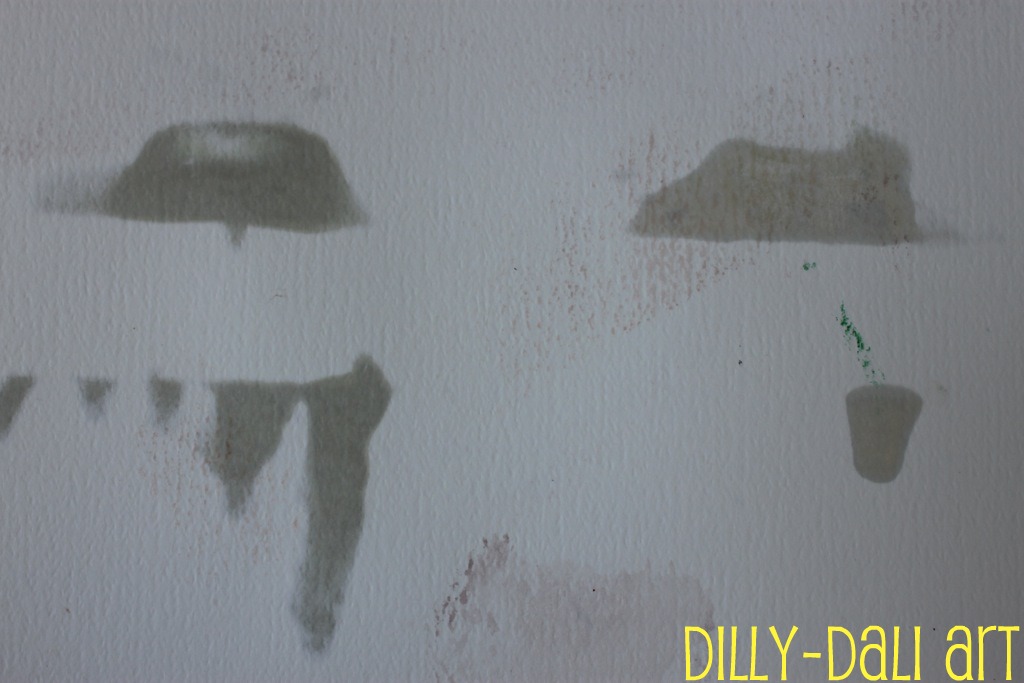
especially about the oily residue that seems to seep underneath the tape
and
leaves a ring around the wax
like this:
It's pretty undesirable for those making the melted crayon art to be displayed on their walls
so
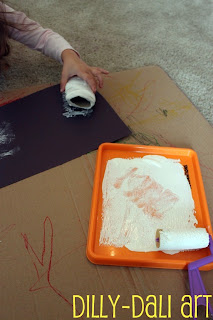
we decided to experiment with different colored crayons
and
different types of paper to see which would give us the smallest and biggest oil ring
We started with foamcore board
which is what we used as the base for our melted crayon art
You can't tell from a distance that our crayon art has the oil around the edges where the tape was
but if you look closely you will see it
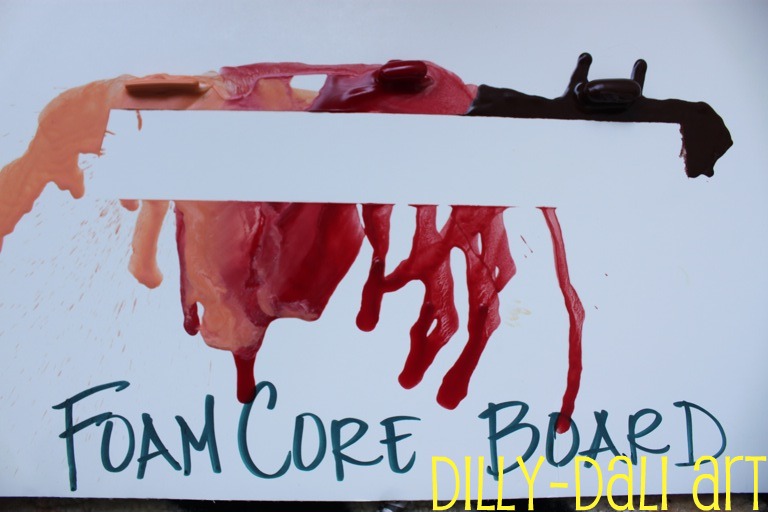
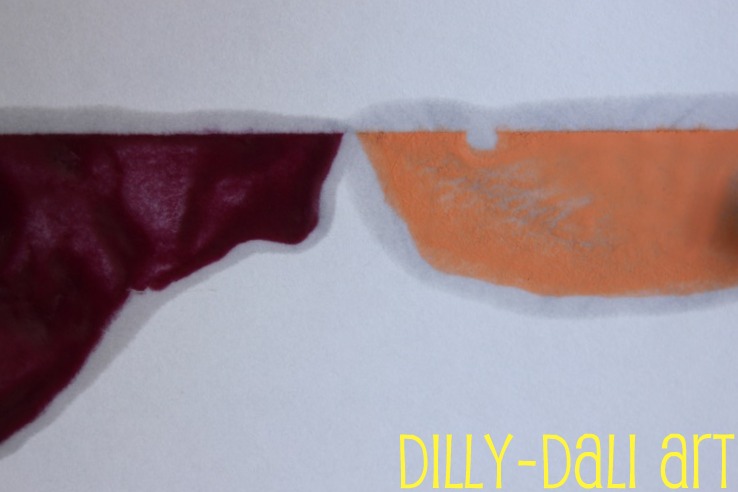
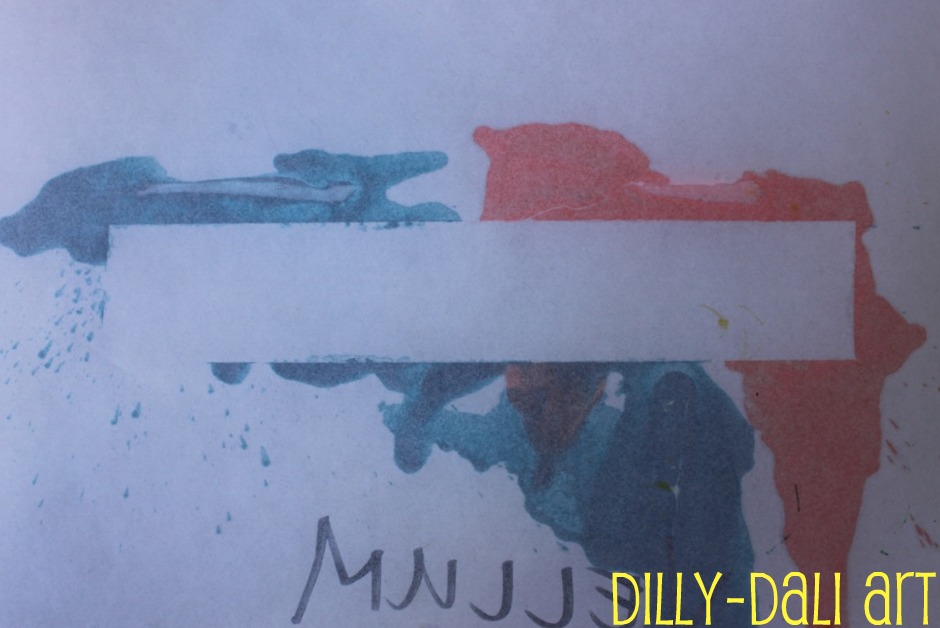
You can't see it very well in these images either
but what you can see is that the apricot color on the left
has left a white-ish color on top of the red
and on the right you can see the red pigment separating from the wax
All the crayons I used were Crayola
They use paraffin wax and powdered pigment to make their crayons.
From what I gather about paraffin wax is that the liquid version is mineral oil
which would explain why there is an oily residue when you melt it
The sketch paper soaked up the oil well creating big oil rings
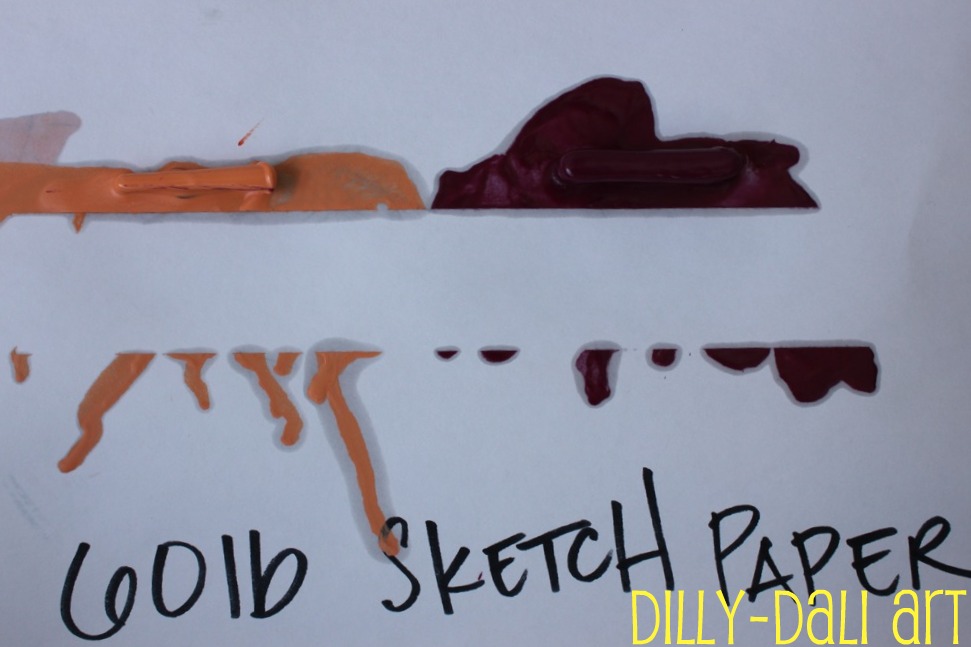
There was a bigger ring around the apricot color than the red
From the back you can see the oil seeping through
The vellum paper performed the best
it's made from plasticized cotton and therefore resisted the oil like a plastic would
it didn't soak any up and the crayon edges were very clean
If you are making crayon art to be displayed on your walls
I would recommend having a sheet of vellum backed by foamcore board
so you get the vellum quality but the sturdiness of the board
I would also recommend using masking tape with vellum instead of painters tape
I think it would stick better to the paper with no gaps for melted wax to get under
Look!
No oily residue seeping through the back
We tried foam sheets
which I don't think anyone should try
they were too floppy and the tape didn't stick worth a darn
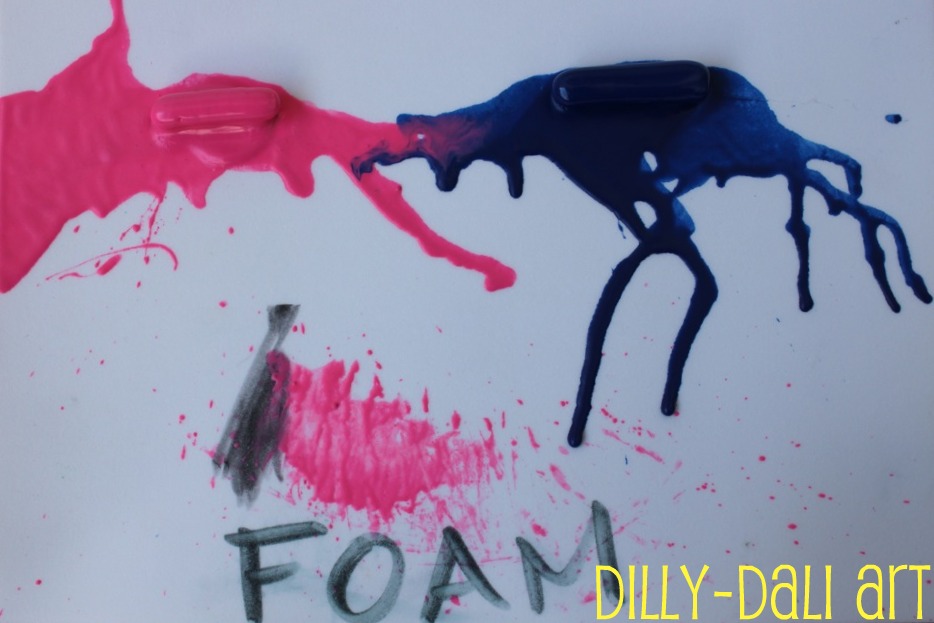
Though there was no oil ring and the lines were very clean
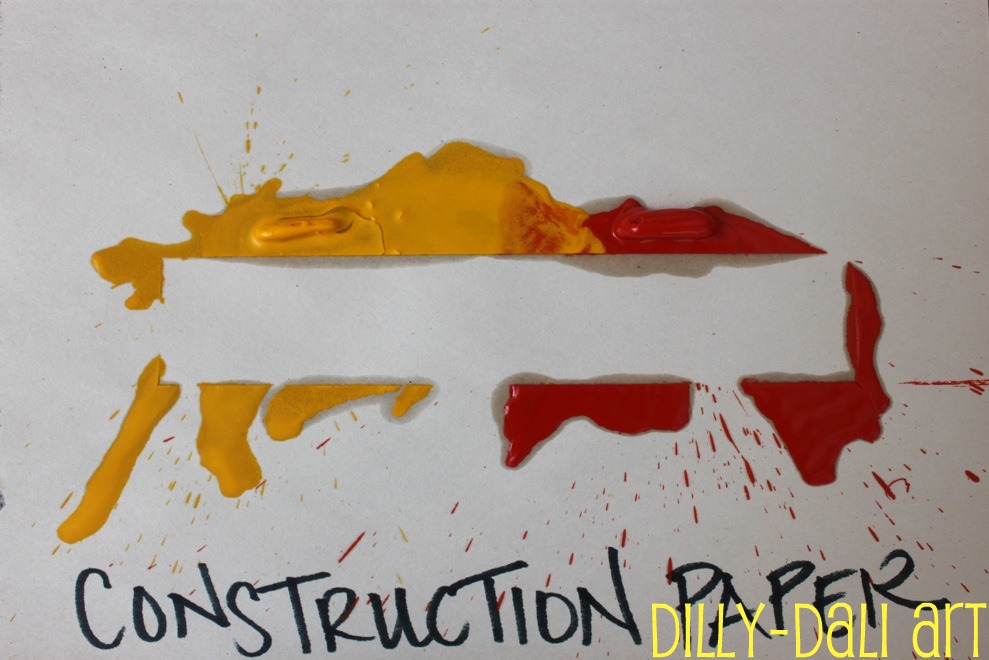
The construction paper soaked up the oil like the sketch paper did
leaving big rings of oil
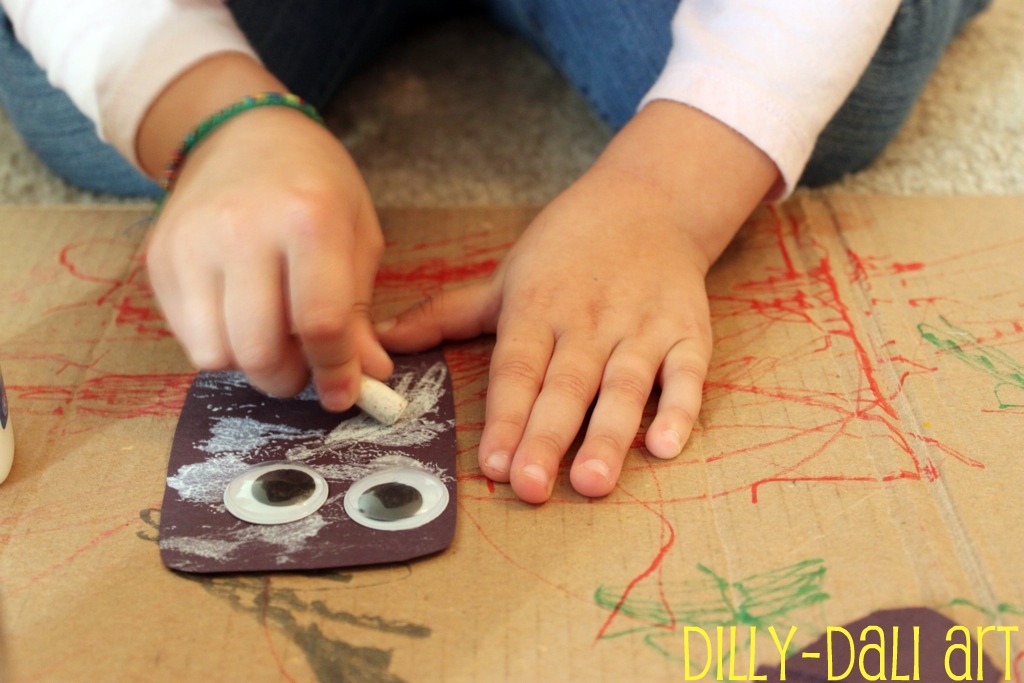
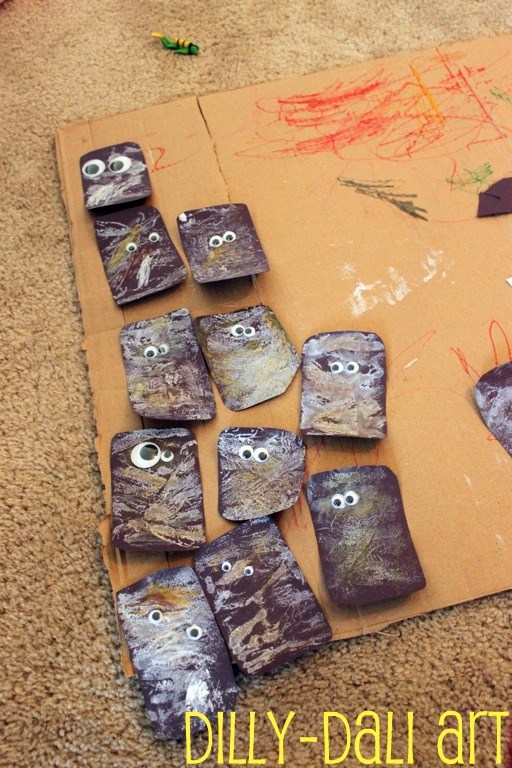
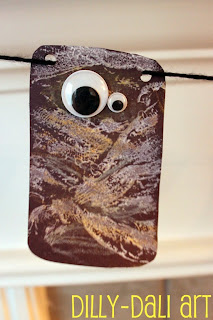
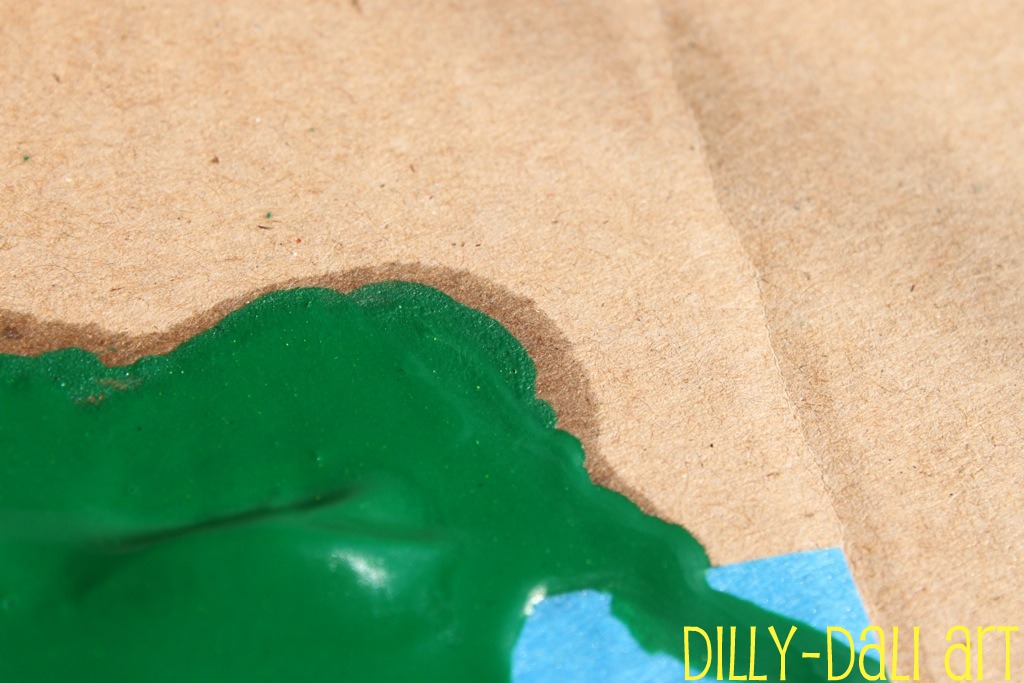
The cardboard soaked it up a bit
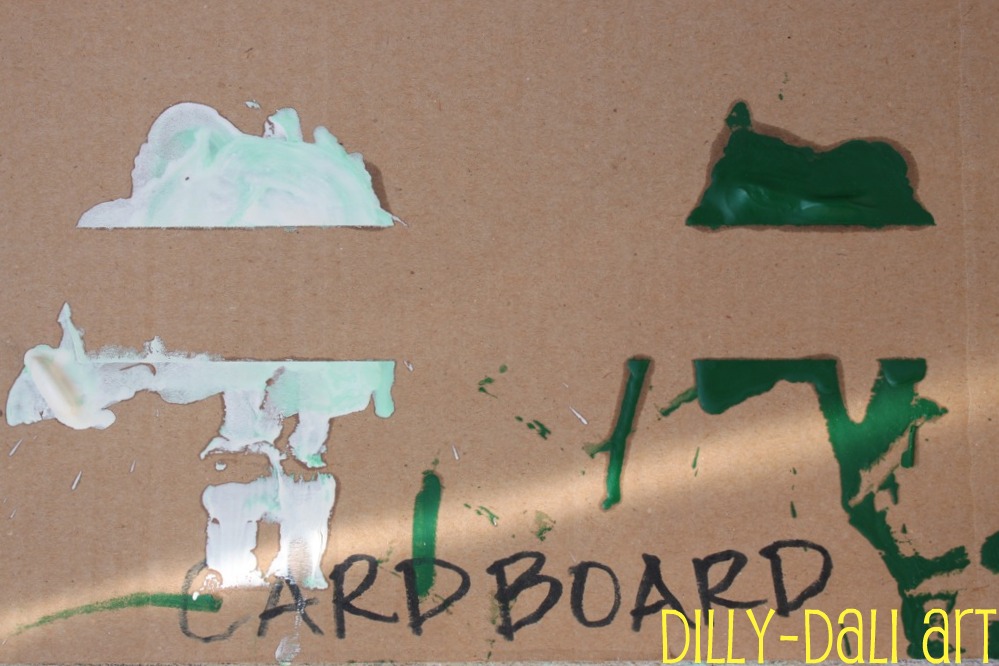
I think the fact that the cardboard fibers are tighter than paper like construction paper helps the oil to not spread
You can sorta see in the green wax that it kinda looks grainy around the edges from the pigment
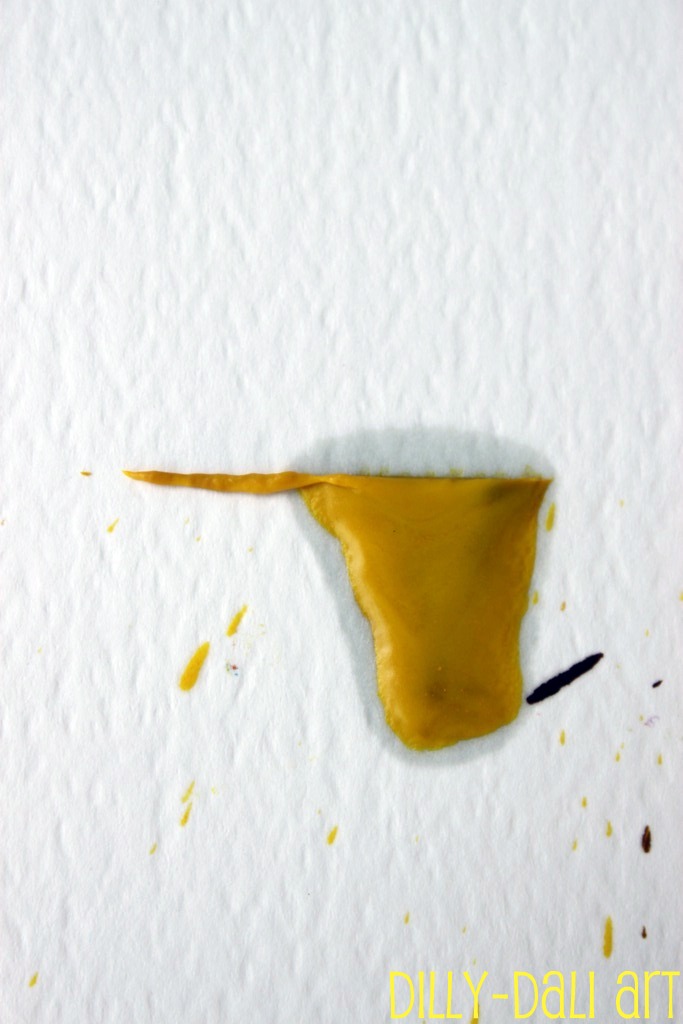
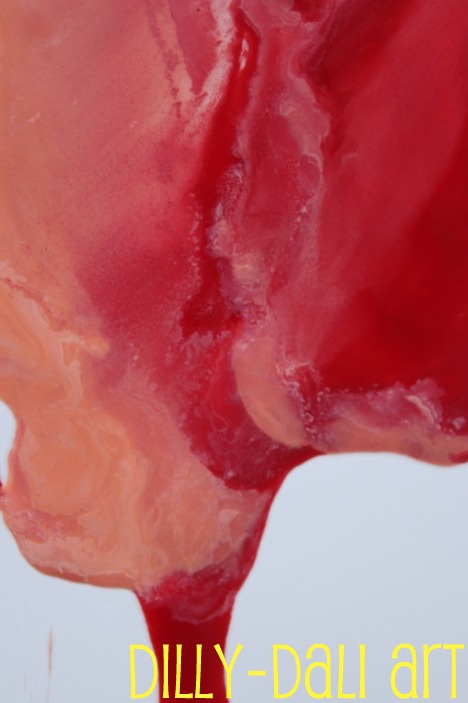
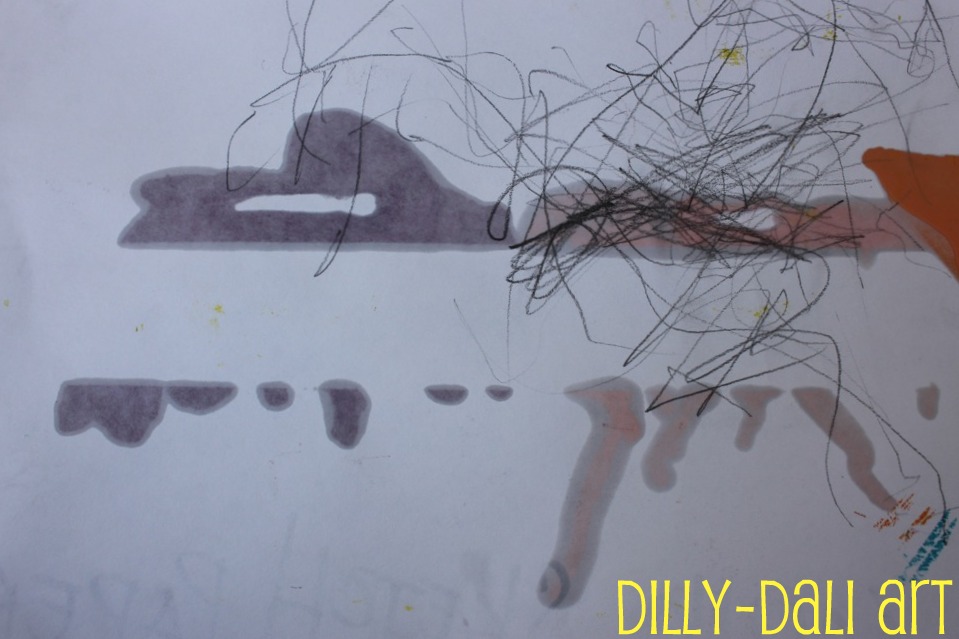
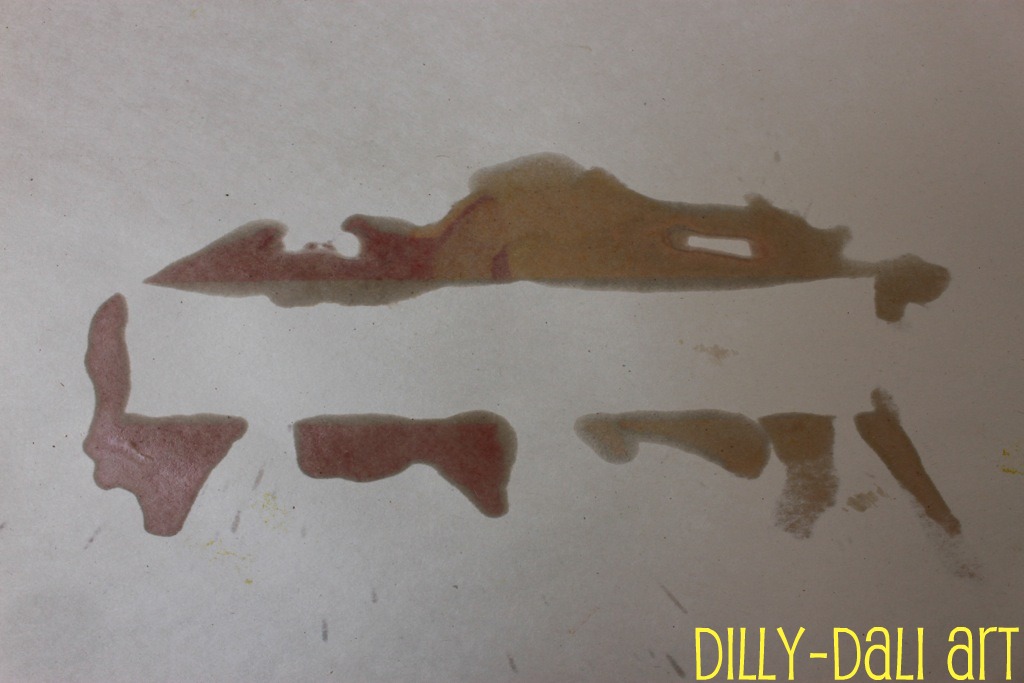
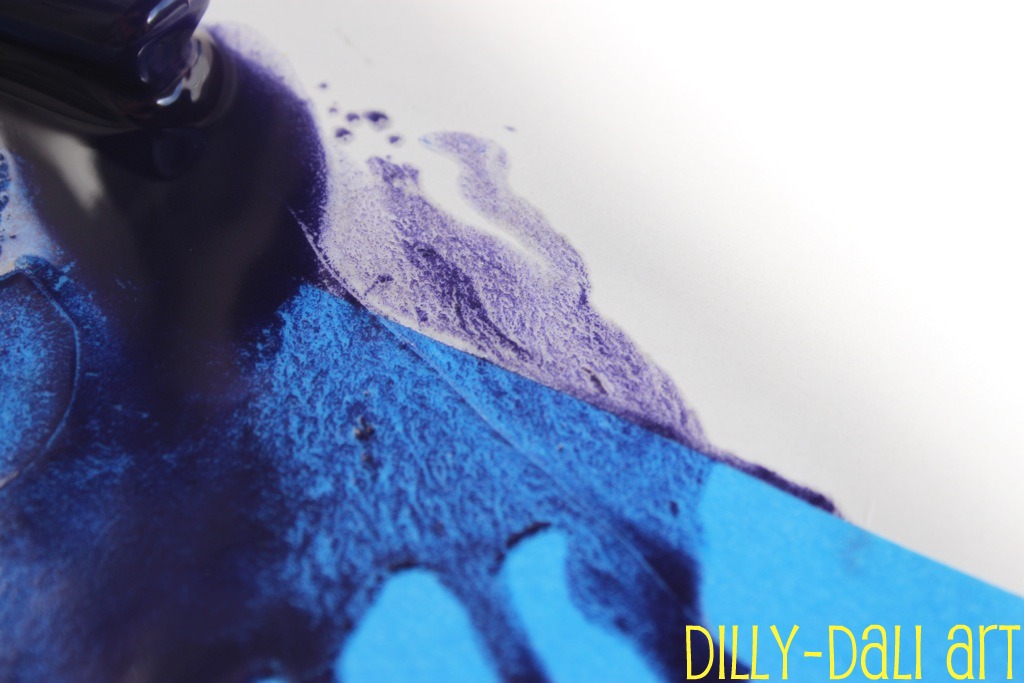
The first picture in this post is from the watercolor paper
There was a larger ring of oil around the yellow was than there was around the brown
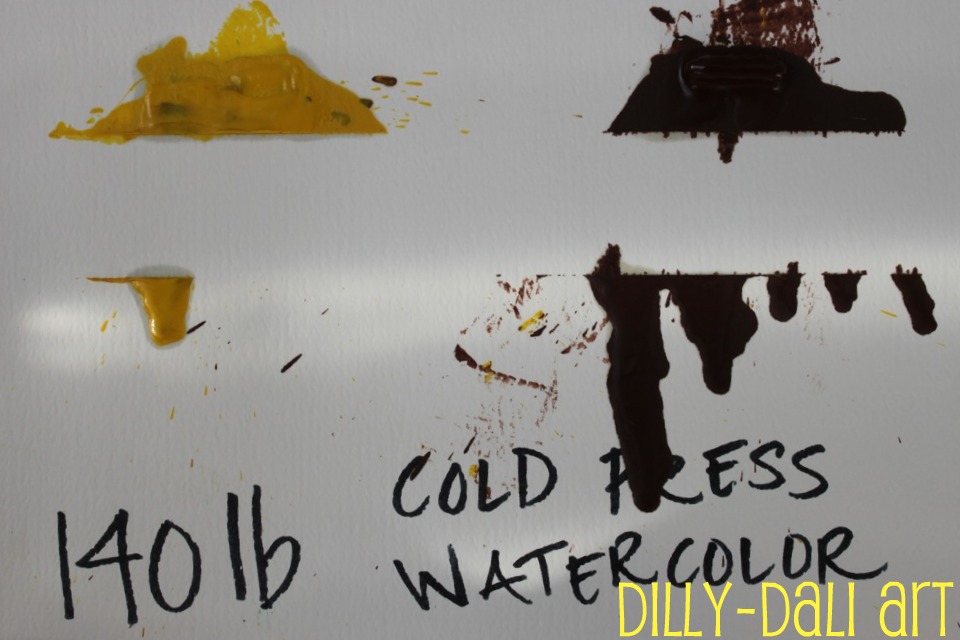
but you can see on the back that it soaked through under the brown
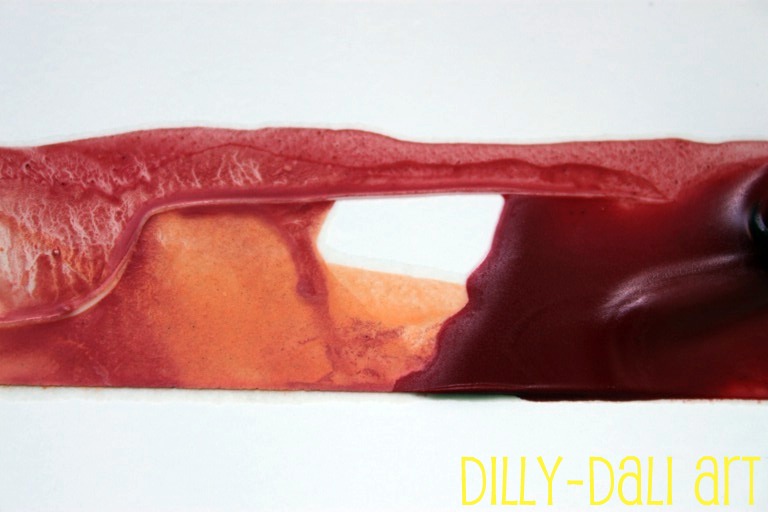
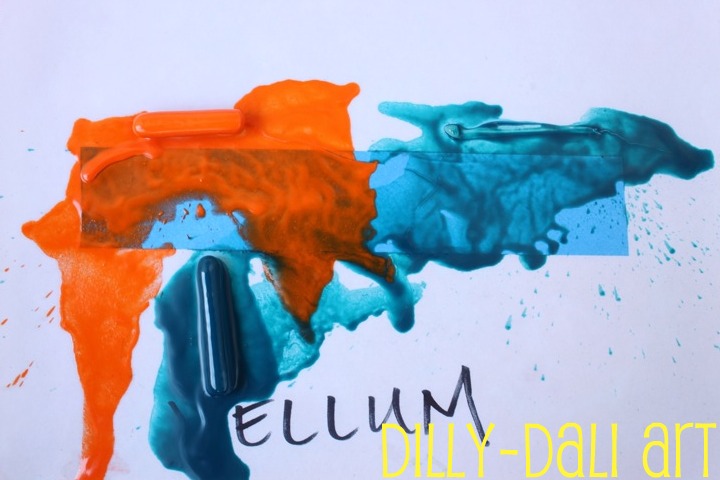
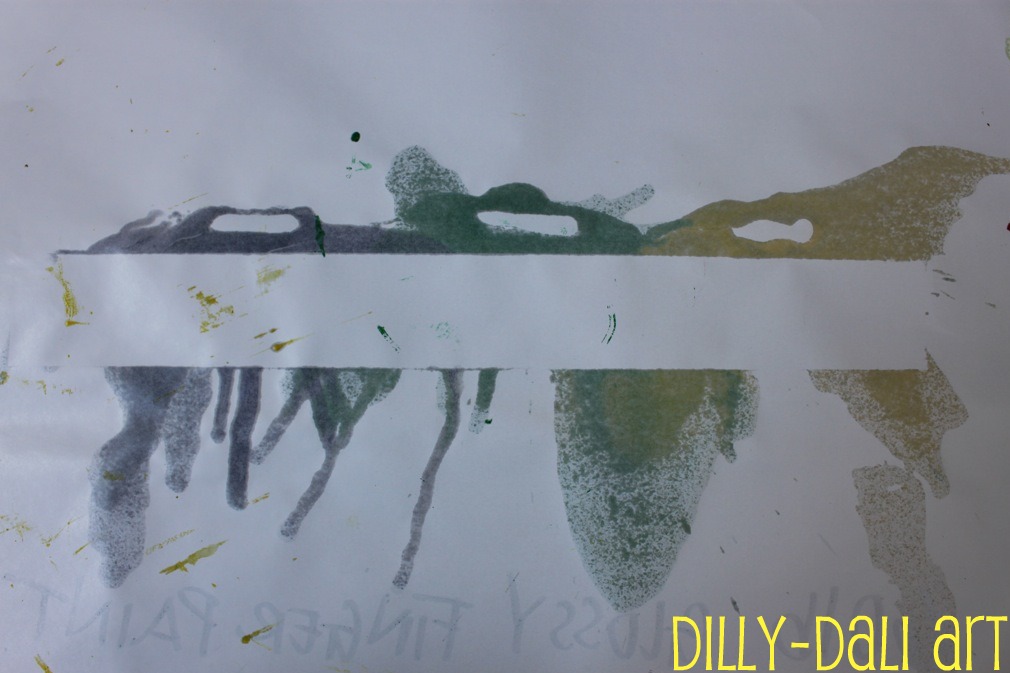
The glossy fingerpaint paper surprised me the most I think
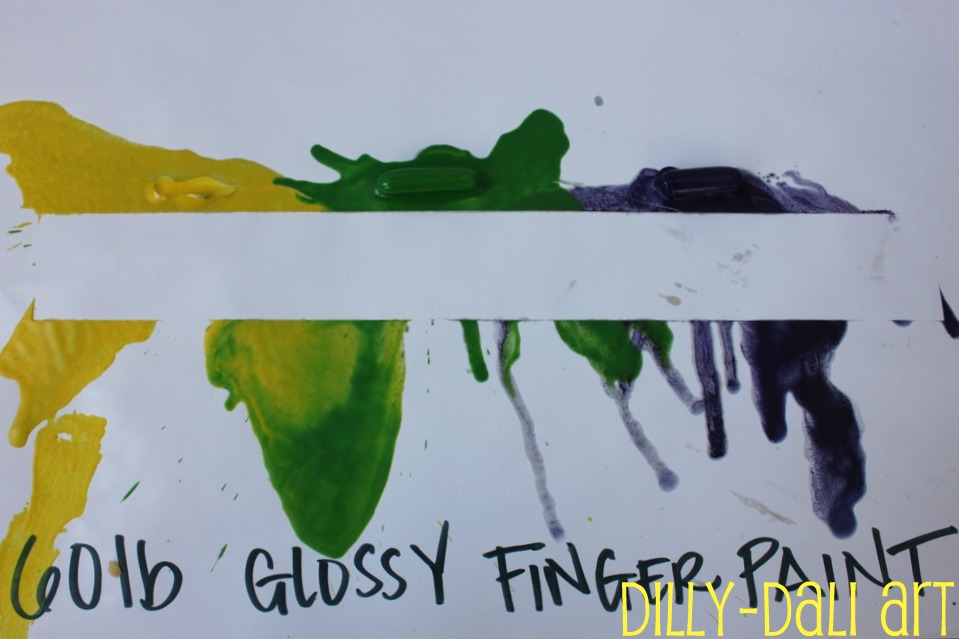
It soaked the oil up well but the oil didn't spread much away from the wax
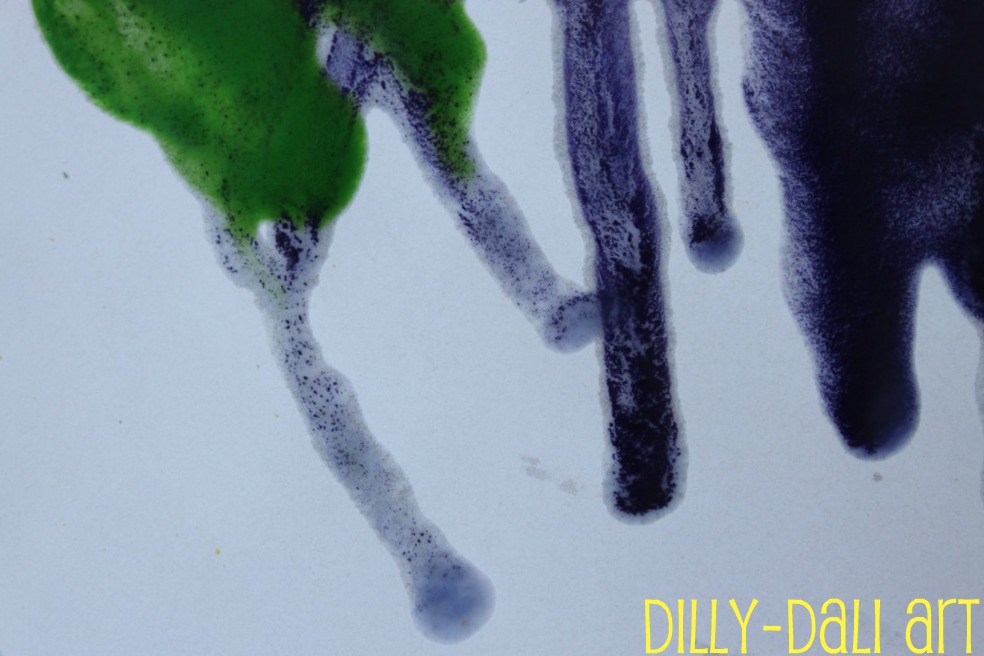
For some reason though the glossy paper made the wax and pigment separate quite a bit
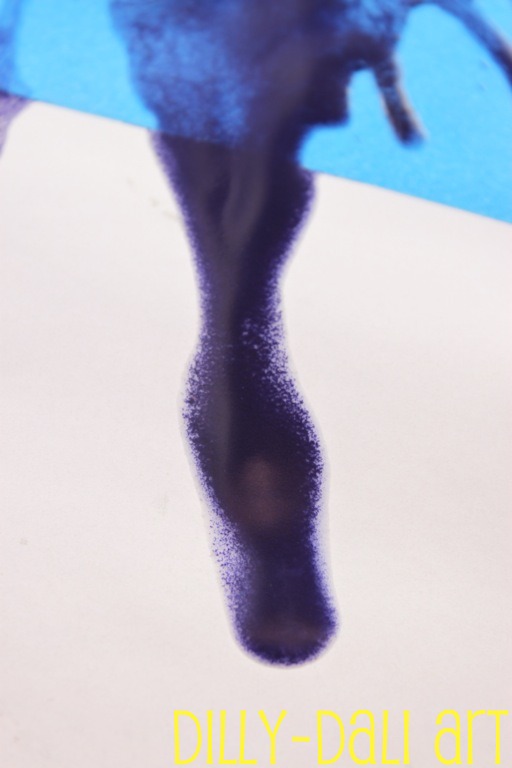
You can clearly see the pigment particles floating in the clear wax
Overall from the experiment we found that the paper with bigger fibers soak the oil up more leaving a bigger ring.
The darker colors seem to separate pigment and wax more than the lighter colors.
I was looking for whether or not lighter colors or darker colors left a bigger ring of oil but the results for that were pretty inconsistent.
We didn't try stretched canvas because we didn't have any on hand but from what I can tell with the paper is that the fiber will soak up the oil pretty well. I would suggest using a canvas that's been primed first, that way the oil can't soak into the fibers
Have you done melted crayon art?
What has your experience been with the oil ring?
Linked to:
The Sunday Showcase
Living Life Intentionally Linky Party
Fun Sparks
Living Life Intentionally Linky Party
Fun Sparks