3.30.2012

Glob Natural Paints {Giveaway!}

We've been painting a natural rainbow
Having young children, I'm always on the lookout for natural art supplies.
During my search, I came across 
Glob
(botanically crafted paints and eco-art products)
I contacted Glob and I'm thrilled they were nice enough to send us some paint!
In fact, they sent me two,
one for me and one to giveaway to you!!!
(find out how to enter at the end of this post)
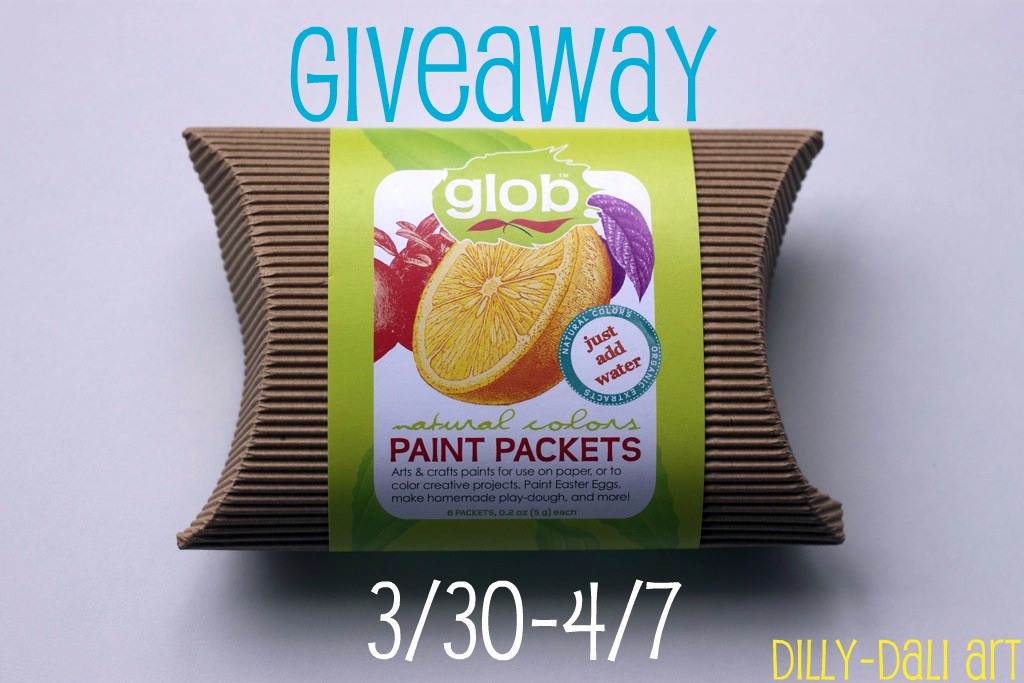
Check out this nifty packaging!

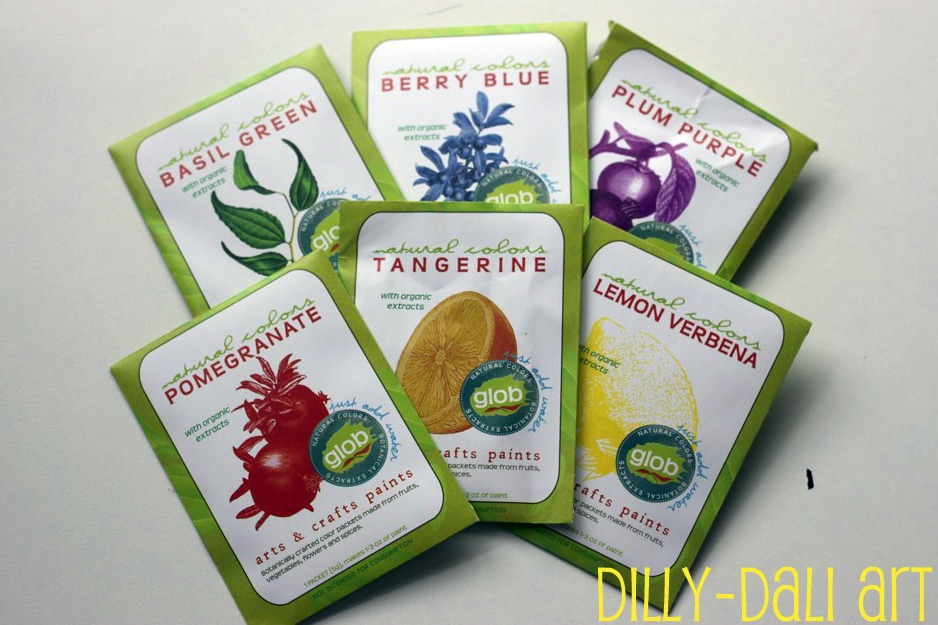
These paints are made from 
"a variety of different fruits, vegetables, flowers and spices."
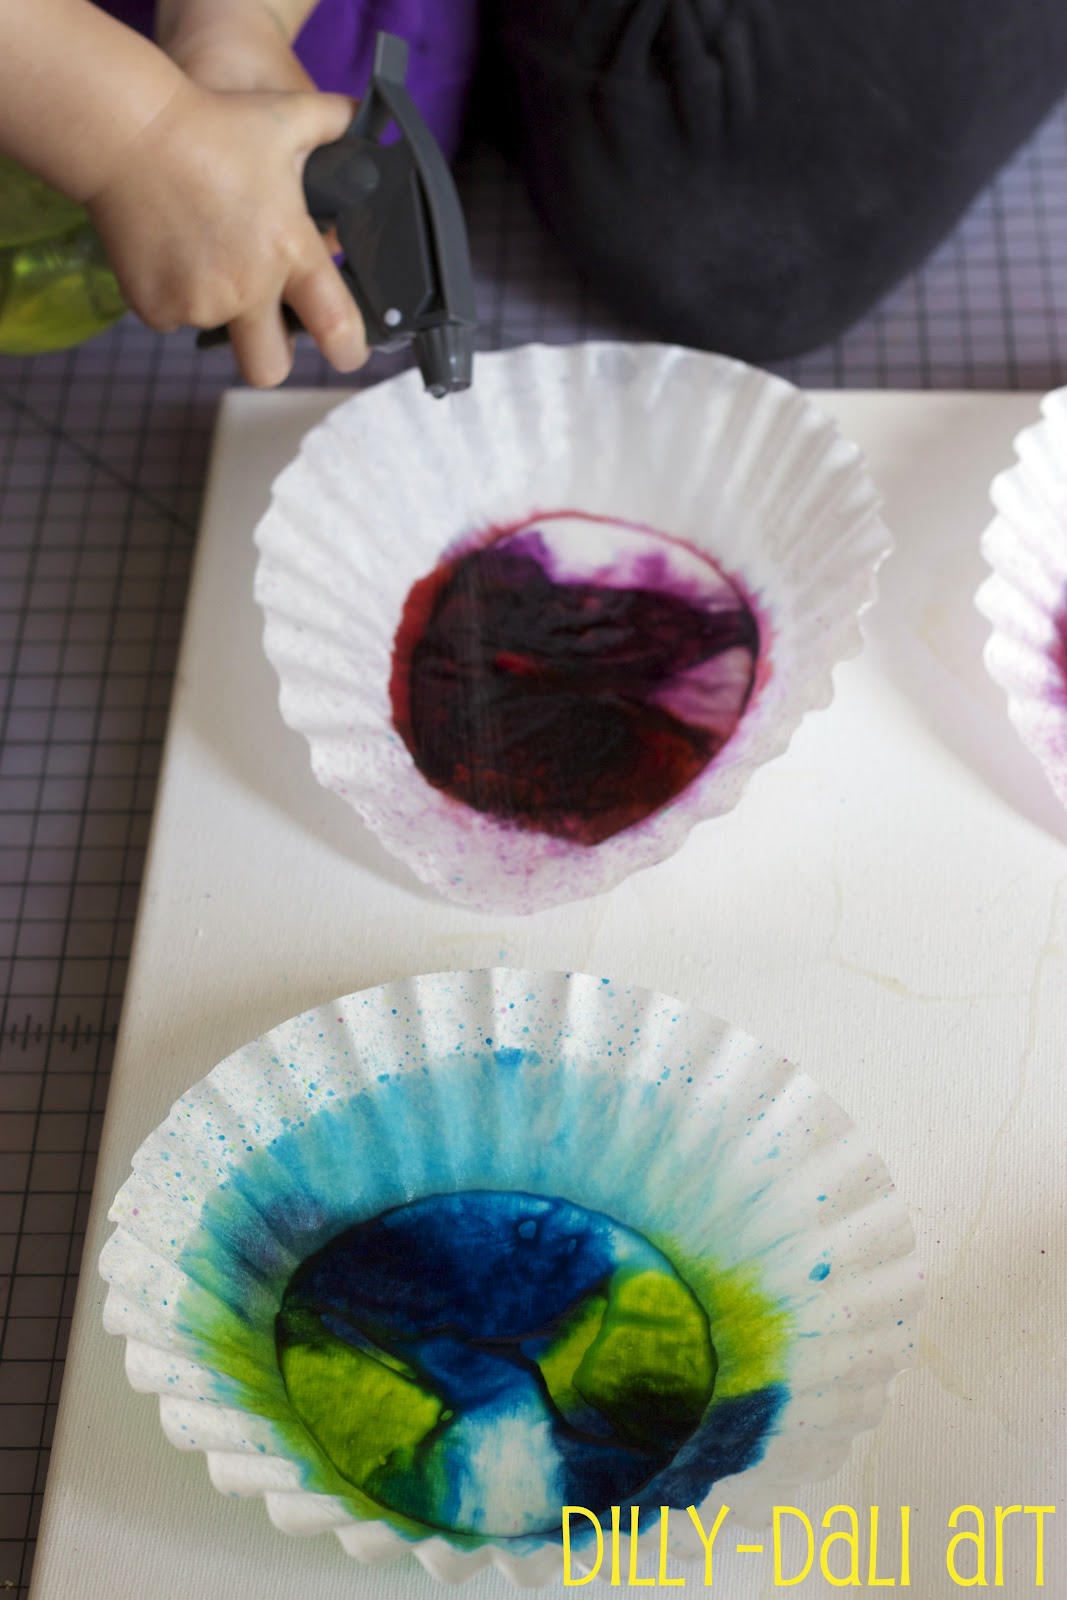
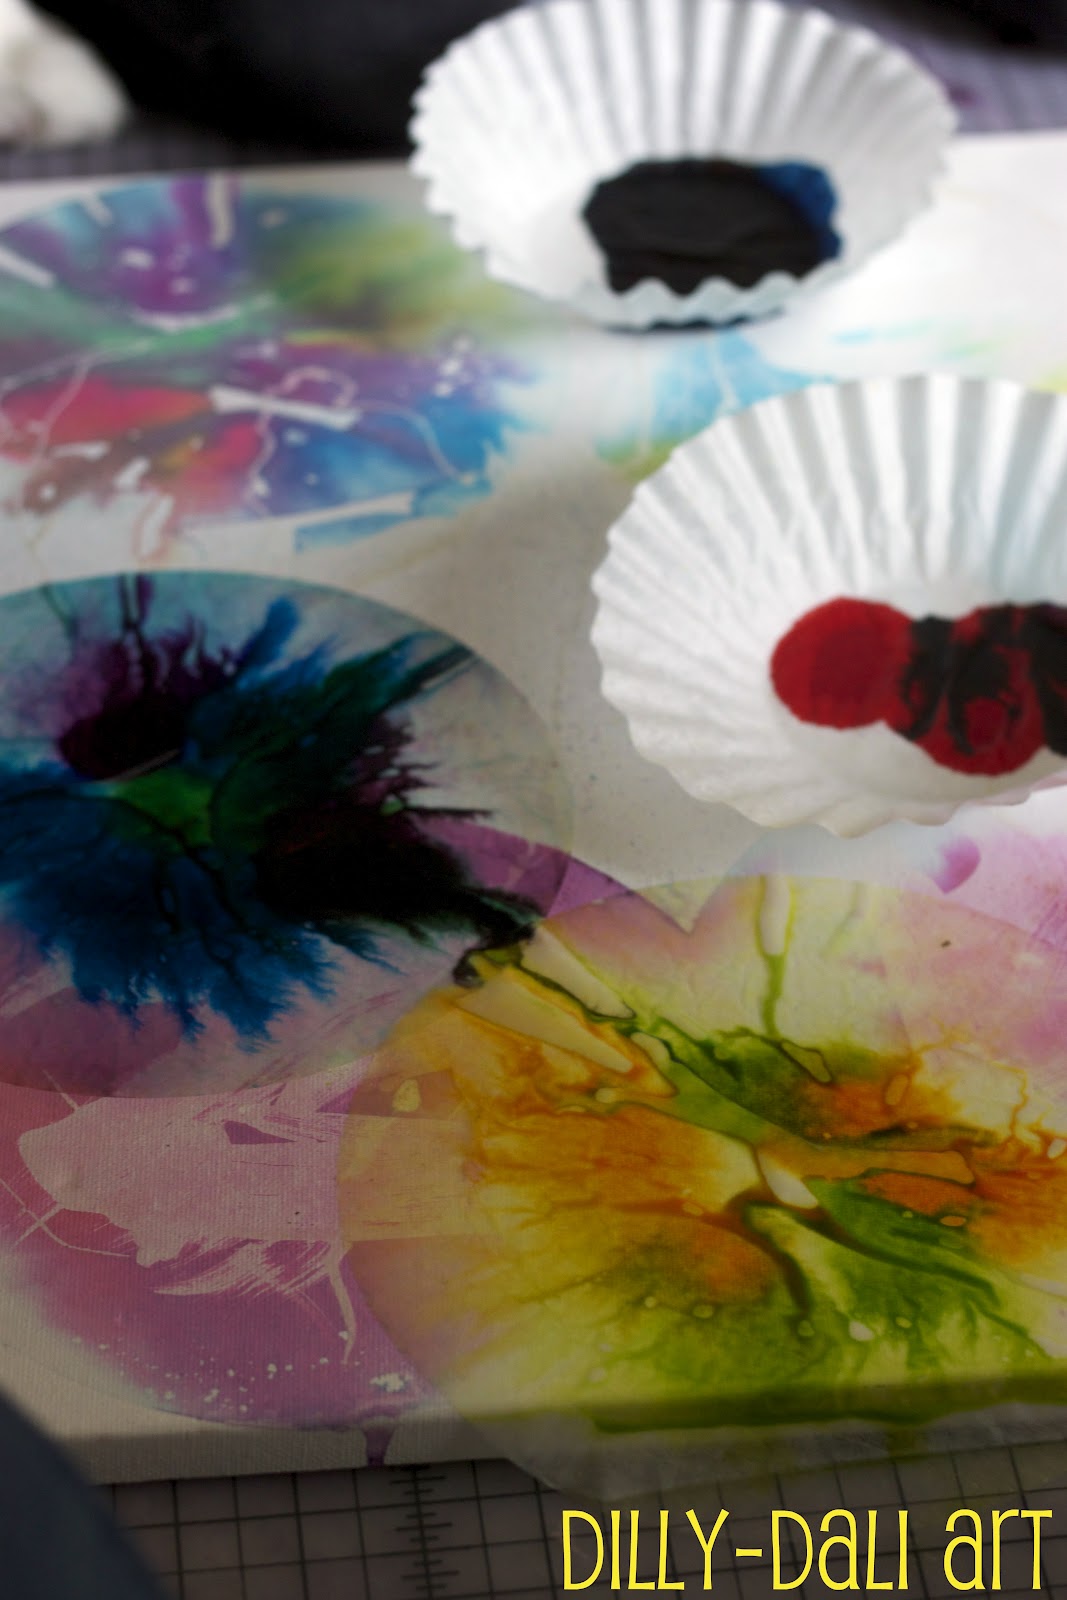
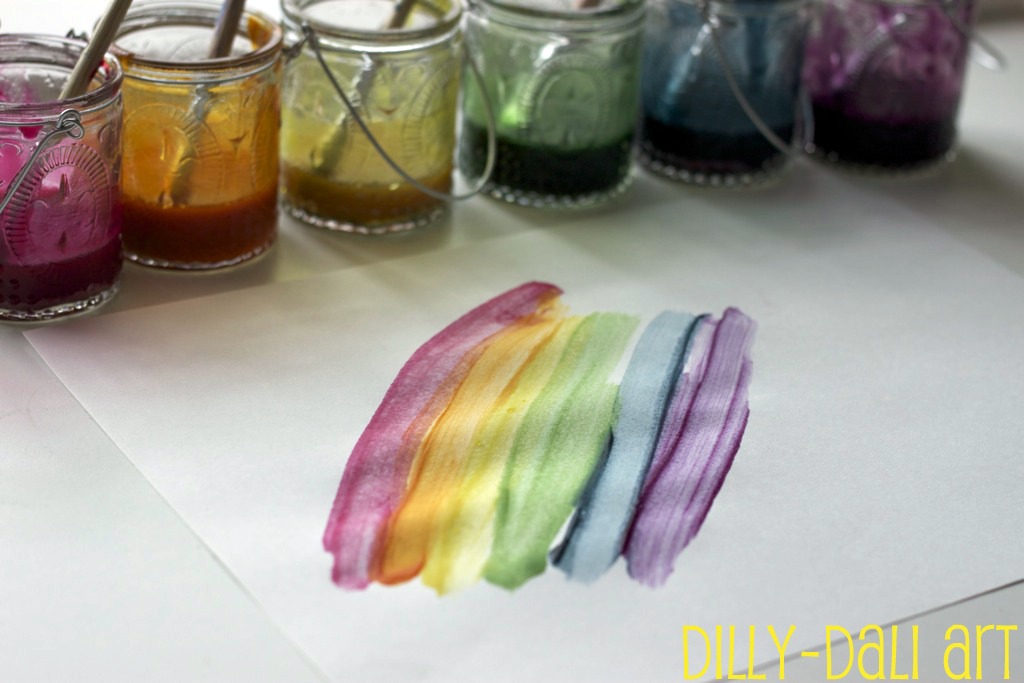
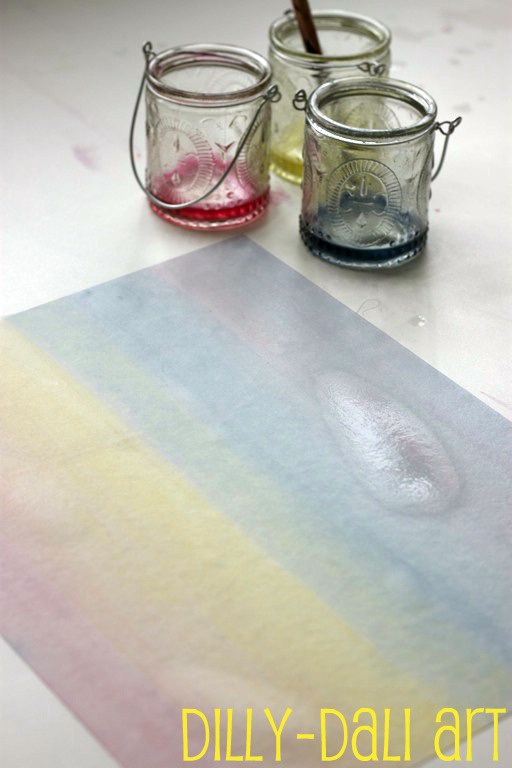
The consistency of the paint depends on how much water you use.
I wanted to use the paint as a watercolor first so I used about a 1:3 (paint:water) ratio
The paint went on smoothly,
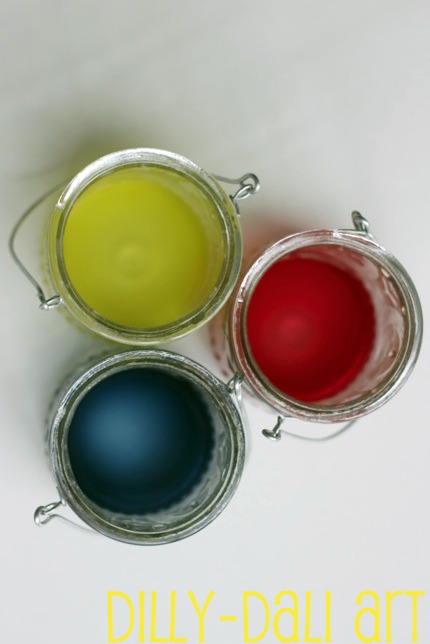
the colors looked nice and earthy on the paper
(bold and bright in the jars)
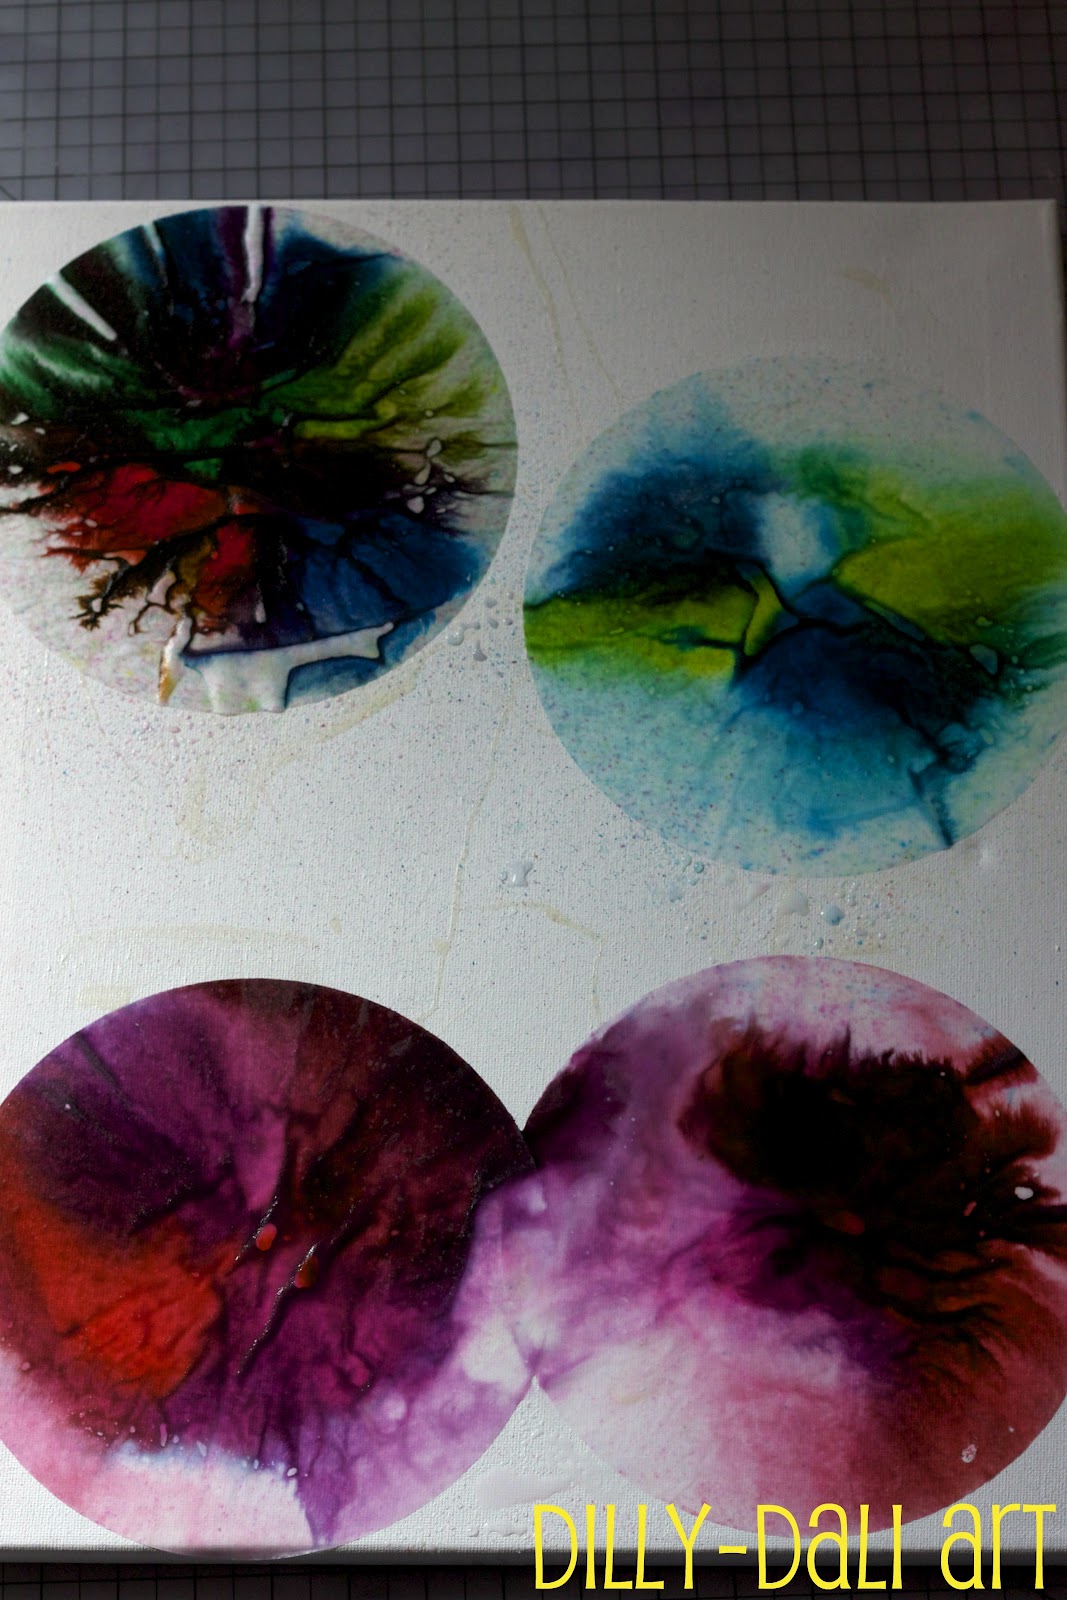
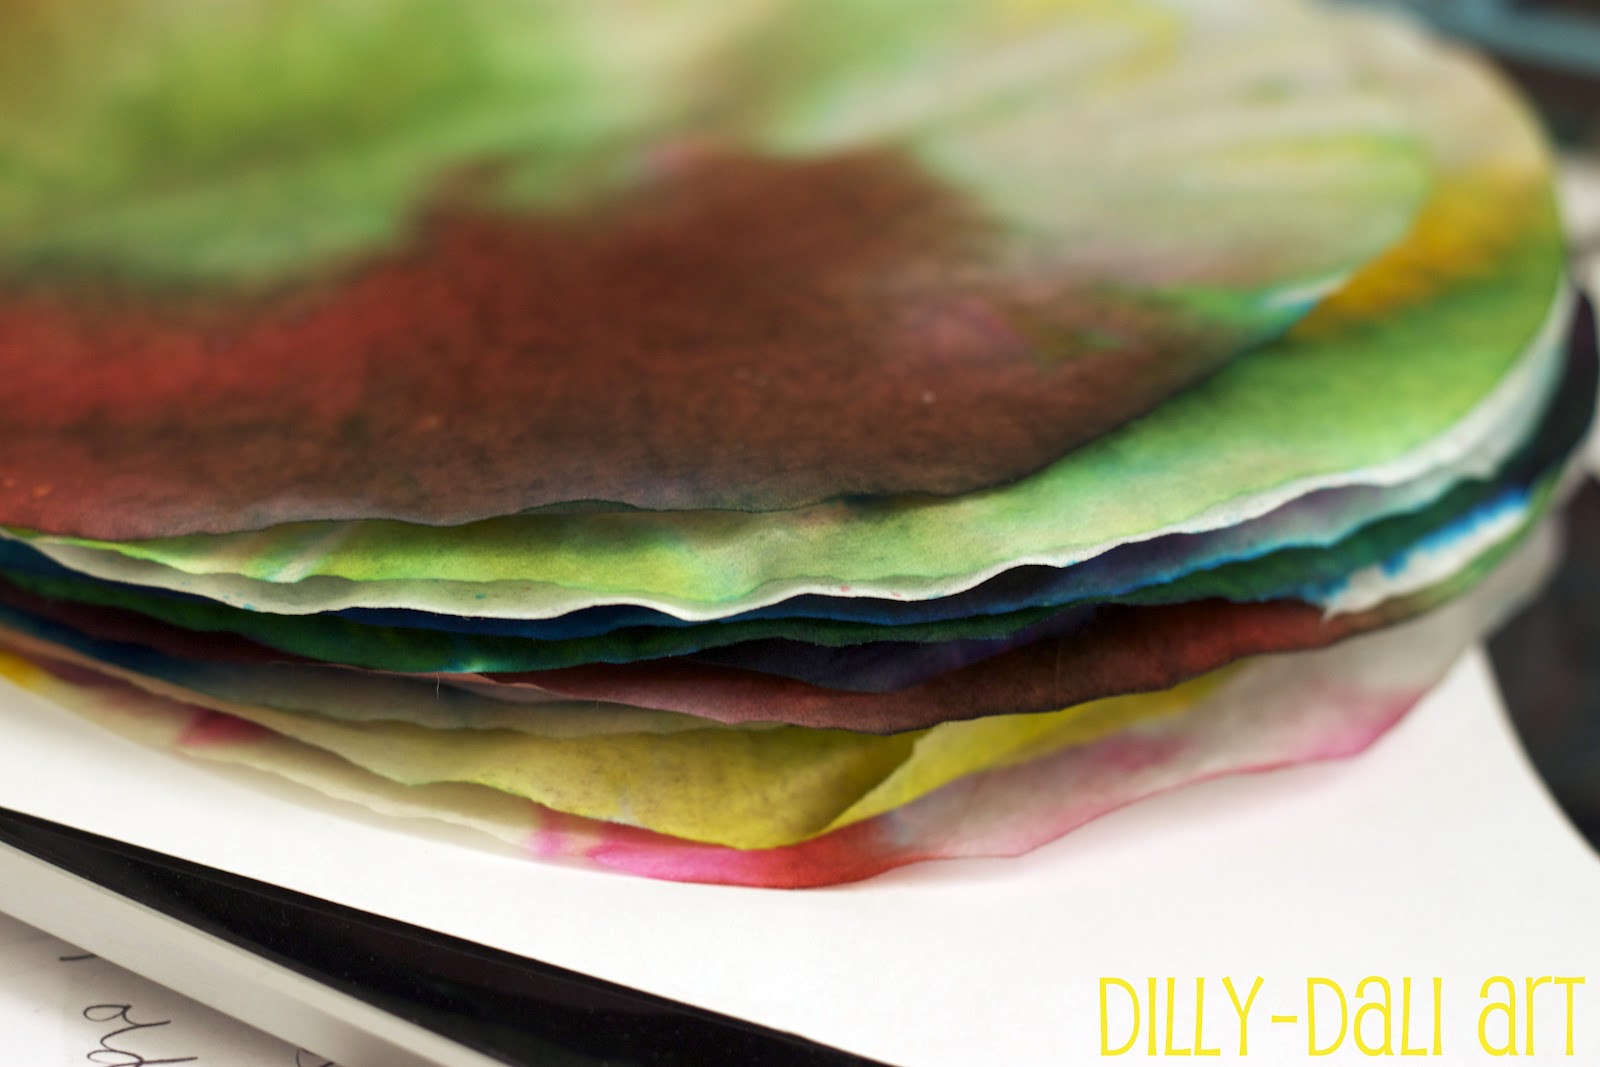
The colors blended seamlessly
notice, how they seem to just run together in the painting below?
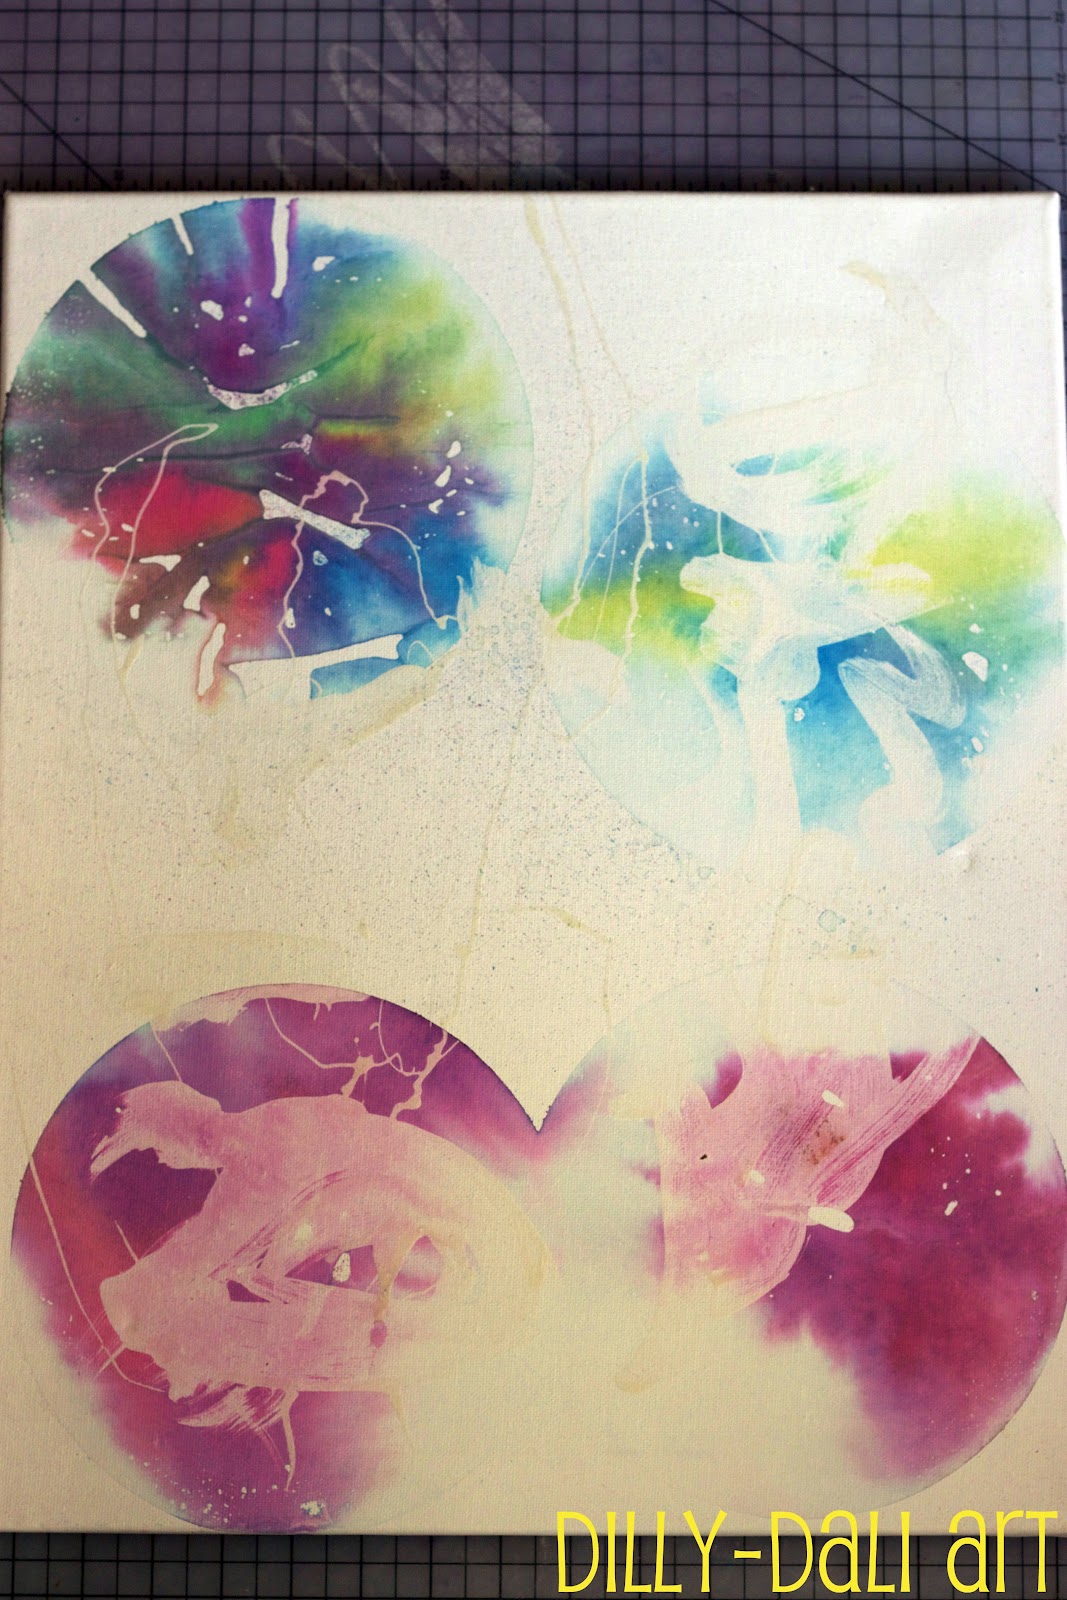
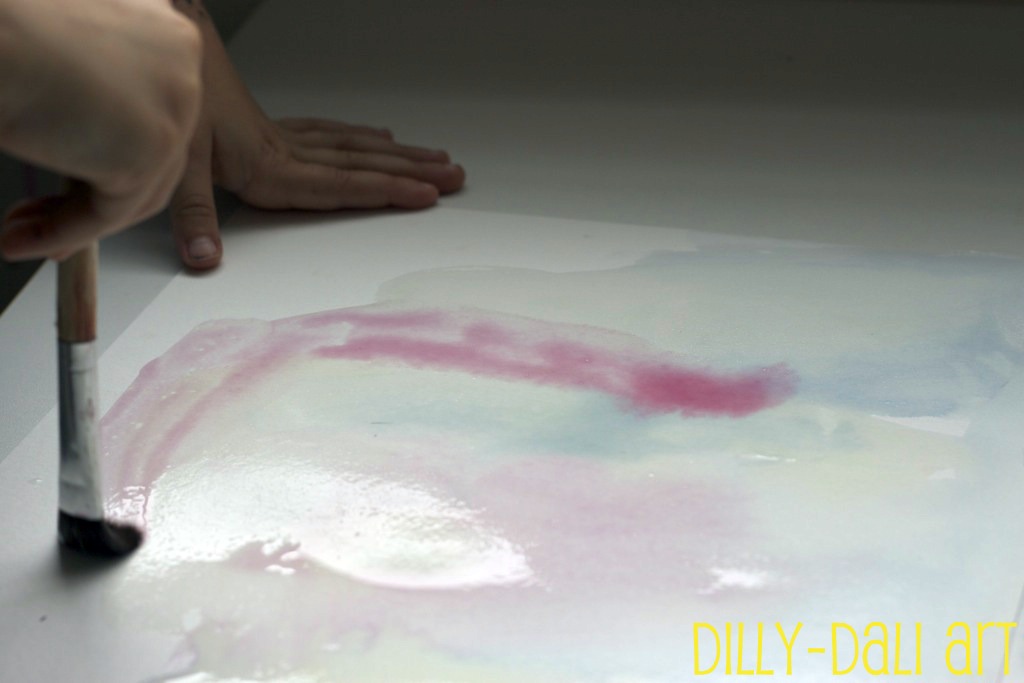
 The next day, I was a little disappointed to see the color was all gone,
I soon realized that I diluted the paint too much.

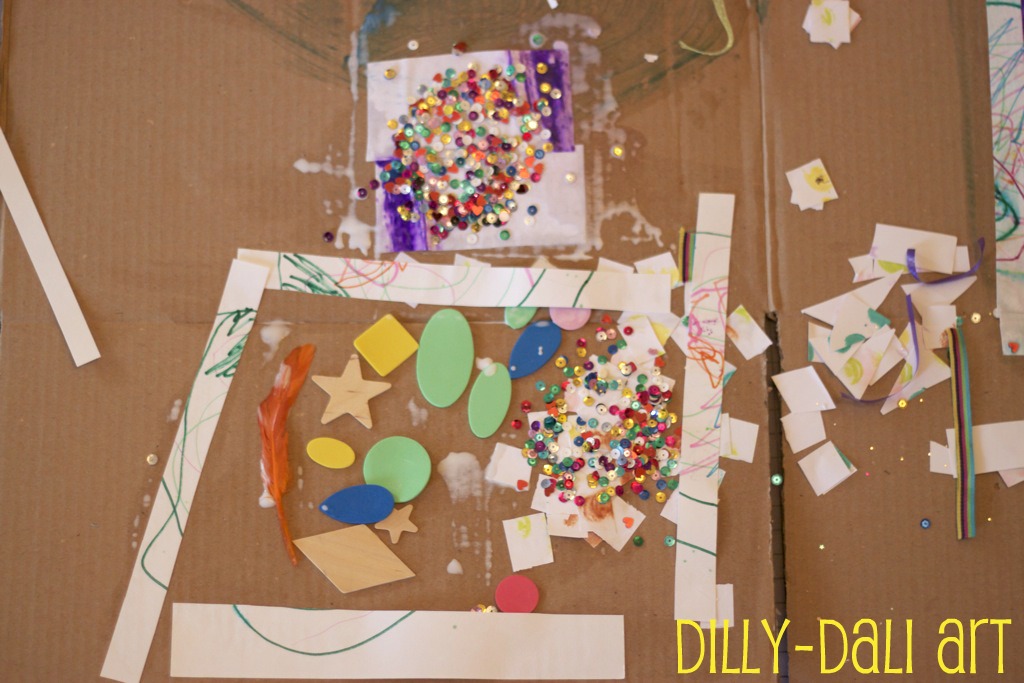
Watering down the paint is perfect for process art activities 
(if you aren't worried about the end product)
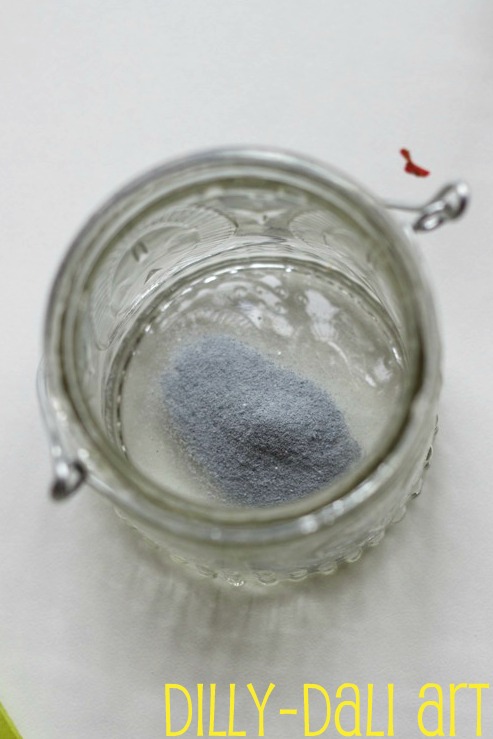
a tiny bit of paint powder goes a long way.

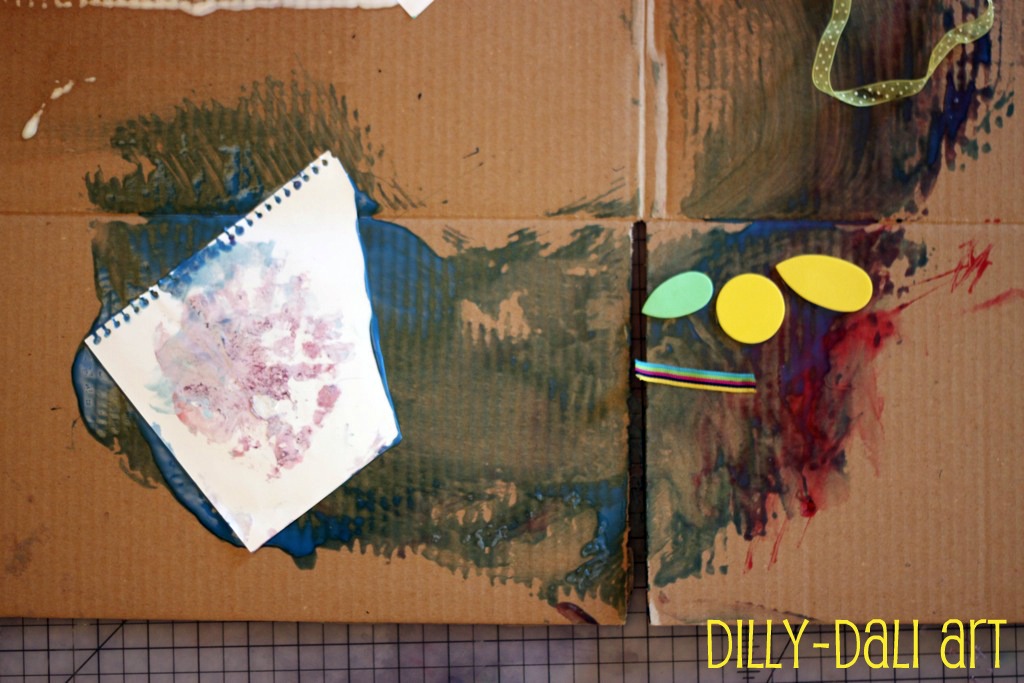
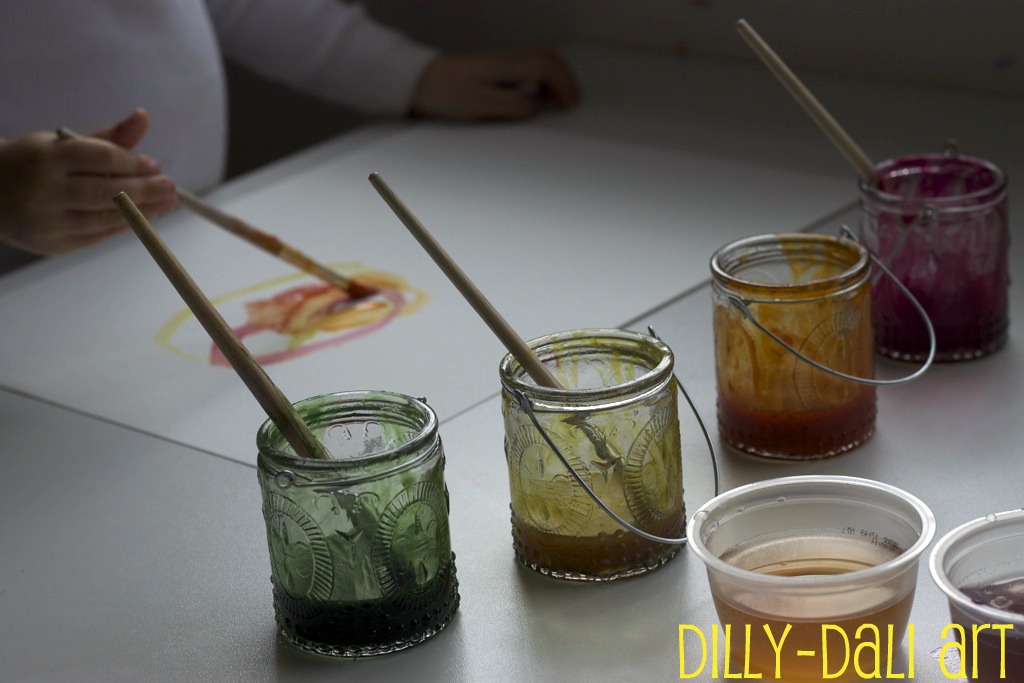
We also tried the paint a bit thicker.
I mixed the rest of the powder with about 1.5 tbsp of water.
The consistency was a tad thinner than fingerpaint.

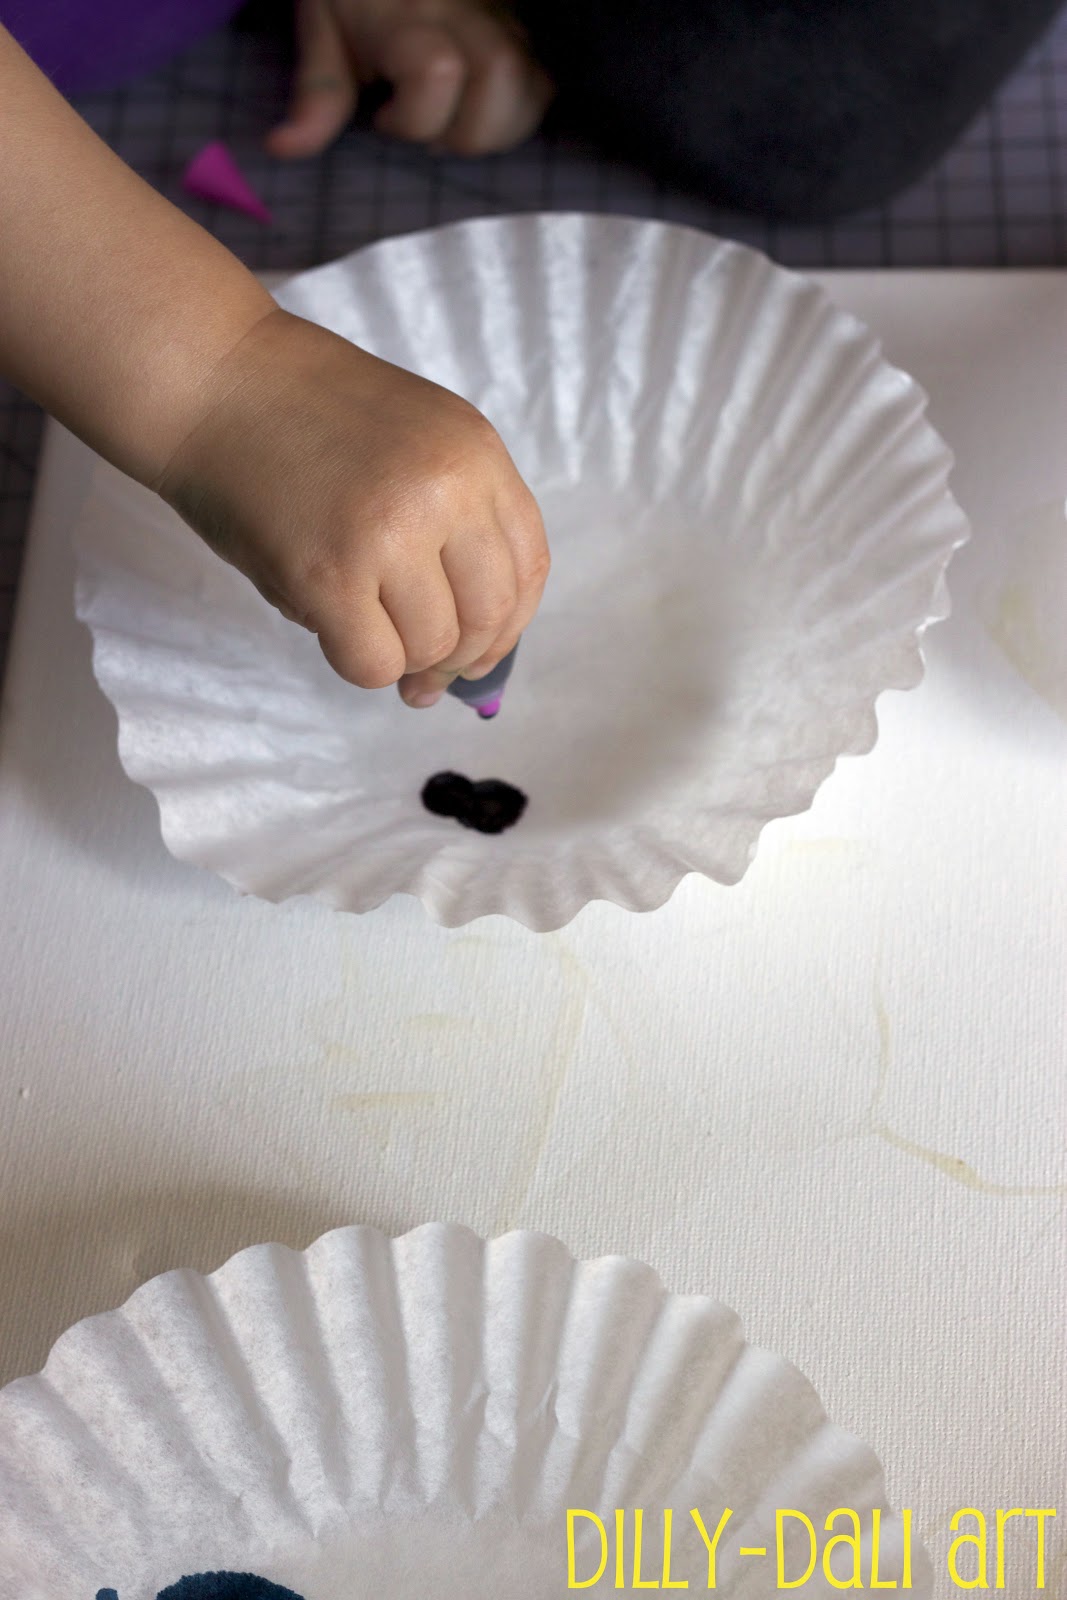
Little A practiced painting circles,
her new favorite thing to do.
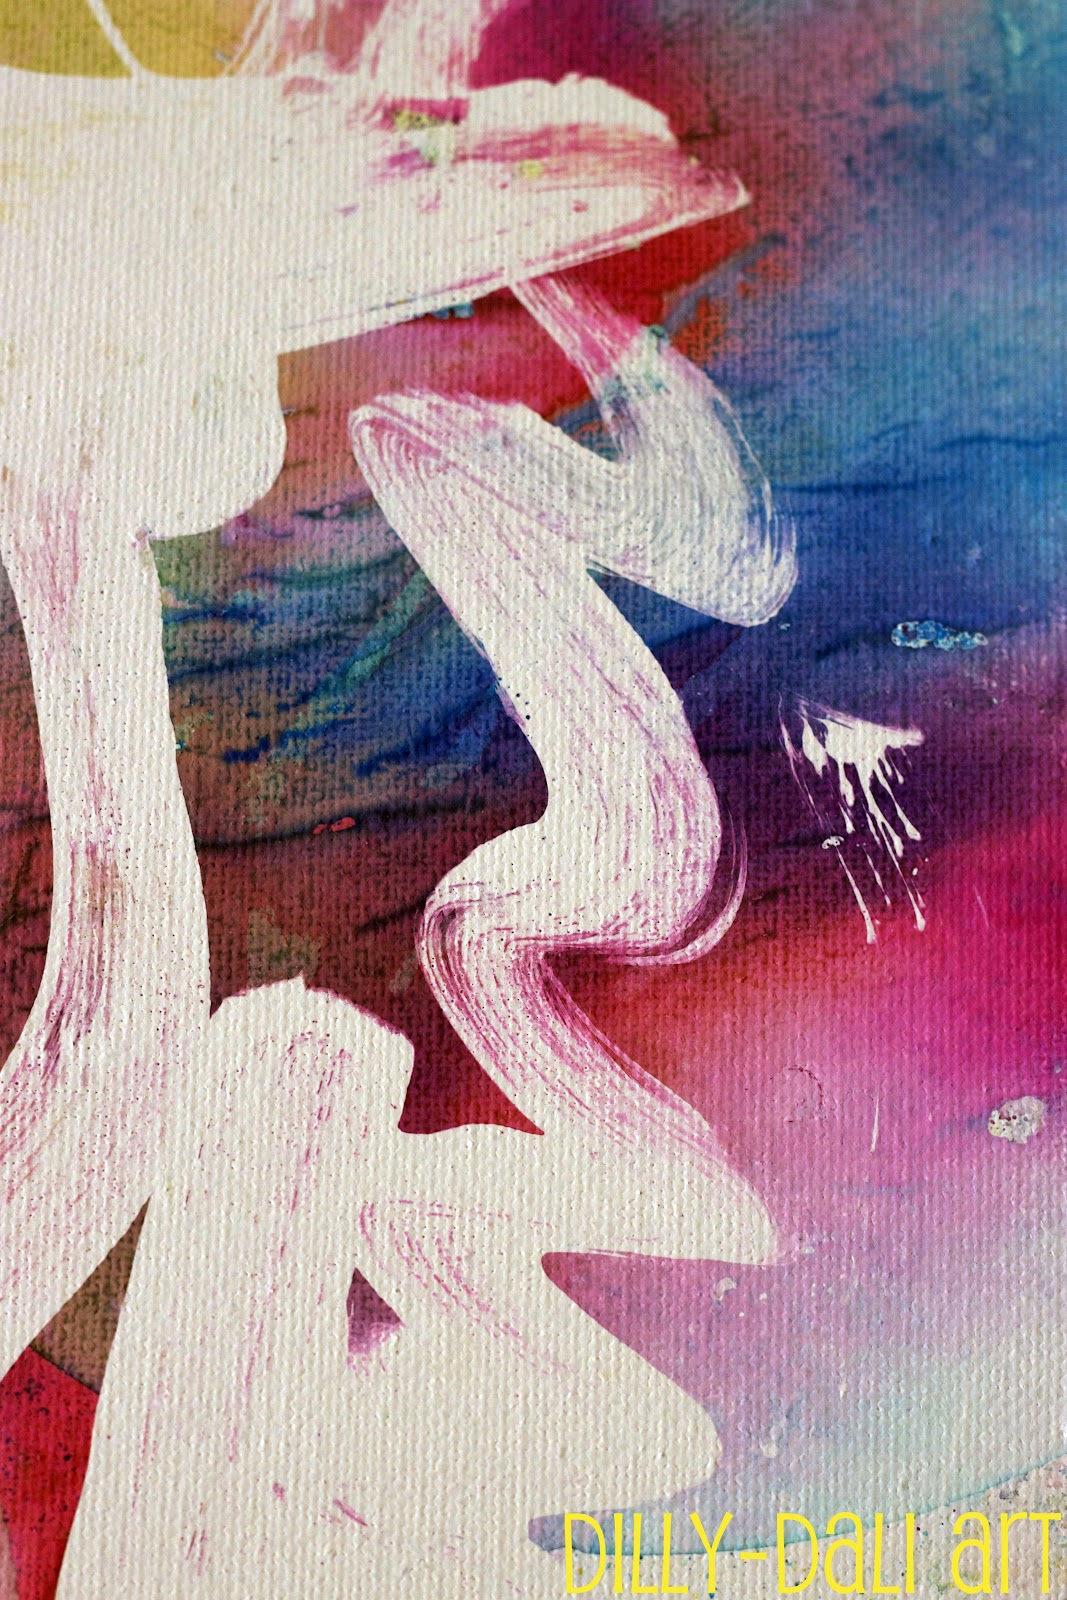
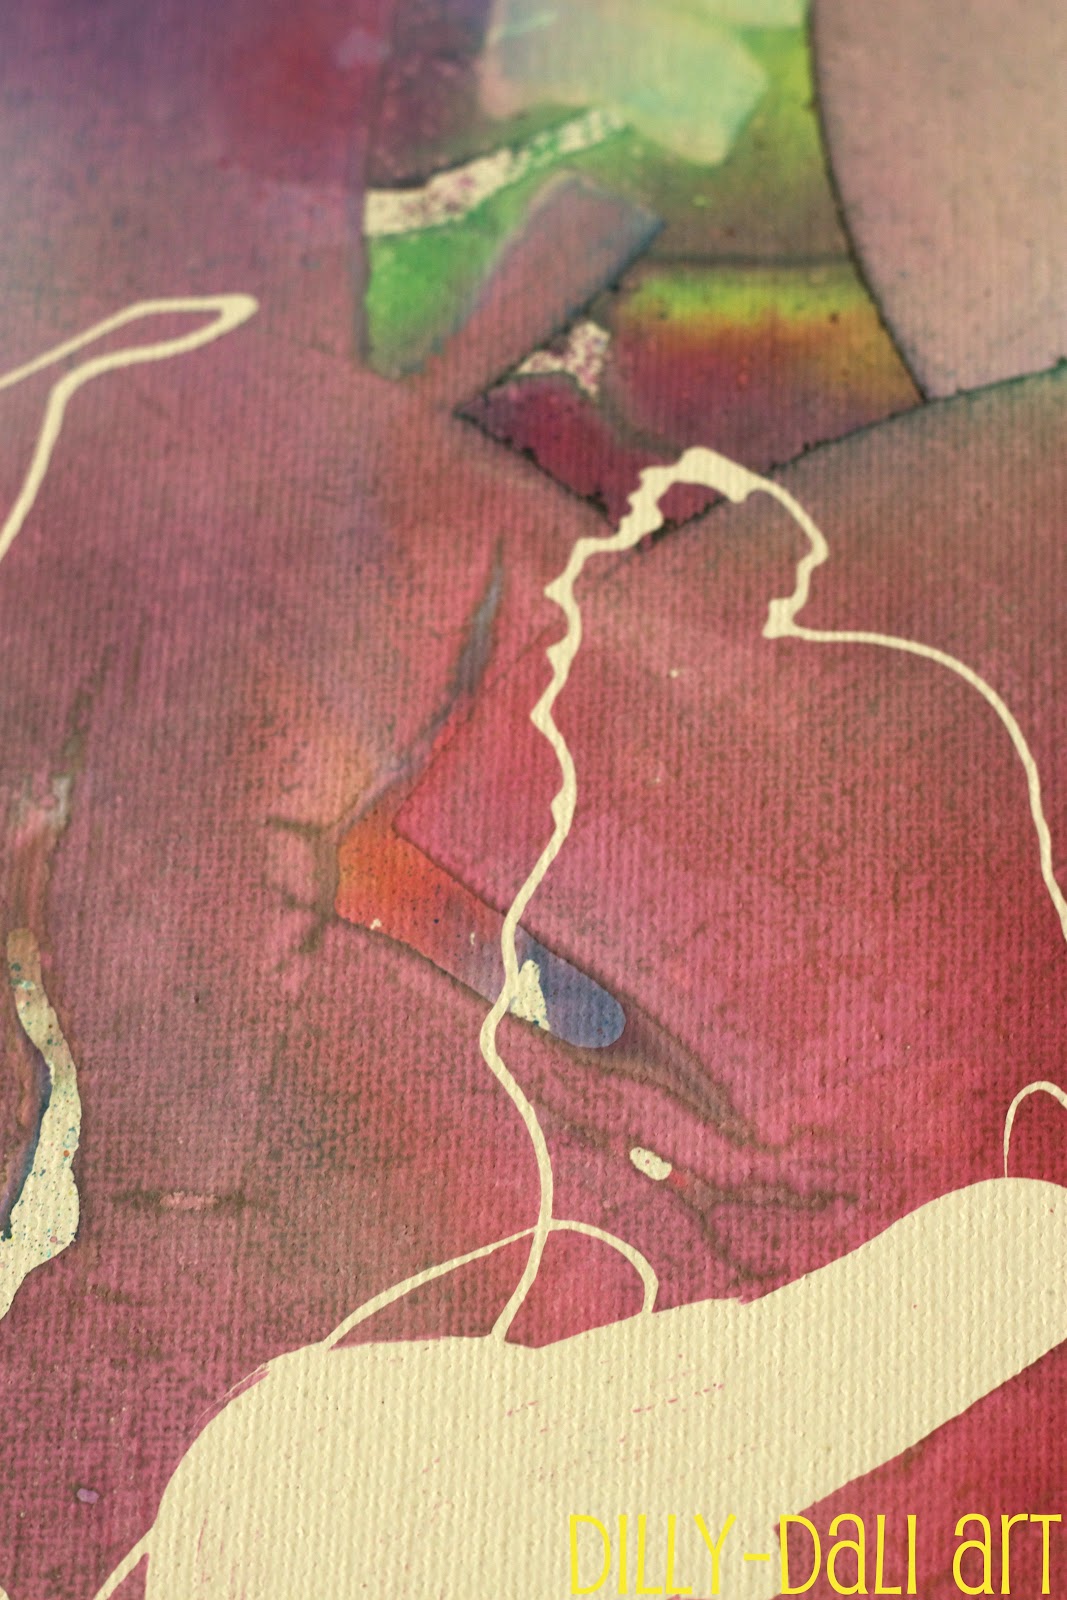
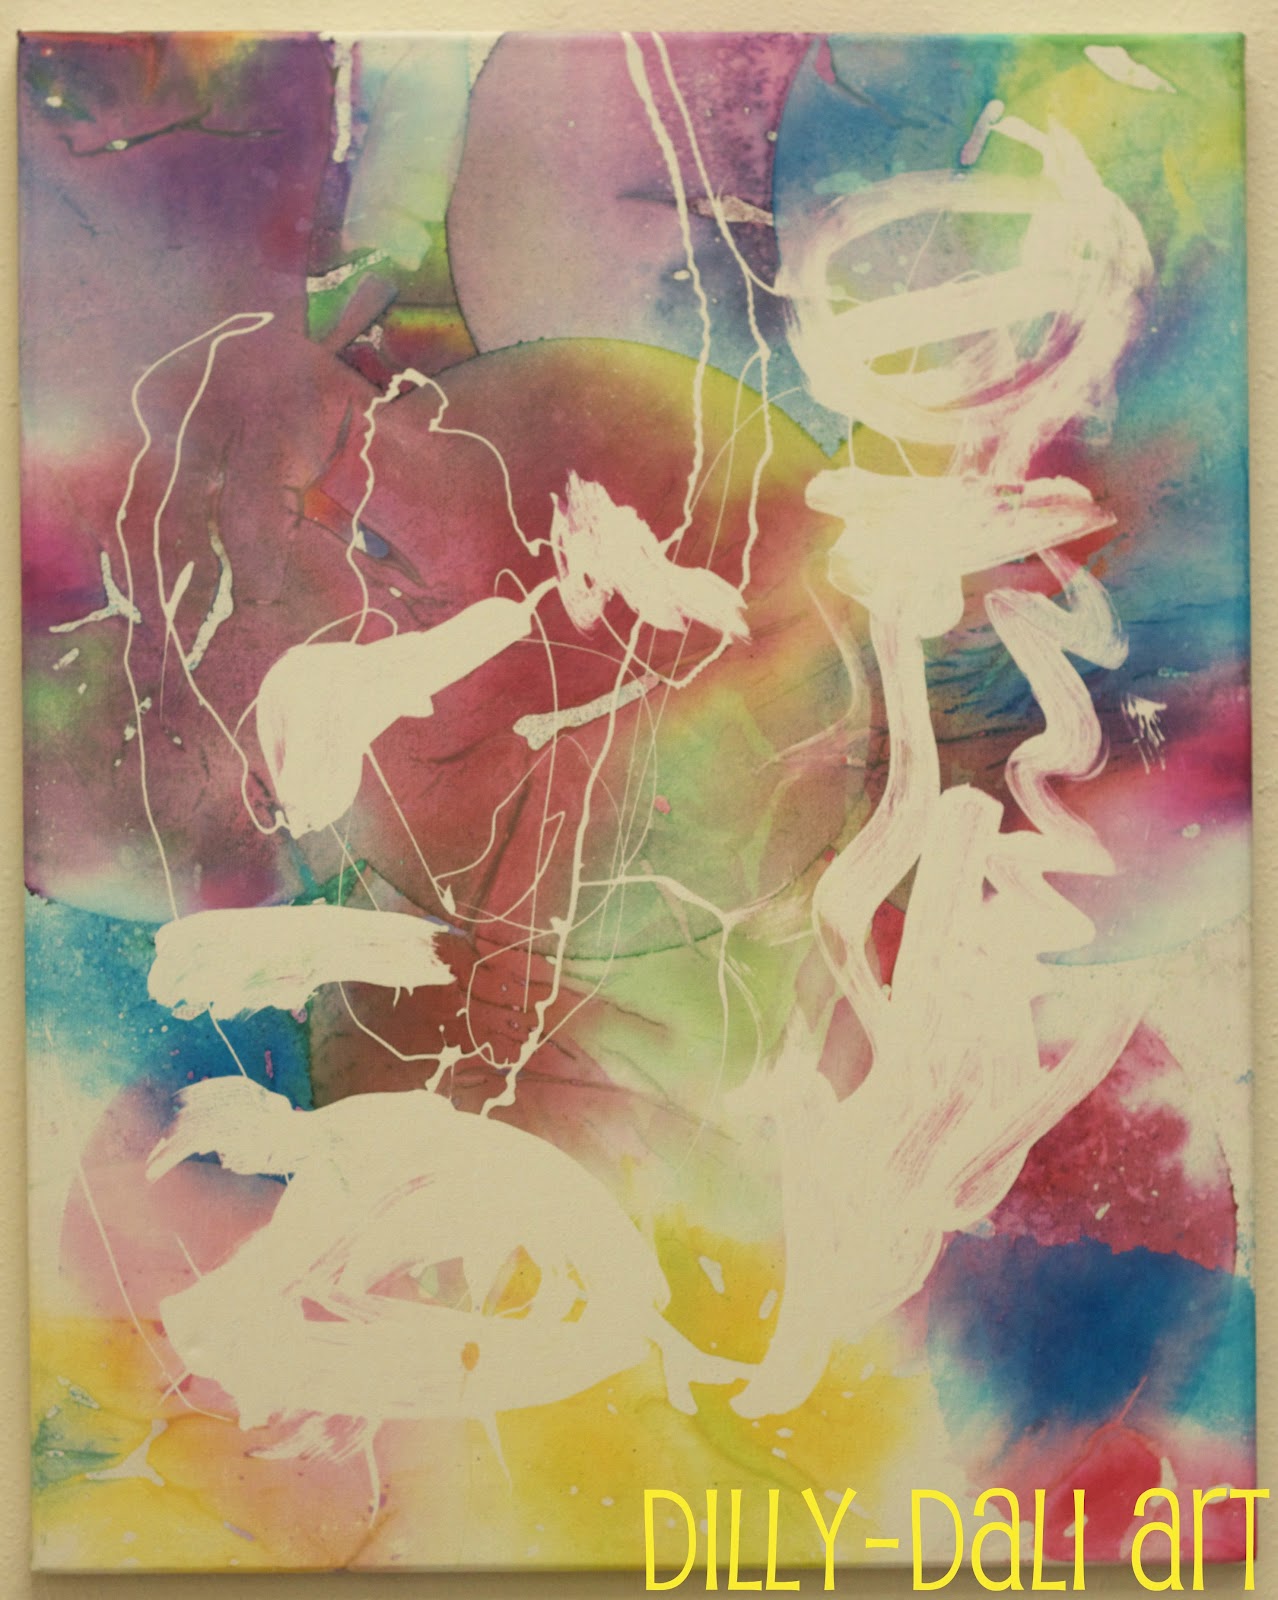
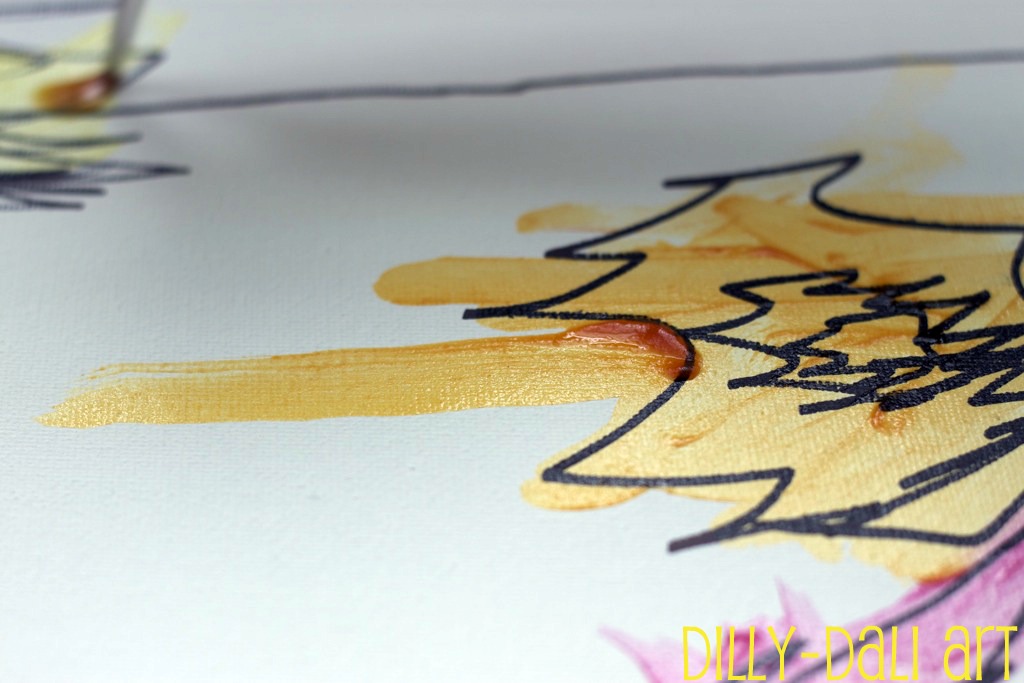
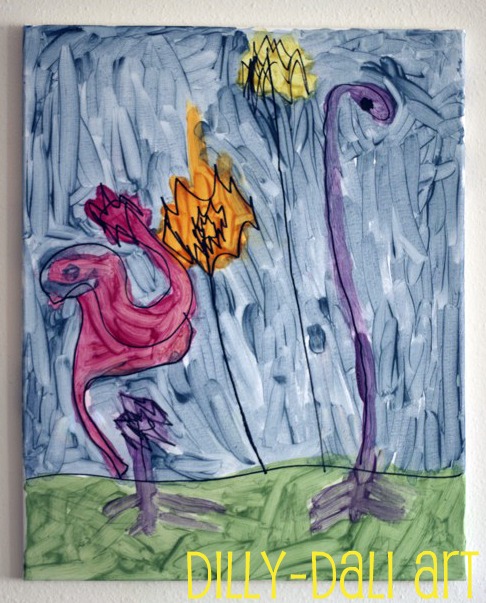
Miss C used a permanent marker to draw a garden on a canvas and then painted it in.
I love how transparent the paint is, the permanent marker shows right through
 Here's her finished piece hanging up.
The red flower is a "duck flower"
and the purple flowers have their roots dug deep into the ground
Every time she passes this painting, she tells me it's moving.
 I've been informed by Glob that the paint is not archival quality,
however,
if you keep the art away from direct sunlight you will be able to enjoy it for years to come!

I also want to point out that even after painting a 16"x20" canvas and about a hundred million pages of circles we still have paint left over 
and 
(thanks to food preservatives)
 the leftover paint does not need refrigeration!

Keep in mind, it is best to only use as much paint as you need.
The fresher the paint, the more vibrant it is.

--------------------------------------------------------------------
Giveaway!
Here's your chance to win a 6-pack of Glob Natural Paints!
(open to US residents only)
Contest starts 3/30/2012 and ends 4/7/2023 at 12am EST
Winner will be chosen through random.org


Thank you all that entered!
The winner has been announced 
here

Mandatory

Leave me a comment and tell me
 why using natural art products is important to you
(You MUST include a valid email address so that I can contact you if you win!)

Extra Entries
(leave as separate comments)

Like Dilly-Dali Art's Facebook page

Like Glob's Facebook page
(Don't forget to thank them for this chance to win!)

Follow Glob on Twitter @globiton

Pin this photo
(share the pin url in the comments)
Good luck!!
Photobucket


*** I received a 6-pack of Glob Paint for the purpose of this review. ***
***All opinions expressed are my own. I did not receive any compensation for this post.***

3.20.2012

Gelatin Plastic Rainbows {Two Ways}

I'm on a rainbow kick lately,
I can't stop thinking about rainbows!
Whenever I'm on Pinterest, I'm pinning rainbows.
I have a few rainbow posts,
here, and here, and also here
and don't forget
this one and finally this one

Since you can never have too many rainbows,
we made a couple more!
This time, using plastic made from unflavored gelatin
You can find out how to make the gelatin plastic
(all you need is unflavored gelatin packets, water, and coloring)

I poured the gelatin into trays and set it aside to dry over the weekend

Rainbow Sun Catcher
I cut part of the dried gelatin into little rectangles and punched a hole in the top of each piece
Threaded them on fishing line with some beads
gathered all the fishing line together
tied it in a knot at the top
and hung it in the window
It looks amazing with the light shining through it!

Rainbow Collage
While I was working on the sun catcher, Miss C cut up the rest of the gelatin
I taped contact paper on the table
(sticky side up)
and placed one of each color in order of 
ROYGBV
to help get the girls started.
In no time at all, lines of color started to form.
It was so wonderful to watch the girls excited about matching the colors
and finding just the right spot for the oddly shaped pieces.
Especially Little A, 
who is 2.5 and not particularly interested in anything for more than a few seconds at a time.
When they were finished they had a rainbow collage!
I covered it with another sheet of contact paper
and 
taped it to our back door
 Such a cheerful way to welcome spring into our home!

Are you doing anything special to welcome spring?
Photobucket

Happily shared with
Kids get crafty
The Sunday Showcase

3.16.2012

Rainbow Bead Pendant

We've been playing with beads, buttons, and wire lately
and I felt inspired to create a pendant for C

Here's how I did it!

I bent a length of wire in half
(any length you want!)
and twisted a little loop in the top
 I slid my first bead on to one of the wires
 and twisted the wires together underneath the bead
I kept putting beads on and twisting until I had a rainbow! 
Then I took the end of the wire and threaded it through the top loop
making a circle 
Bend the end wire down into a loop and twist it around to secure
Voila! You have a simple rainbow pendant!
Photobucket

3.14.2012

Abstract Art


 C just recently finished a piece of abstract art for my husband's birthday
and she had so much fun,
 all 3 of us decided to work on one together!

The girls started off by dripping and brushing rubber cement all over a canvas
When the rubber cement was dry
 I placed a few coffee filters on the canvas
we dripped food coloring onto the filters
then sprayed them with water until the edges began to fall
(It doesn't take much water for that to happen)
When the coffee filters are dry their edges will be pulled off the canvas
and they should be easily removed.
If not, then they're probably still a little damp.
 Start the process all over again layering more coffee filters over the canvas
Repeat until you have an amazing design that you love!
We did it 3 times

This was such a fun process, with beautiful results!
I was thinking that maybe we didn't really need the rubber cement resist
but when we rubbed it all off we found lovely brush strokes where a bit of the coloring bled through
The layering of the coffee filters really added nice depth to the picture as well as creating neat little lines of mixed colors
 Here's our finished piece of work,
Since we used the same food coloring that was used to create the other piece
they go together nicely
I see an abstract flower on the right side, do you?
 And as a bonus, we now have dyed coffee filters to use for another project!

Photobucket

3.08.2023

Process Art {Collages}


This is a post I was debating on publishing.
Then I realized that just maybe,
 I'm not the only one this has happened to
and
just maybe,
 you think you're the only one.

This is a post about collages
and
letting go of expectations.
I was really excited about this process art post,
I've been saving doodle paper for weeks waiting to cut it up and turn it into something new.

I was expecting this project to be exciting to the girls
I was expecting them to know what to do
I was expecting this activity to last an hour or two
Guess what,
none of that happened.

When I set everything out C seemed excited.
She started cutting the paper 
then, she asked me to cut the paper into squares for her.
She brushed some glue onto the cardboard
slapped on the little squares
and said,
DONE! 
That took about 5 minutes.
I bit my tongue.
I wanted to tell her she wasn't done
I wanted to tell her that she did it too fast
but I didn't.

Instead,
 in an attempt to extend the activity a little longer,
I brought out a few other collage materials.
Shapes, sequins, ribbon, yarn and feathers.

I sat down beside her
and
 we created together.
As we worked side by side
I noticed C paying careful attention to what items I used and how I used them,
she was very curious about why I was doing what I was doing.
By the time she was done, her collage looked very similar to mine 
(in the first picture)
Total time spent on this project,
10-15 minutes.
C's collage
A's collage

Creativity takes practice.

I had to let go of my earlier expectiations
Letting go helps me to step back and realize
the more I bring the materials out,
the more C will be willing to explore with them.
The more she explores, the more exciting it will be for her.
The more exciting it is for her, the more she will want to spend time on it.

The collage is now an ongoing project.
Since we started it on a cardboard box, 
I was able to fold it neatly in half and set it aside 
ready to be brought out when we want to add to it.

How do you encourage your child to explore a new material or technique?


Lilypie Third Birthday tickersLilypie Fifth Birthday tickers