5.15.2011

Bug Plant Markers

I was going through old issues of FamilyFun magazine saving crafts that I like and saw this cute craft:
Beneficial Bugs
I've been saving the caps from milk cartons so I was excited to find something I could make with them that would be adorable and useful at the same time
This is a quick, easy craft you probably already have most of the materials for
and if you don't,
just improvise.

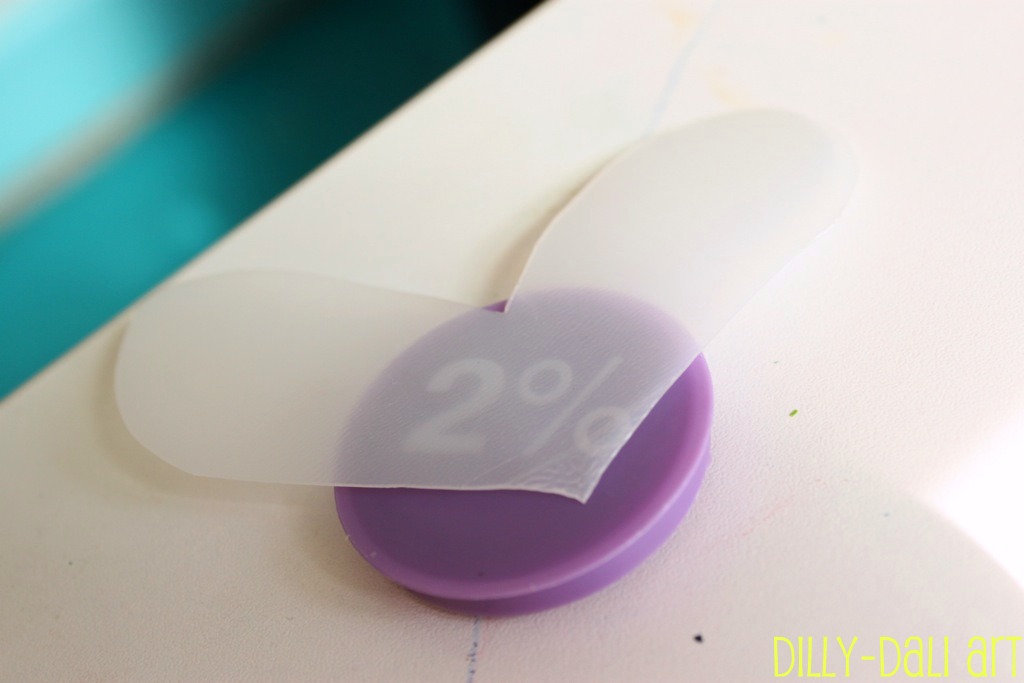
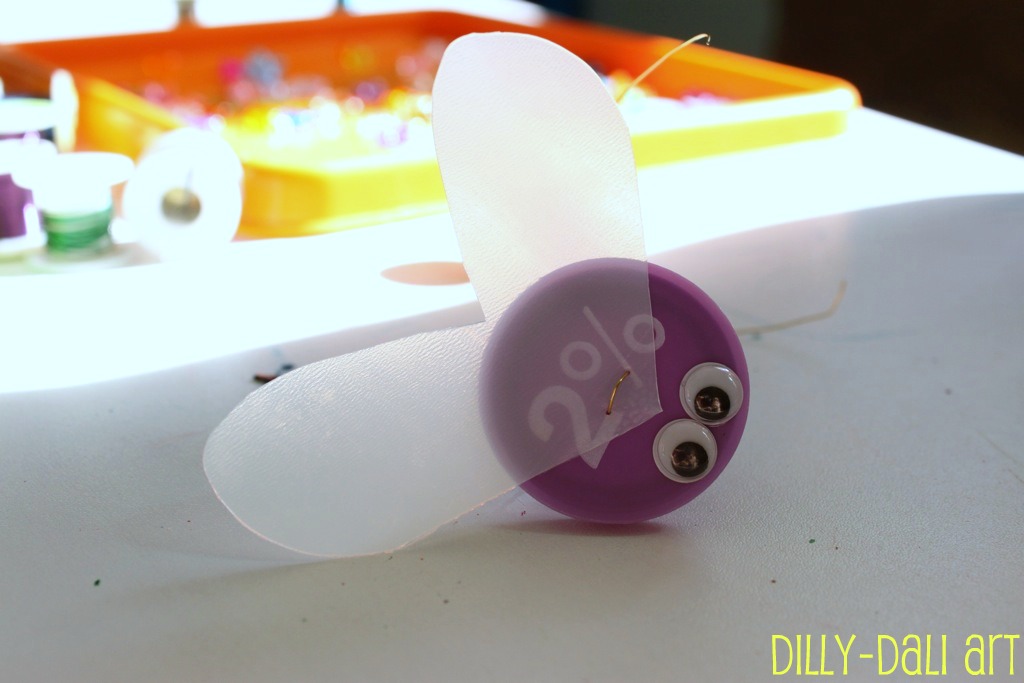
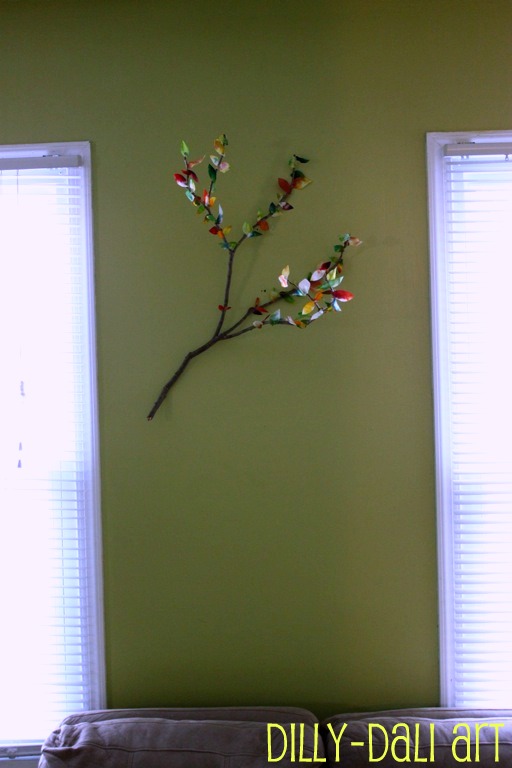
First cut a heart shape out of the actual milk carton for your wings
if you want to paint the cap do it before putting the wings on

Poke holes through the wings and cap

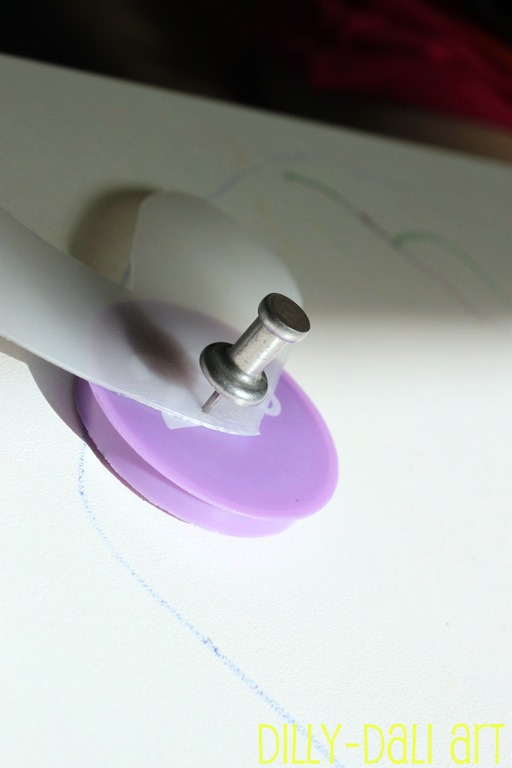
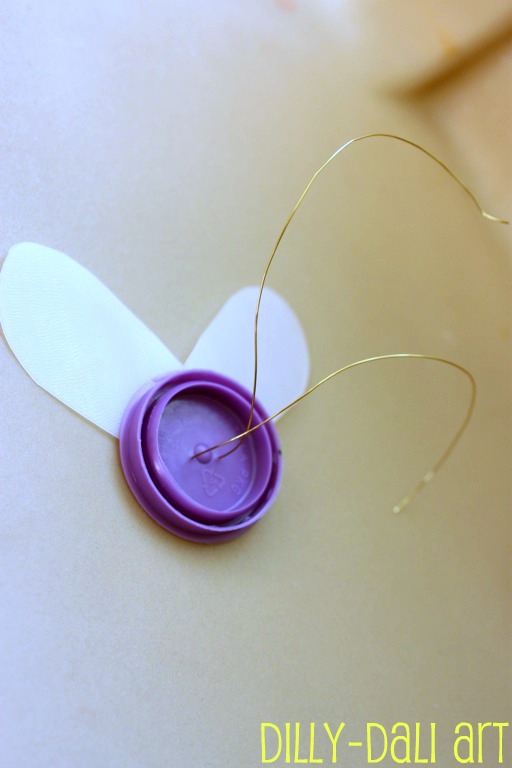
Attach the wings by threading wire through the holes

Add some eyes!
FamilyFun suggests using foam for eyes but google eyes work perfectly
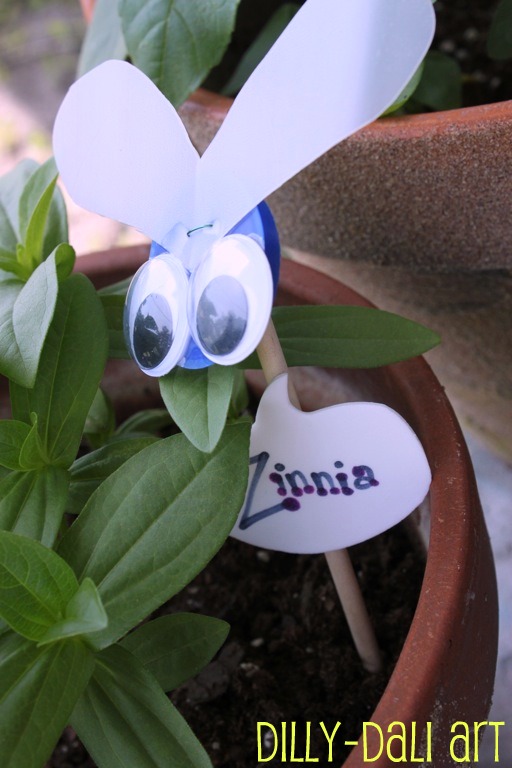
I even gave one of my bugs oversized eyes for a whimsical look

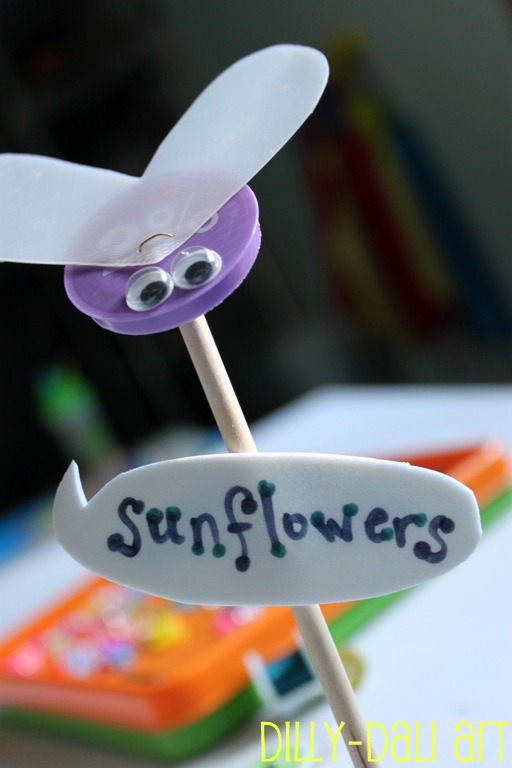
I wrapped the excess wire around wooden dowels and put them in our sand covered pots.
The labels are just foam cut into the shape of speech bubbles, written on with permanent markers and taped onto the dowels

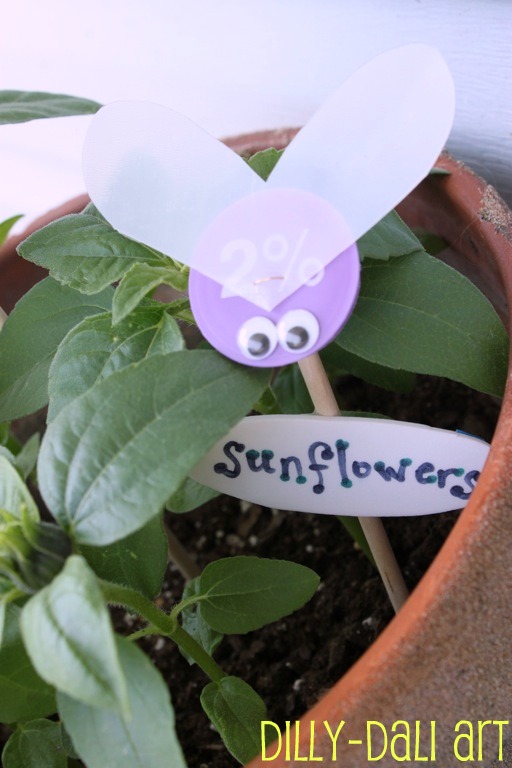
Looks like we'll have a sunflower soon!


Happily shared with
It's Playtime


5.09.2023

Displaying Artwork

If there were rules for displaying children's artwork I'm sure I would be breaking every single one of them.
I like instant gratification and since I don't keep a stash of mats or frames on hand I'd have to wait until I bought some to display artwork that way.

I'm a stapler
and
nailer

As soon as a piece of work is dry enough it finds a lovely spot on the wall 
and 
the very edges get stapled down
I have plenty of space on my walls and plenty of artwork to display
If I framed the pictures I wouldn't be able to fit as many pieces on my wall
the more the merrier!
Let me make this clear though
 I don't display EVERYTHING they do
I only choose a few out of the bunch
I figure the staple holes are small enough and close enough to the edge that if I ever did buy frames for every piece 
(I'd be broke)
 that the frame and mat would cover up the holes.

Let's take a little tour...

I decided to display the tall paintings in the studio...I had initially wanted to hang them upside down on the ceiling but like that they look like they're dripping down the wall


In the kitchen by where we eat there is plenty of room for more pictures!

A nice wooden (used to be shelf) painting over the doorway from living room to kitchen

One side of the living room

Other side of the living room
saw this idea here at Turning a House into a Home
(I'll hang a frame around this so it doesn't look so off-centered)

Down the hall

Other side of the hall

A wall in my room

The beginning of another wall in my room

A few of our walls are dedicated to photos but I like art everywhere
I'm going to keep displaying until I can't find room

If stapling artwork to the walls makes you cringe then you should check out these other posts about displaying/storing artwork

The Artful Parent~Organizing and Storing Maia's Art
Child Central Station~Nurturing Your Inner Artist
hands on : as we grow~Stamped Heart
Art For Little Hands~How to Store and Display your Children's Artwork

and if you have your own post please share with us in the comments!

5.08.2023

Mother's Day Tree Cans


 I didn't get any surprise gifts for Mother's Day from the girls since they are with me 24/7
so I decided to help them make me something.
I like wind chimes and don't nearly have enough of them
but I do have tin cans.

So I poked holes into the tops of the cans
let the girls draw all over them with Sharpies
and thread yarn through the holes
(I tied the knots)
C cut the yarn to the length she wanted

I strung them up to the tree we hang out under
they were just the right height for the girls to be able to reach
Who would've thought that plain tin cans strung up in a tree would be so much fun
and the 'clink' mixed with laughter is music to my ears


I plan on adding to the tree every time we use a can

Simple and fun
I couldn't have asked for anything better

5.06.2023

Experimenting: Pour Painting

Tall paintings seem to be trending at the moment
They were popping up all over my news feed on Facebook
I had initially saw tall painting on MaryAnn F. Kohl's blog
(BTW, if you don't know who she is you need to)
then I saw it here on Teacher Tom's blog
then it was like a massive tall painting bomb exploded all over Facebook
I couldn't even tell you where it started from because everybody was posting and reposting 
I had decided (after seeing it the first time) that I wasn't going to try with the girls because I didn't think they were old enough
but 
I broke down and decided to give it a whirl
and we gave it a little twist

So I bought foam-core board and wanted to cut it into neat little squares because I wanted to have mini tall paintings to display in the house or give to grandparents
I'm pretty sure I'm the worst foam-core board cutter in the world
If you do this use a metal ruler!
Someone somewhere (if you know who let me know so I can link up) suggested using interior house paint
All the other posts seem to have used a thickened tempera
I really didn't want to do that
when I saw the house paint idea a lightbulb clicked in my head
my garage is leftover house paint heaven
I love to paint walls
(easiest way to change the mood of a room!)
so I have a lot left over from various projects and have the perfect colors from a playroom I did many moons ago
I had disposable cups on my shopping list but somehow forgot them 
so I used these bottles
I think the bottles worked perfectly because they helped keep the paint in long enough for Miss C to position the tip over the top of the block
and
I used styrofoam blocks
I went looking for wood but didn't find any
so I decided to get styrofoam instead
Styrofoam turned out to work perfectly too

Surprise!
We tried a cone too!!
The first comment out of C's mouth was
"It looks like a volcano!"
Surprise again!
We tried 3 styrofoam blocks on one board!
C claimed the tallest one
I did the middle one
Little A did the smallest one
C helped A do the smallest one
:)
I see a face! Do you see it!!??
Wait...now I see a bird!

 The tall paintings were a bigger success than I thought they would be!
I already have plans for a larger scale more permanent display.
We really had fun watching the colors run down the sides onto the board
I think the cone turned out the best because the paint covered the sides really well without using a lot of paint
I can't wait to see what they look like when they dry 
they were still spreading after I took these pictures
I hope you give tall painting a try!

This post linked to:

Play Academy
hosted by
NutureStore

High Paw
hosted by
Best Toys for Toddlers

We Play
hosted by
Childhood 101