
This project started off as an attempt to do melted crayon wax suncatchers
like these:
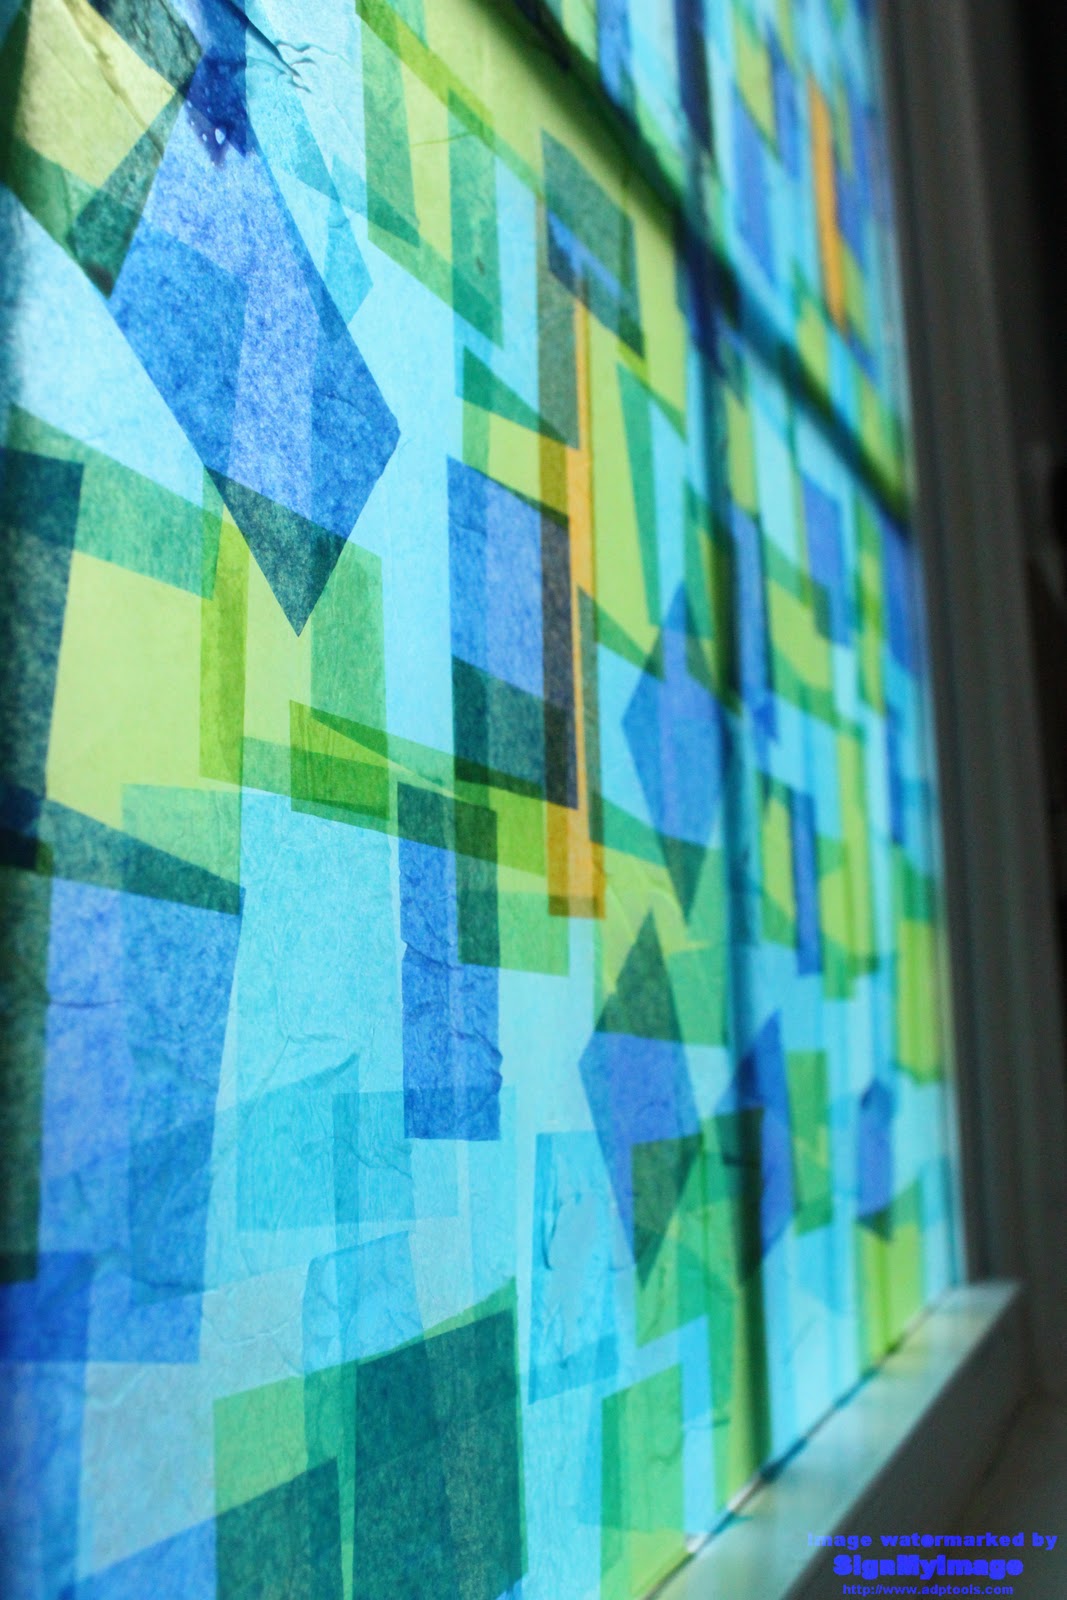
waxing aesthetic
Stained glass hearts for Valentine's Day
Stained glass leaves and jack-o-lanterns
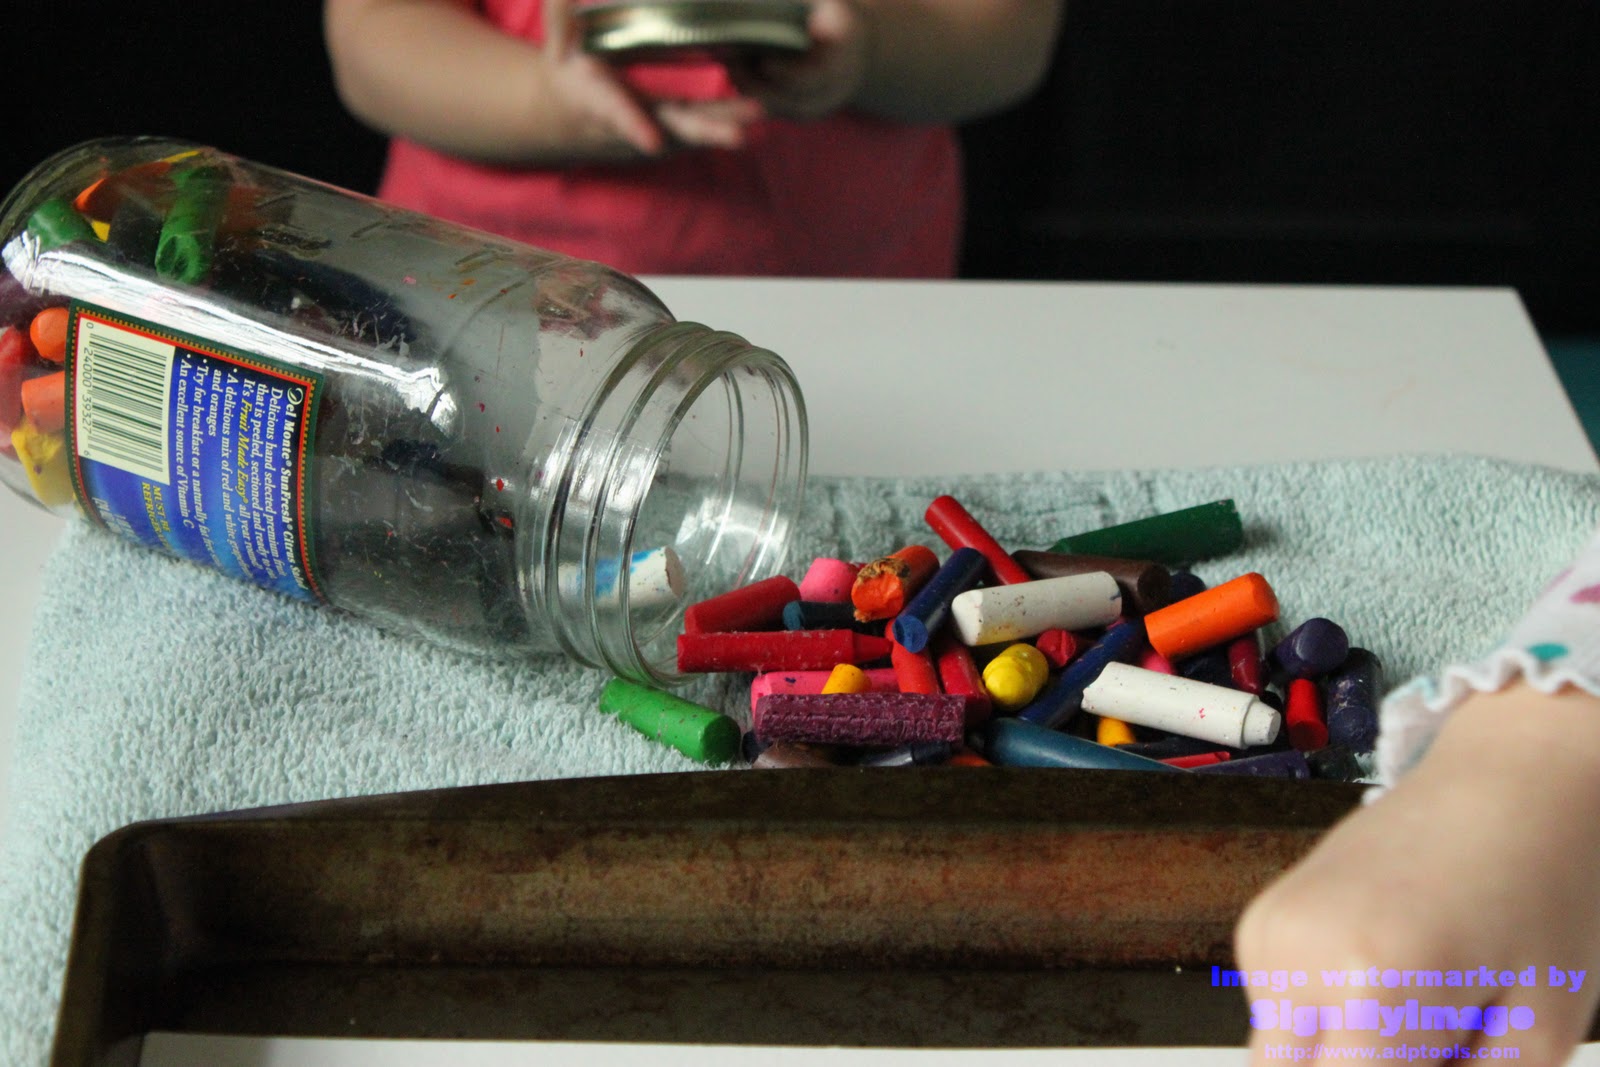
We have about a bajillion broken crayons because C likes to break them instead of draw with them
I have a small rotary grater that I thought would work for making crayon shavings
turns out, not so much.
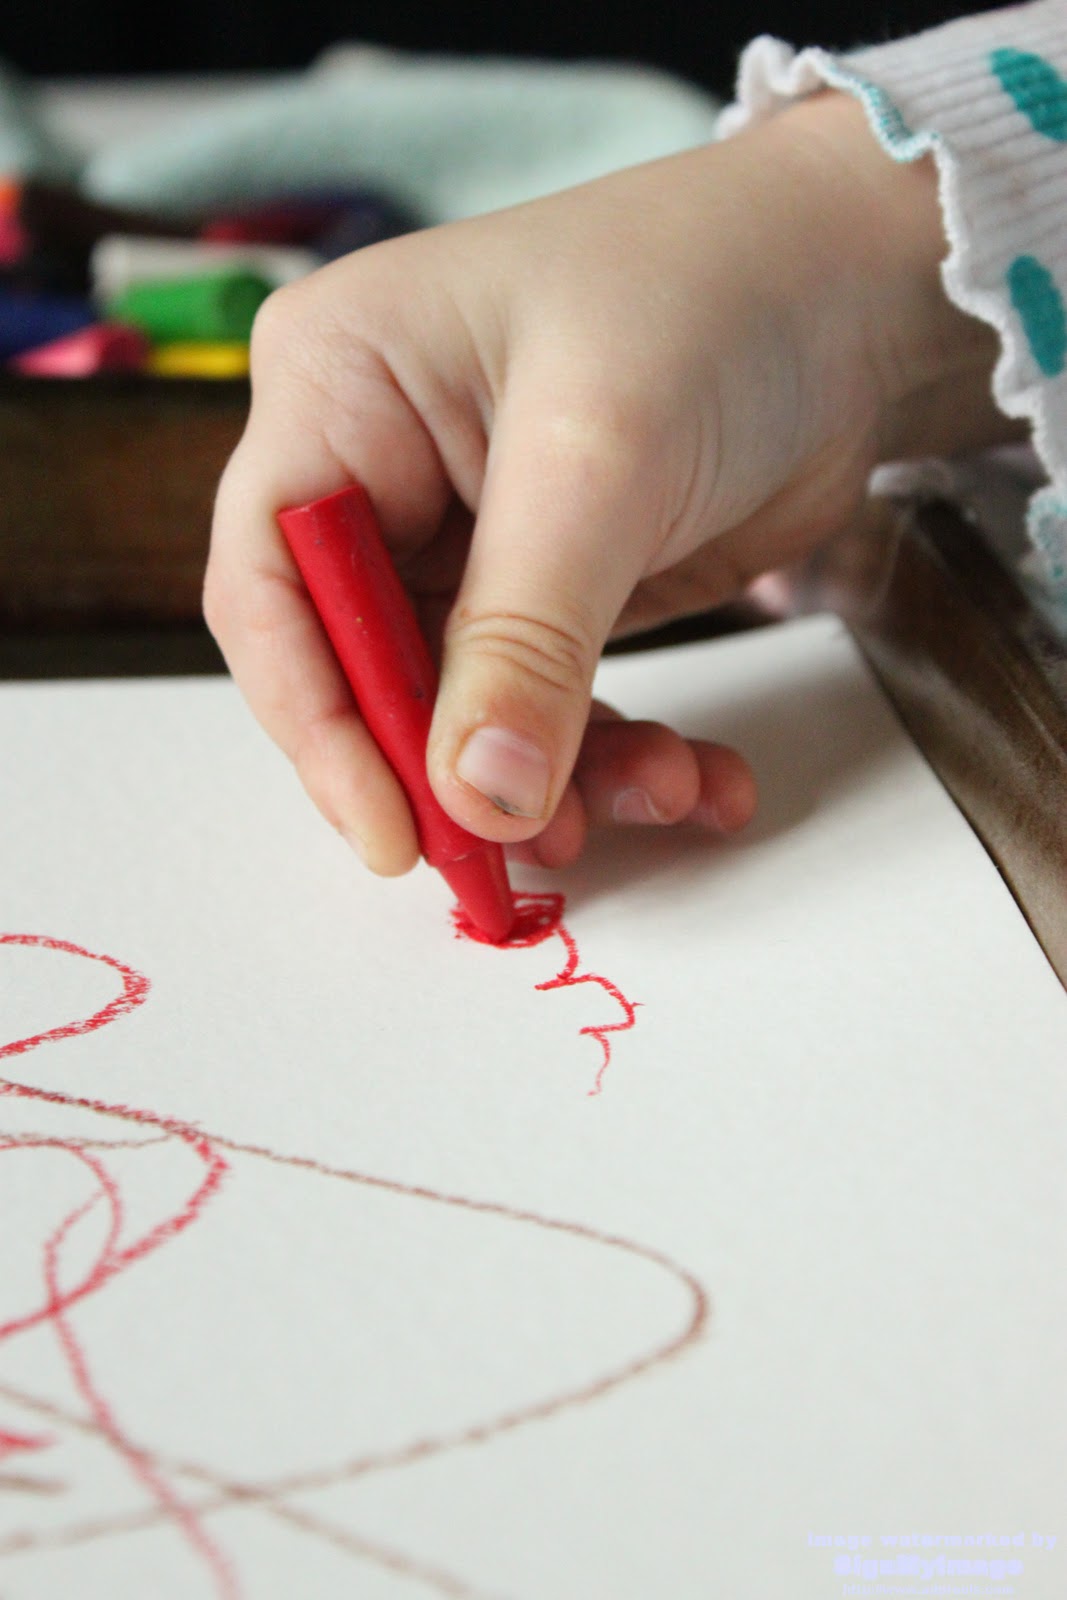
So I decided to try melty crayon drawing
like these:
warming tray + wax = wonderful
Christmas paintings using watercolor resist
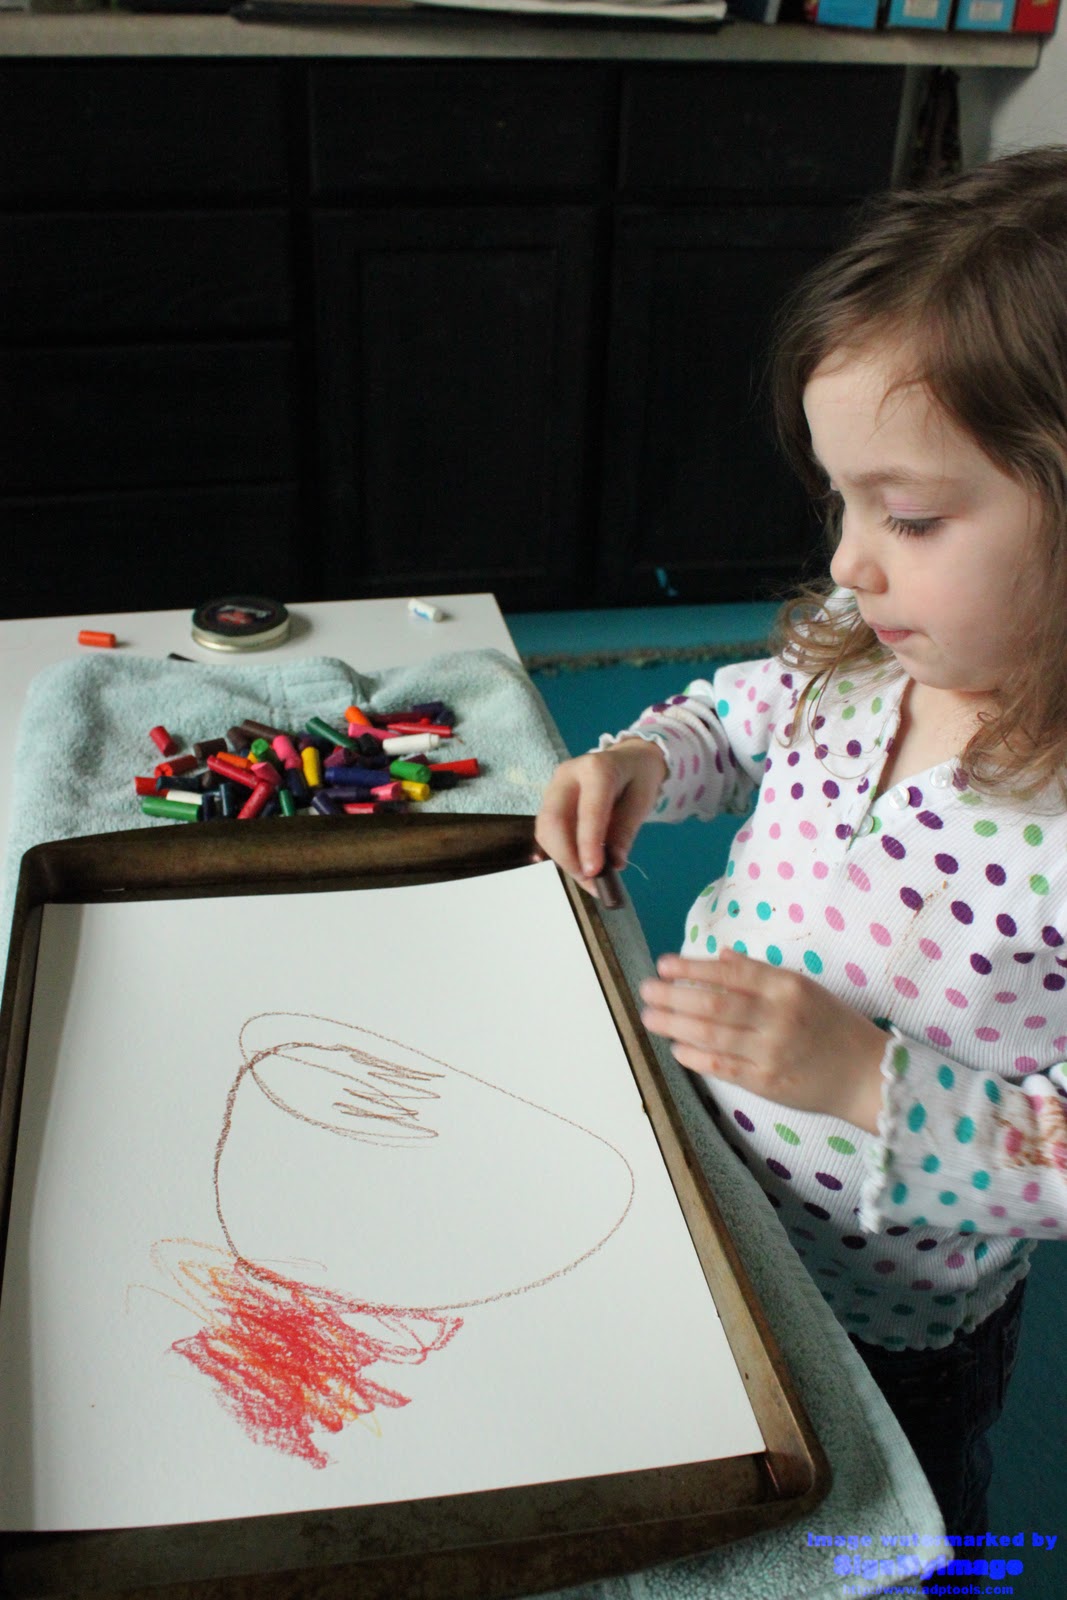
There are some tutorials that suggest using a warming tray so the paper is constantly warm but I don't have a warming tray so I did what The Artful Parent did and put the paper in the oven for a few minutes.
It worked beautifully
 |
| The crayons drew so smoothly with nice thick bold lines |
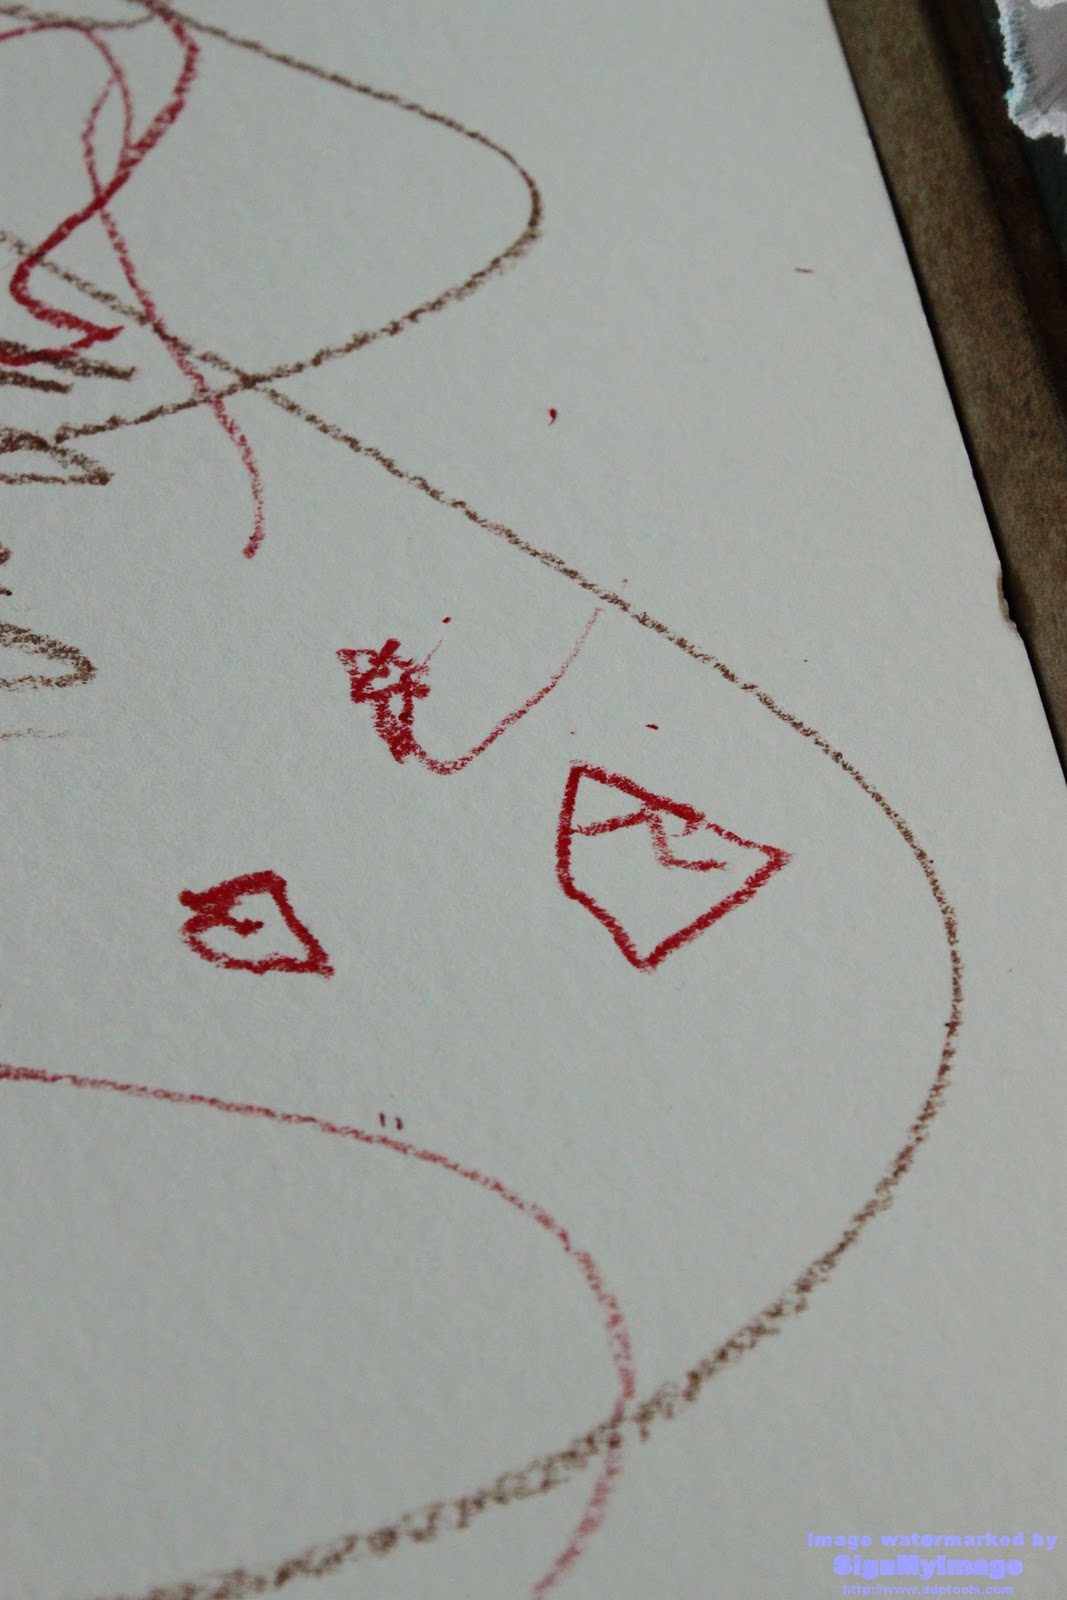 |
| C drew a heart for me and a heart for A |
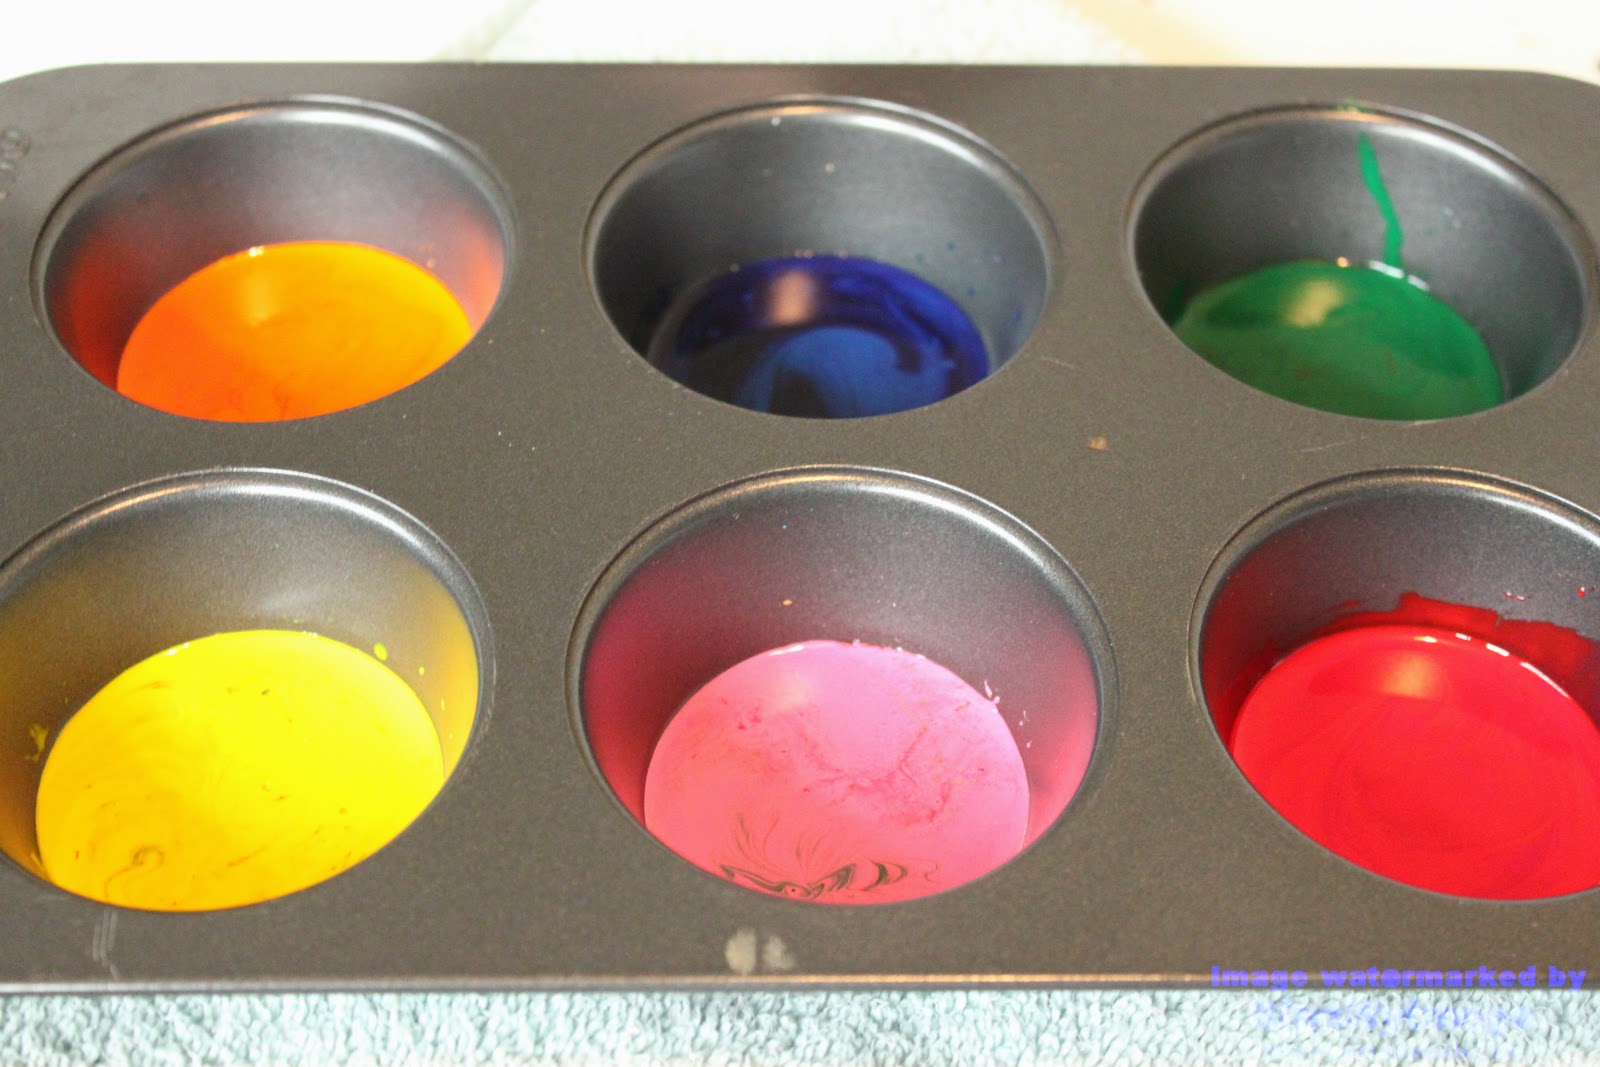
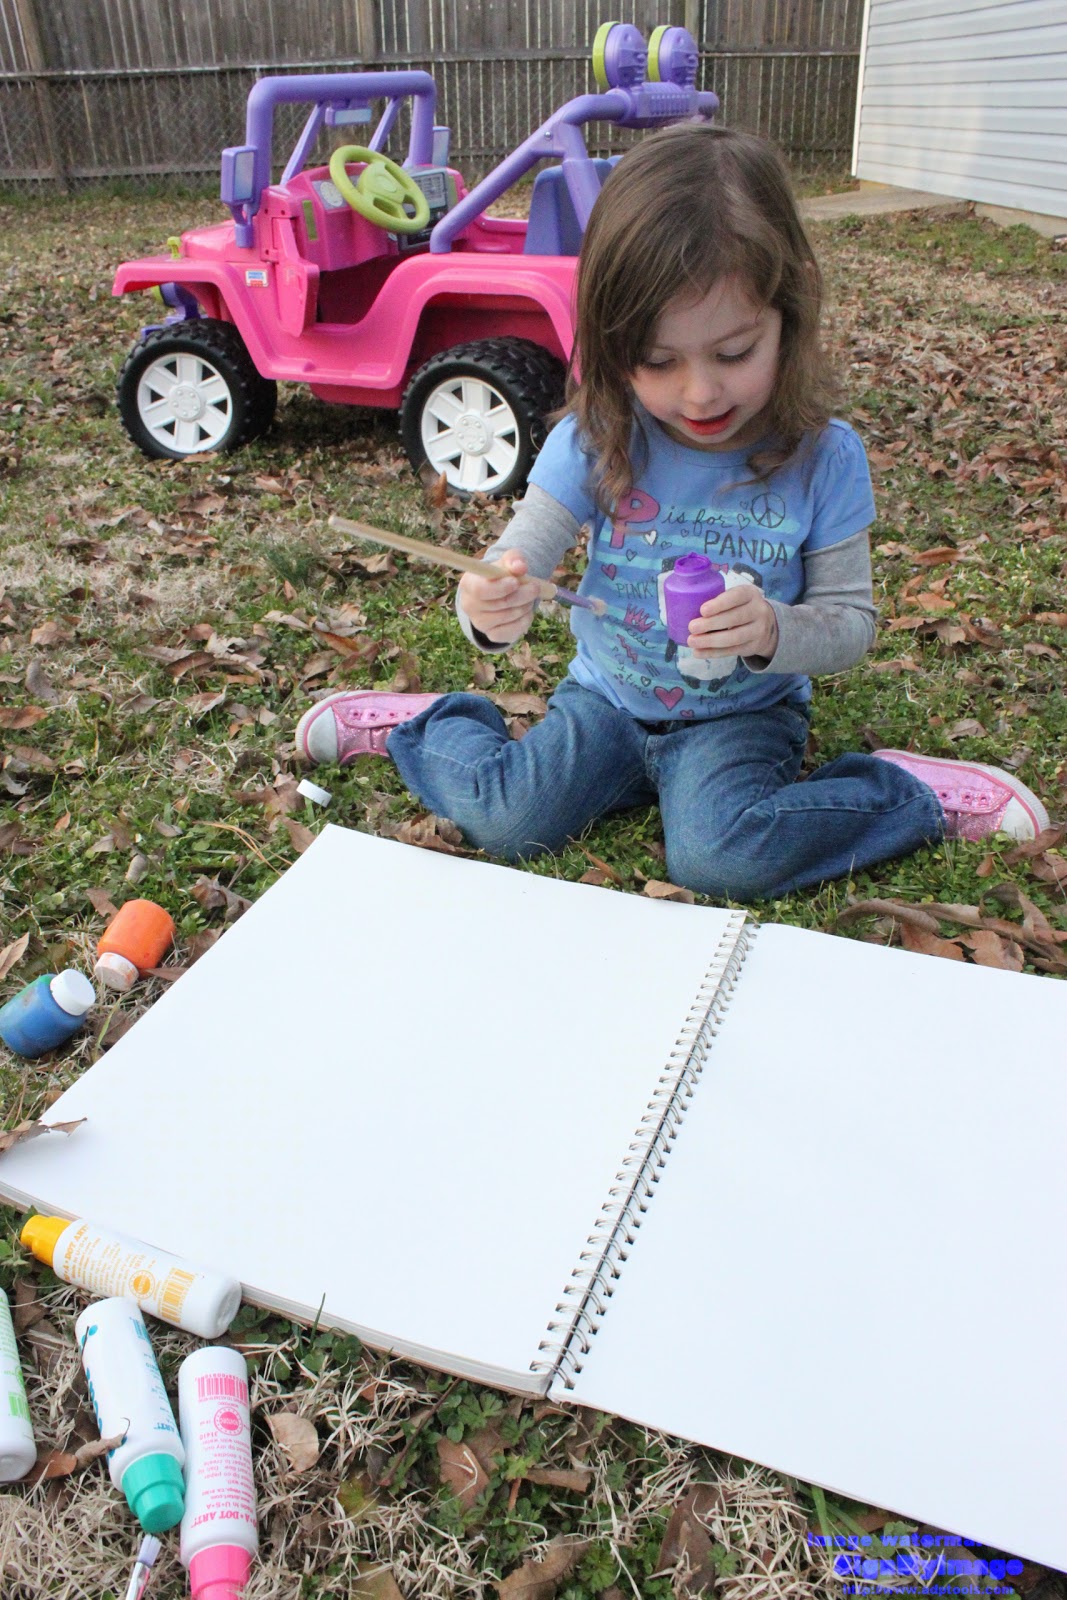
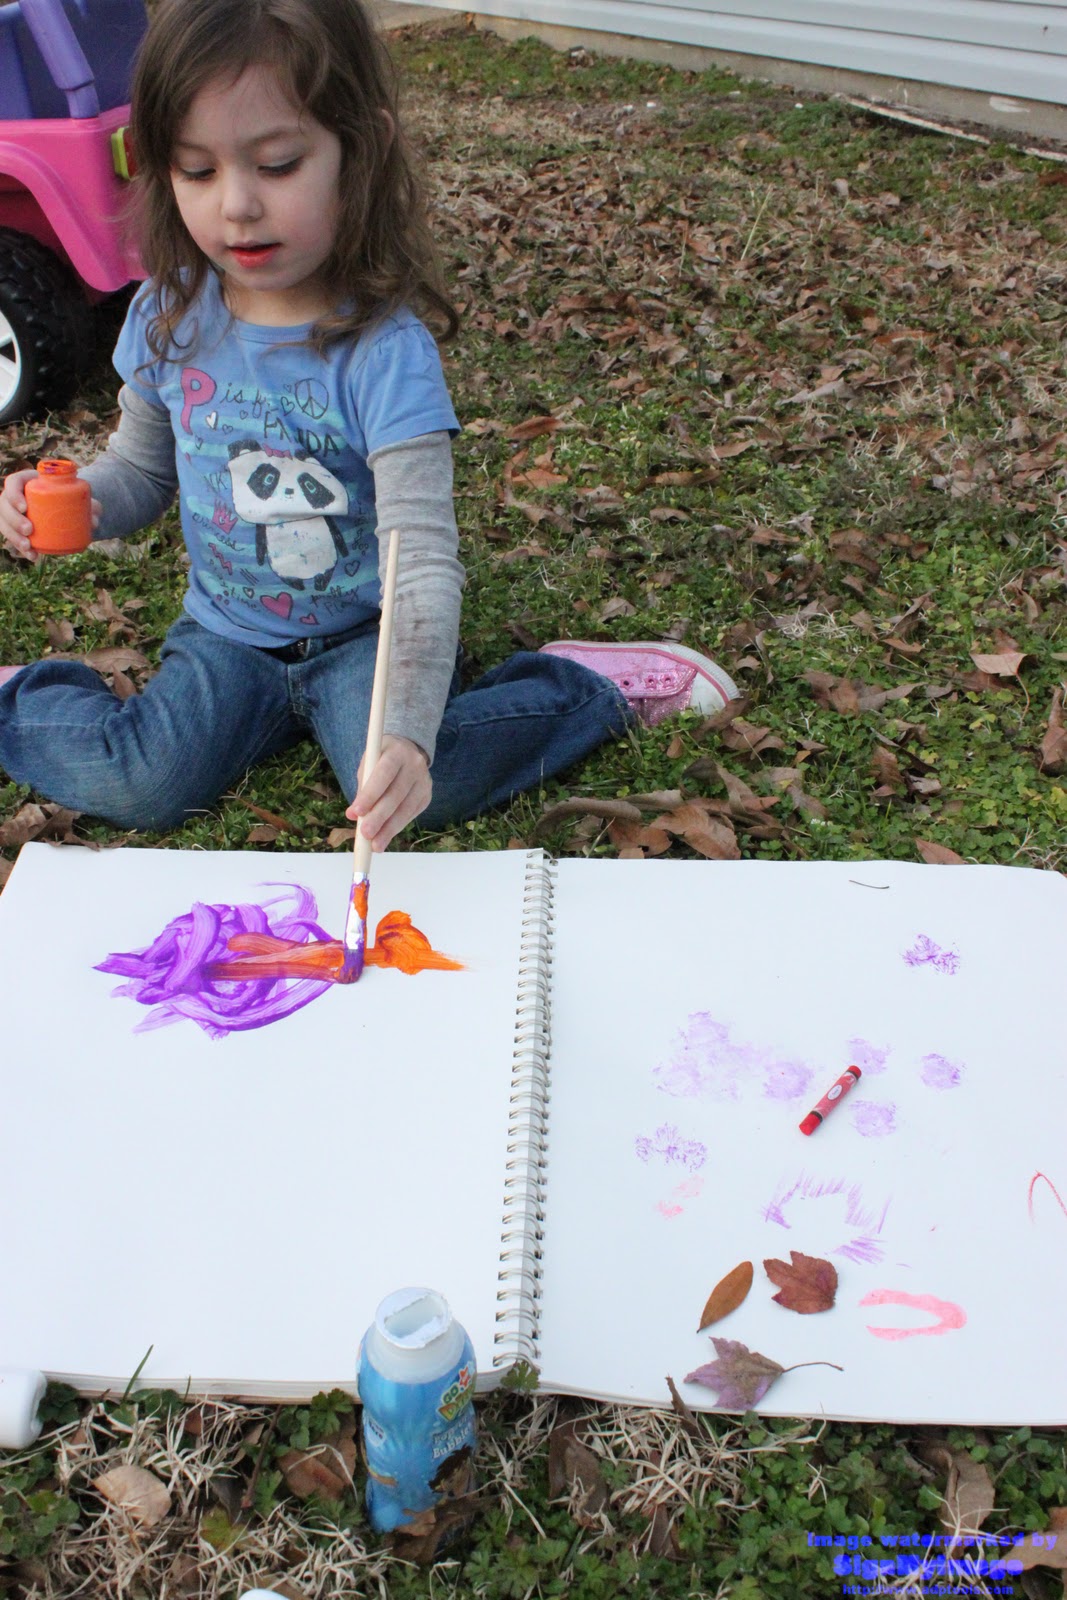
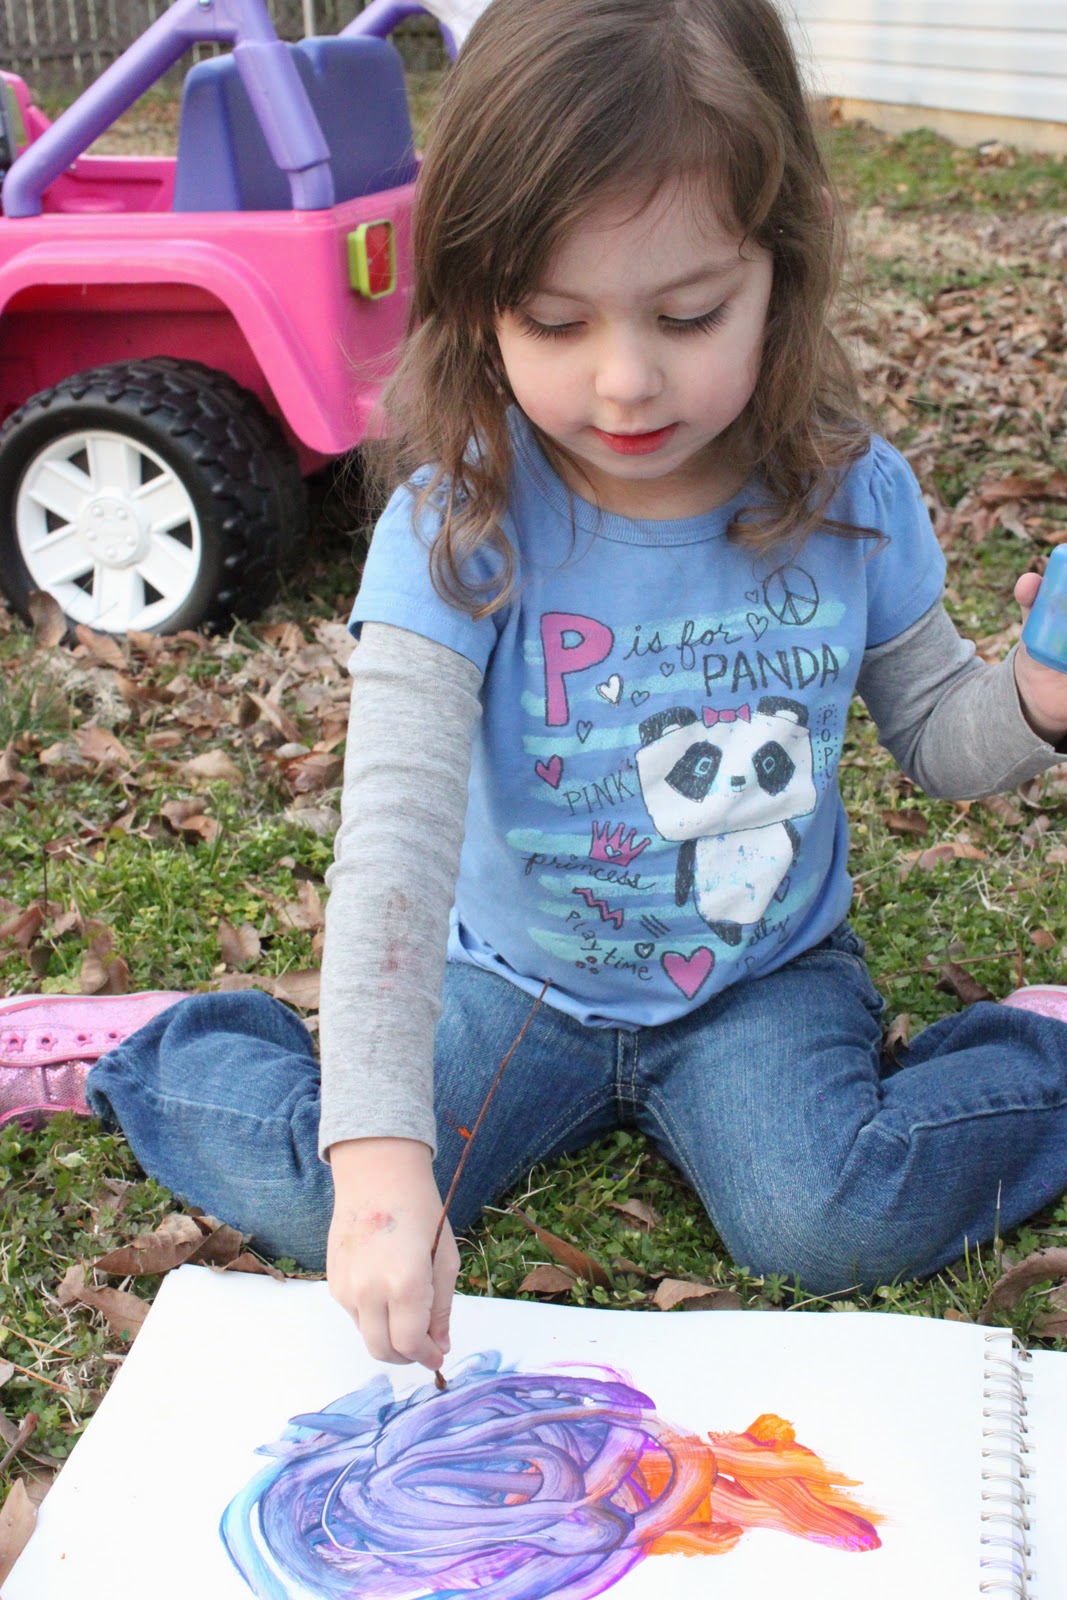
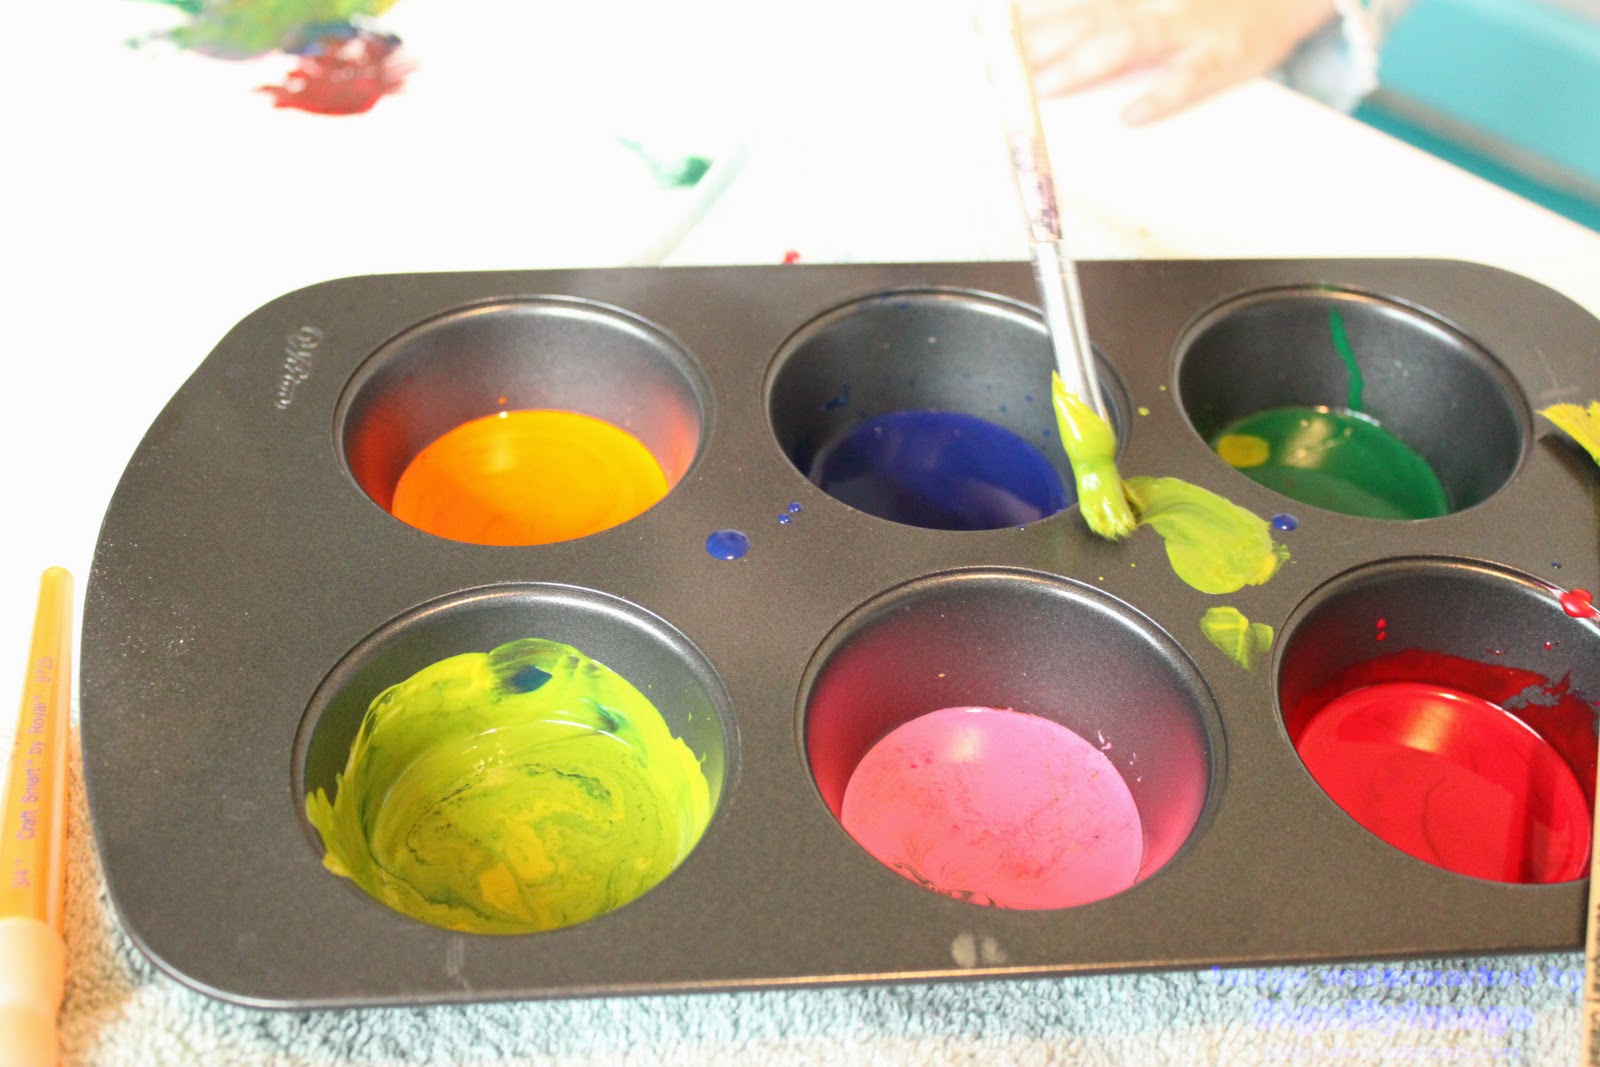
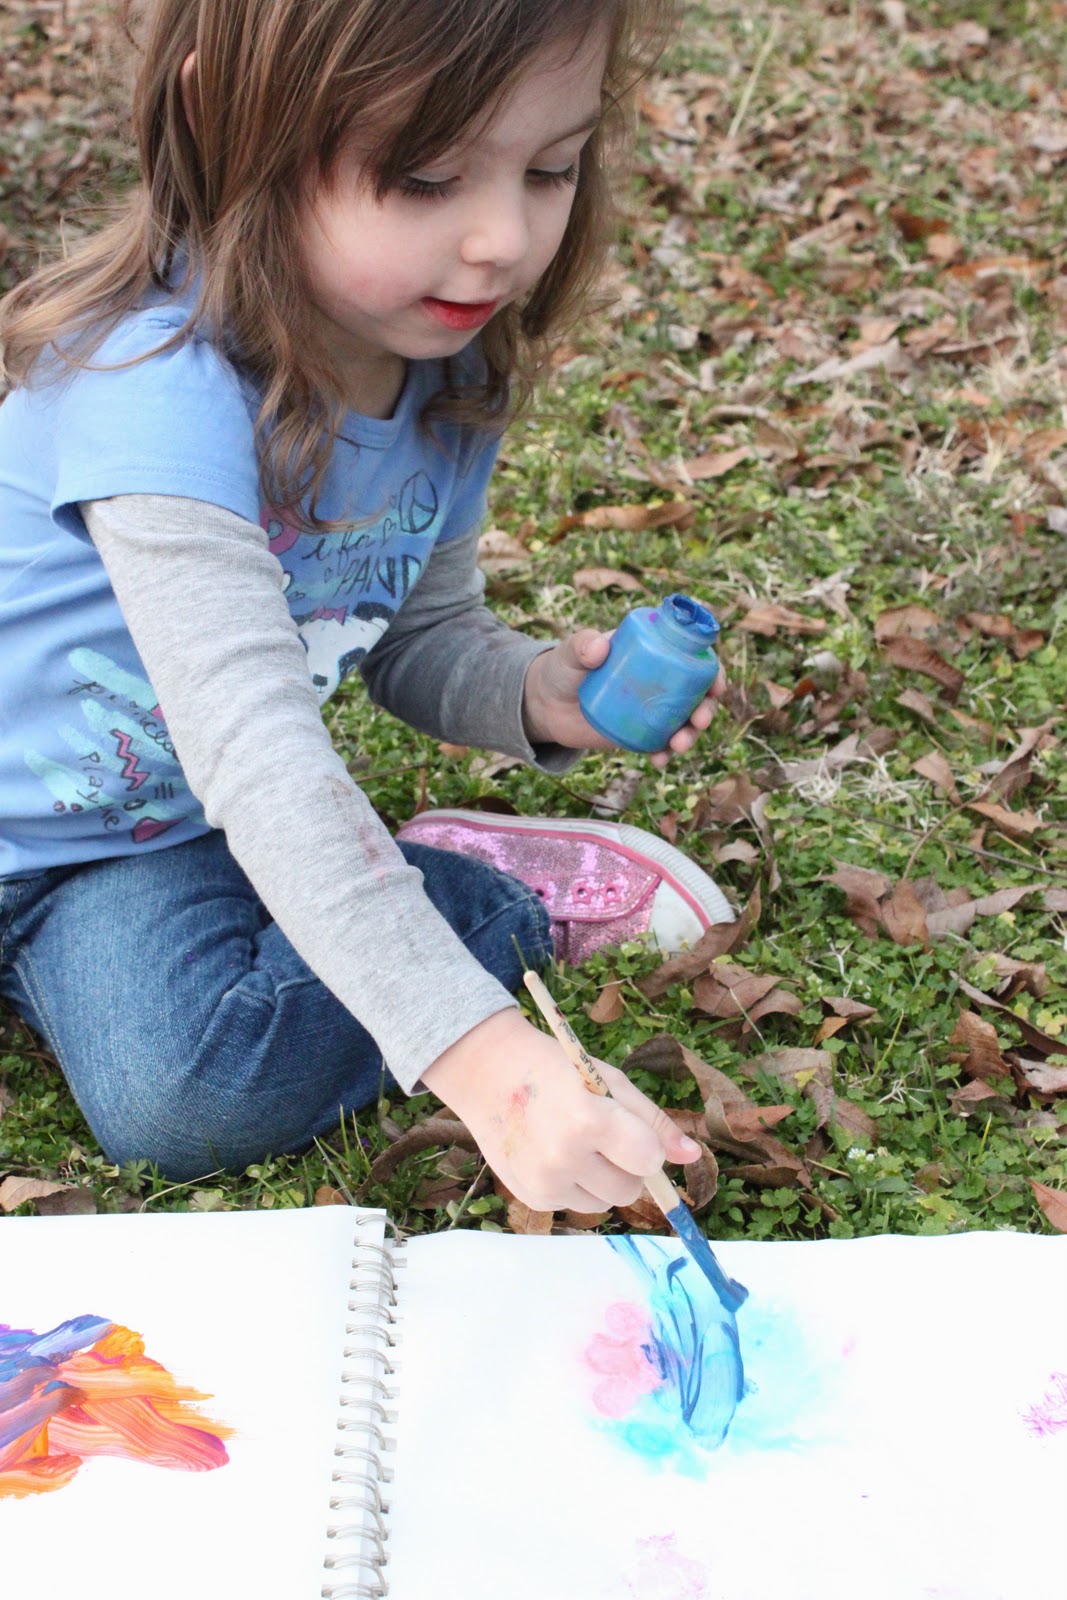
C quickly grew bored with drawing so I decided to try melted crayon painting
like this:
Friday Craft...painting with melted crayons
I would definitely do somethings differently when we do this again
like use muffin cups, keep the muffin tin in a hot water bath and not use paint brushes but maybe qtips or cotton balls...
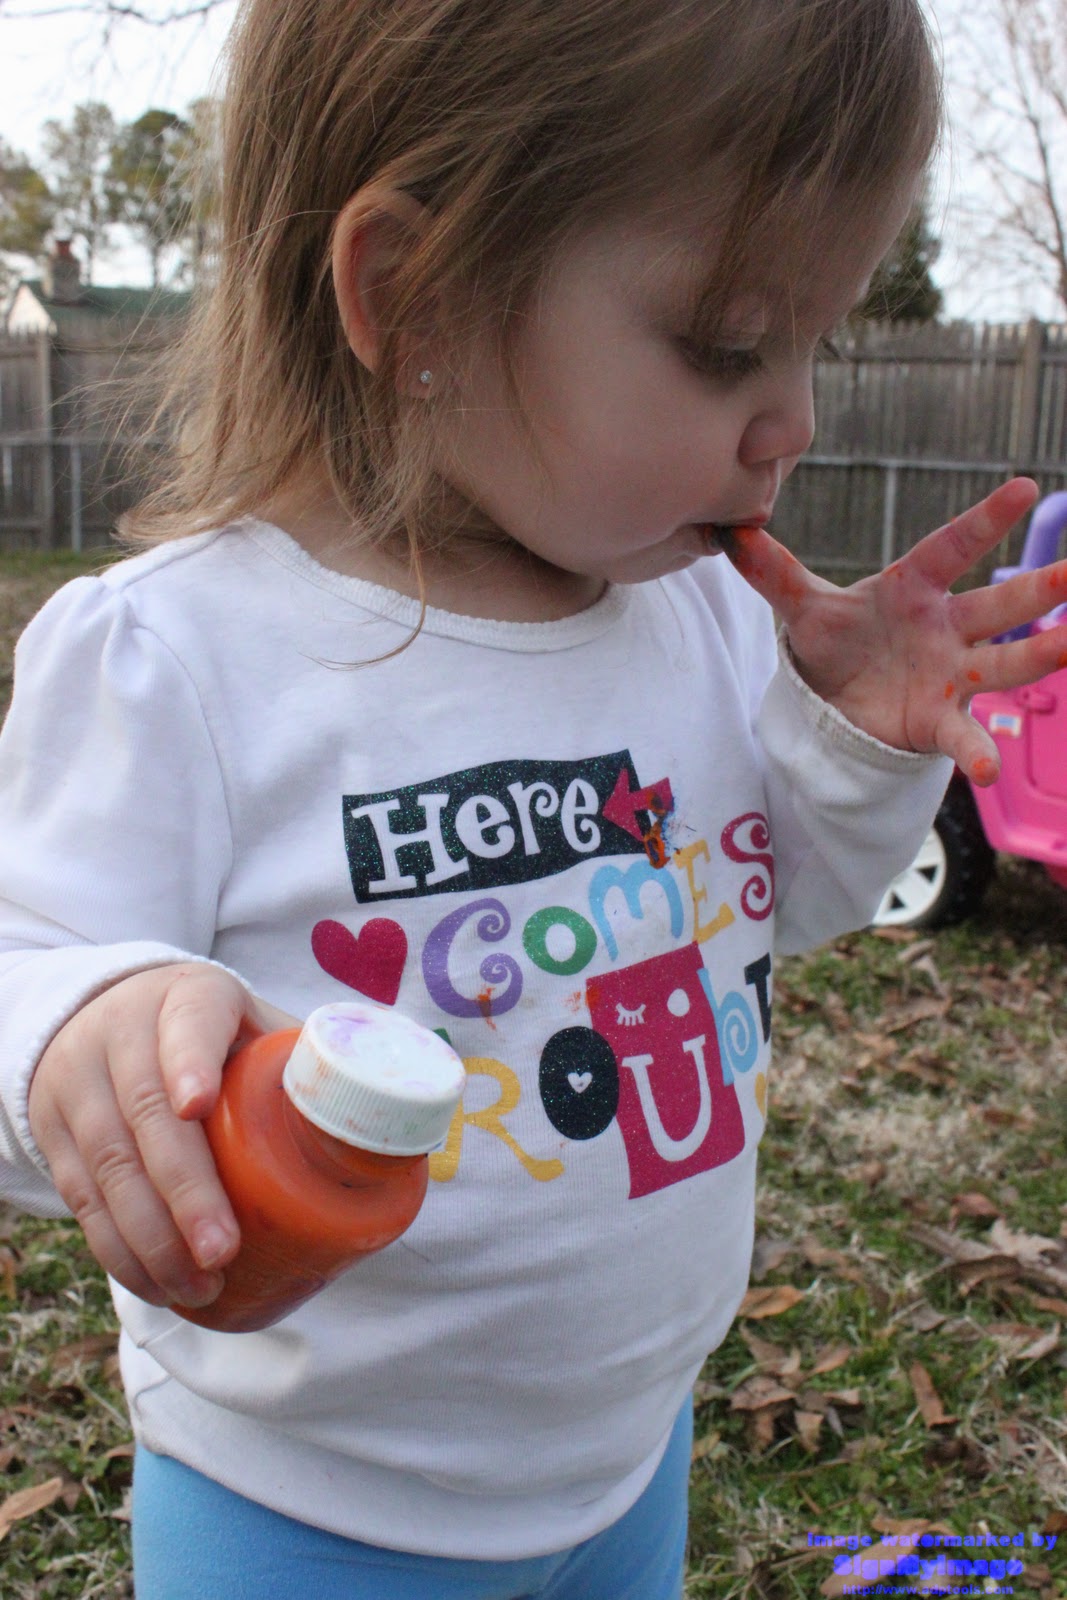
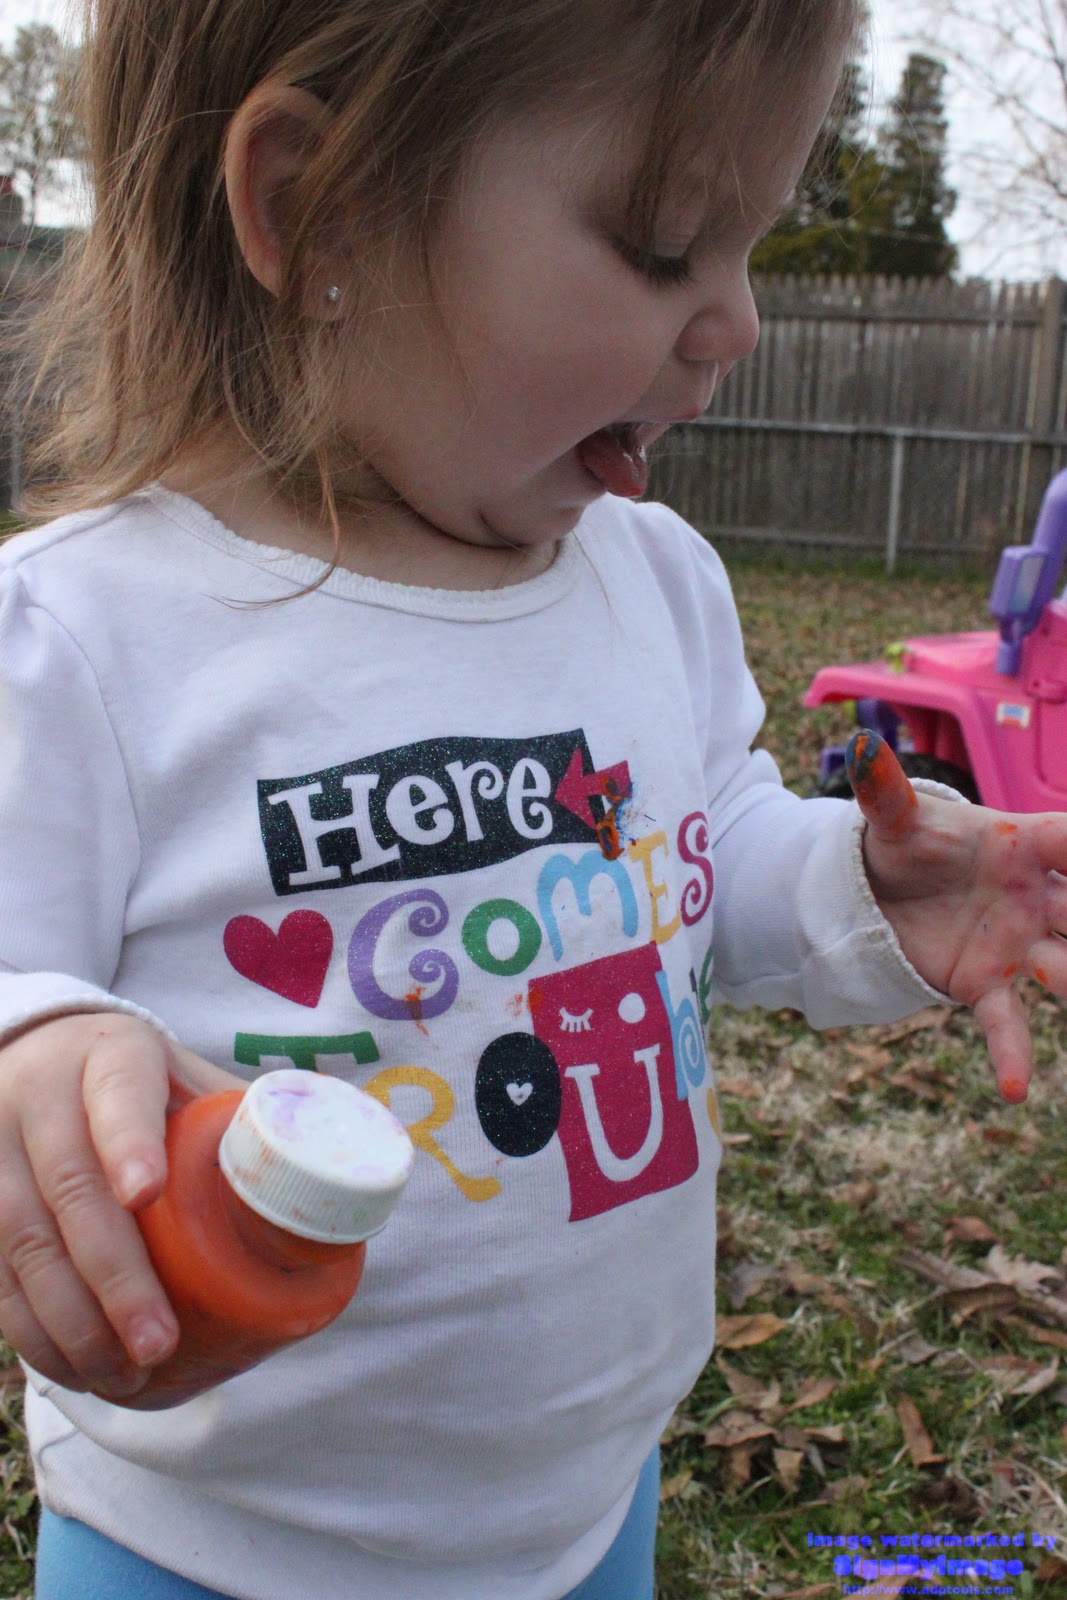
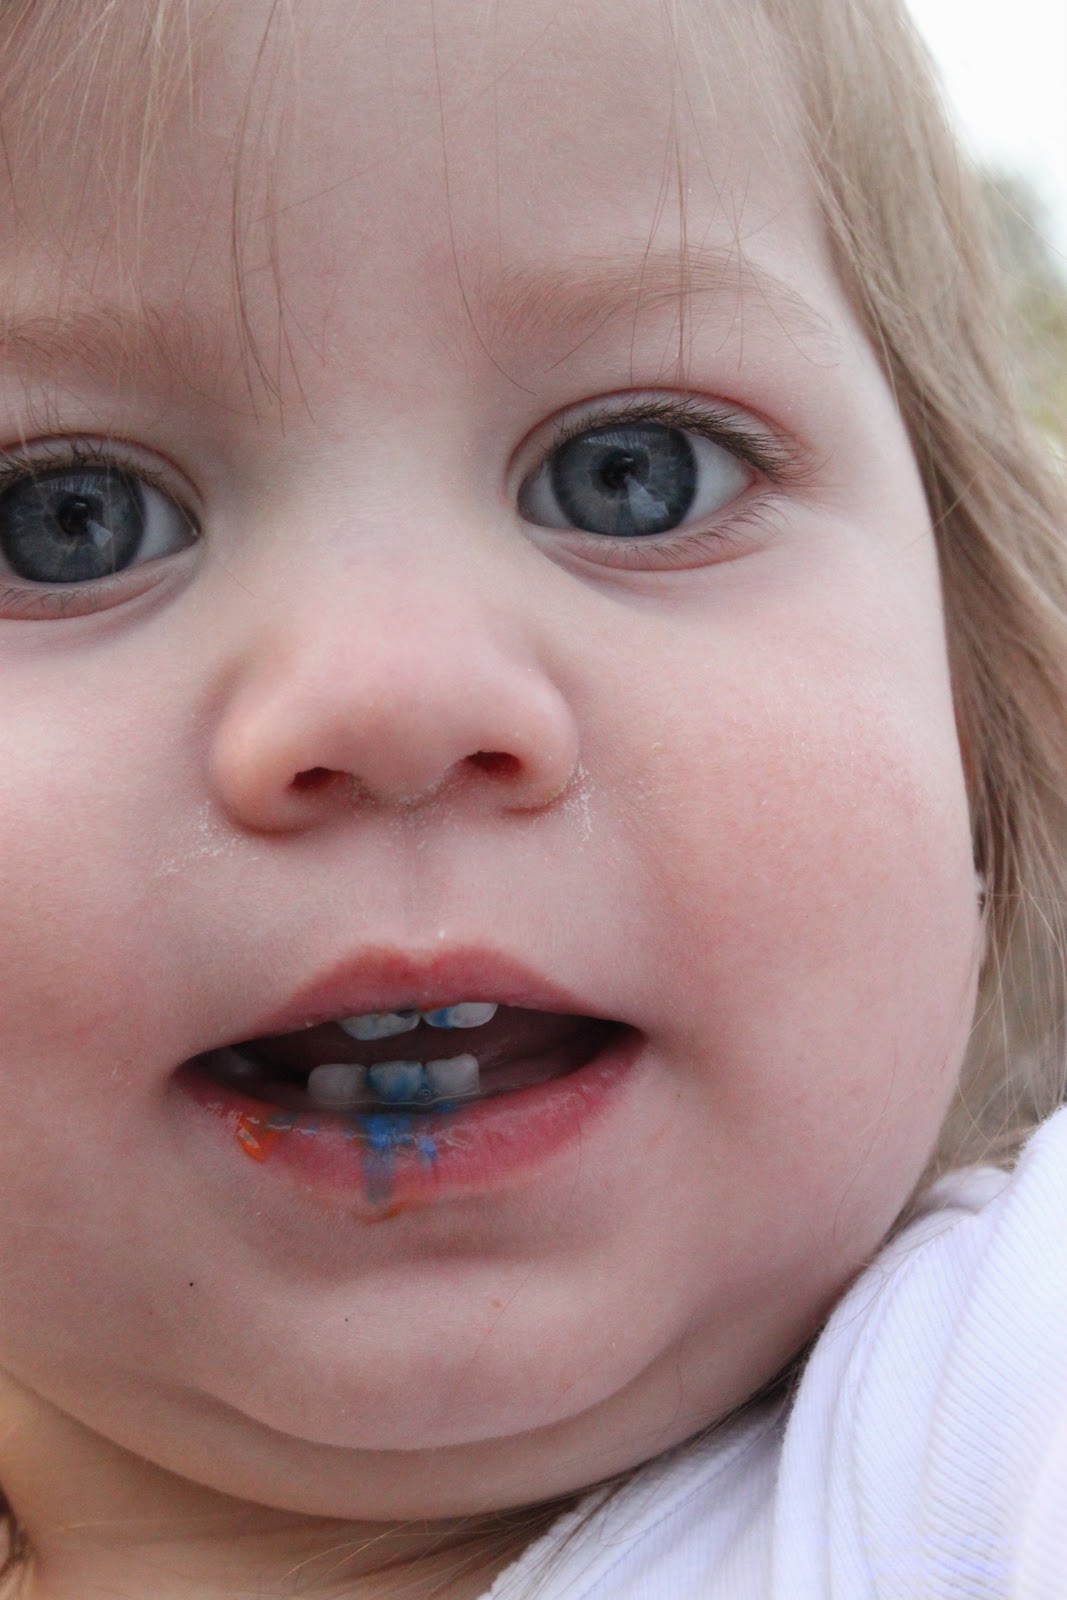
I DO NOT RECOMMEND THIS FOR UNDER 3s
I can tell C that mixing blue and yellow makes green until I'm blue in the face but she never really understands until she sees it herself.
She was so proud and surprised when she made green
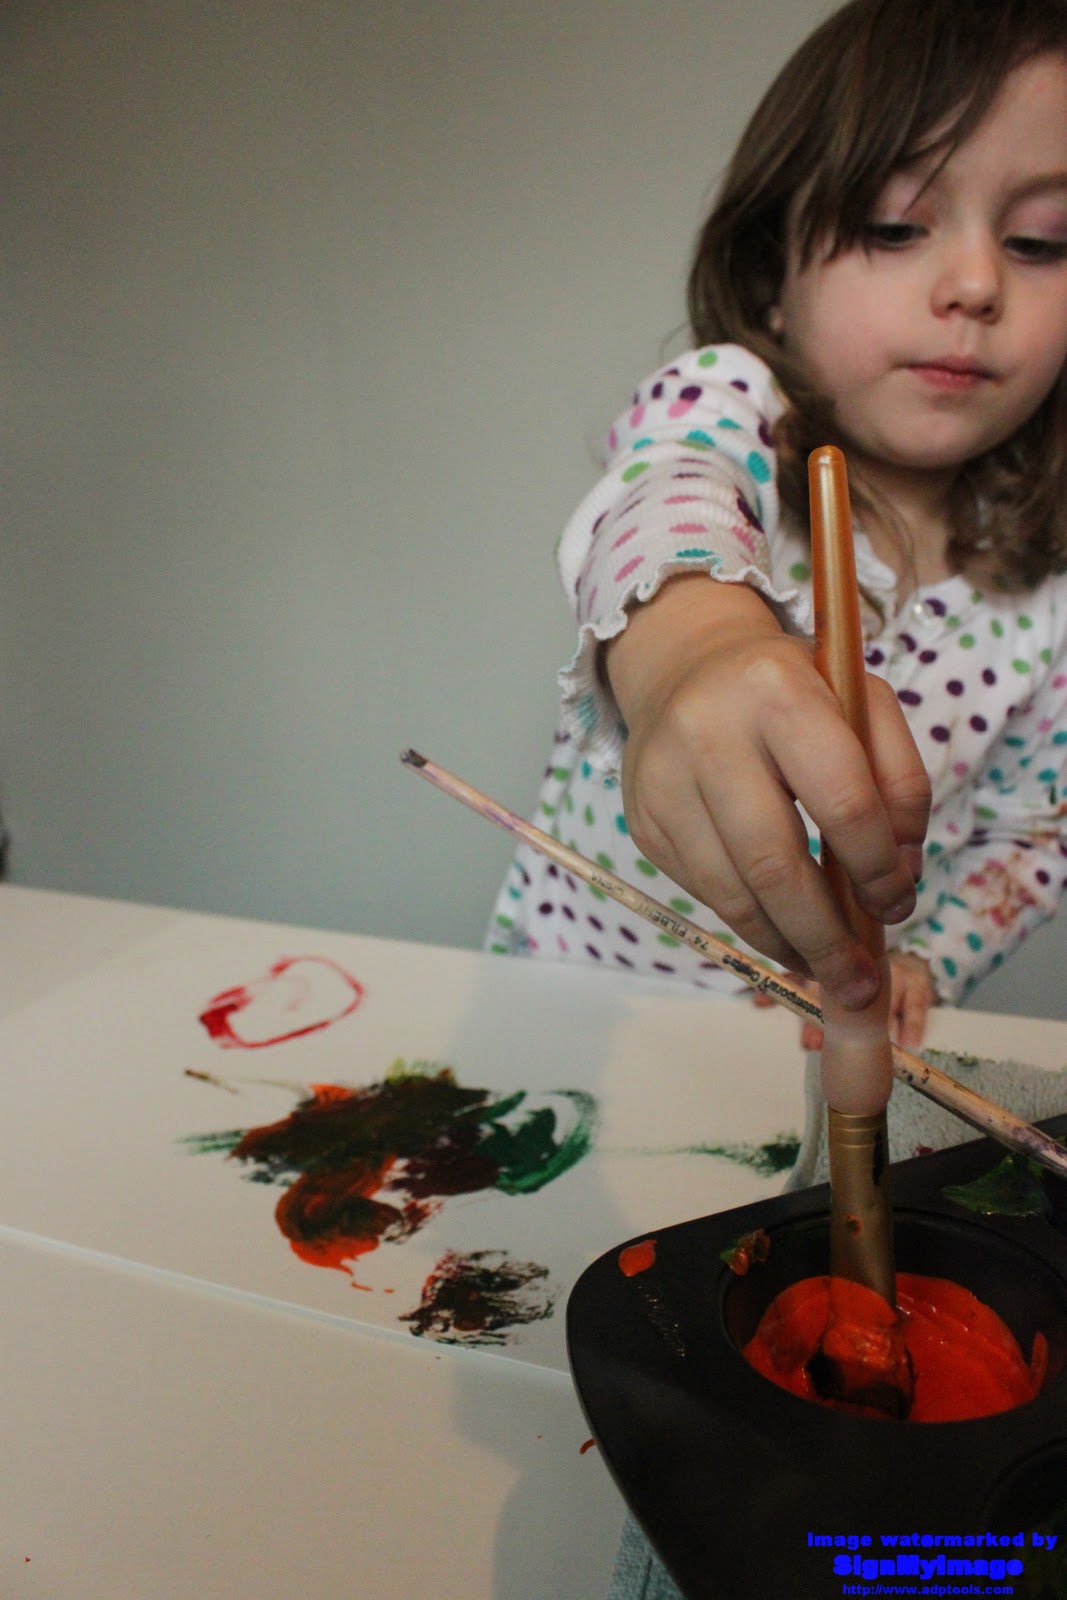
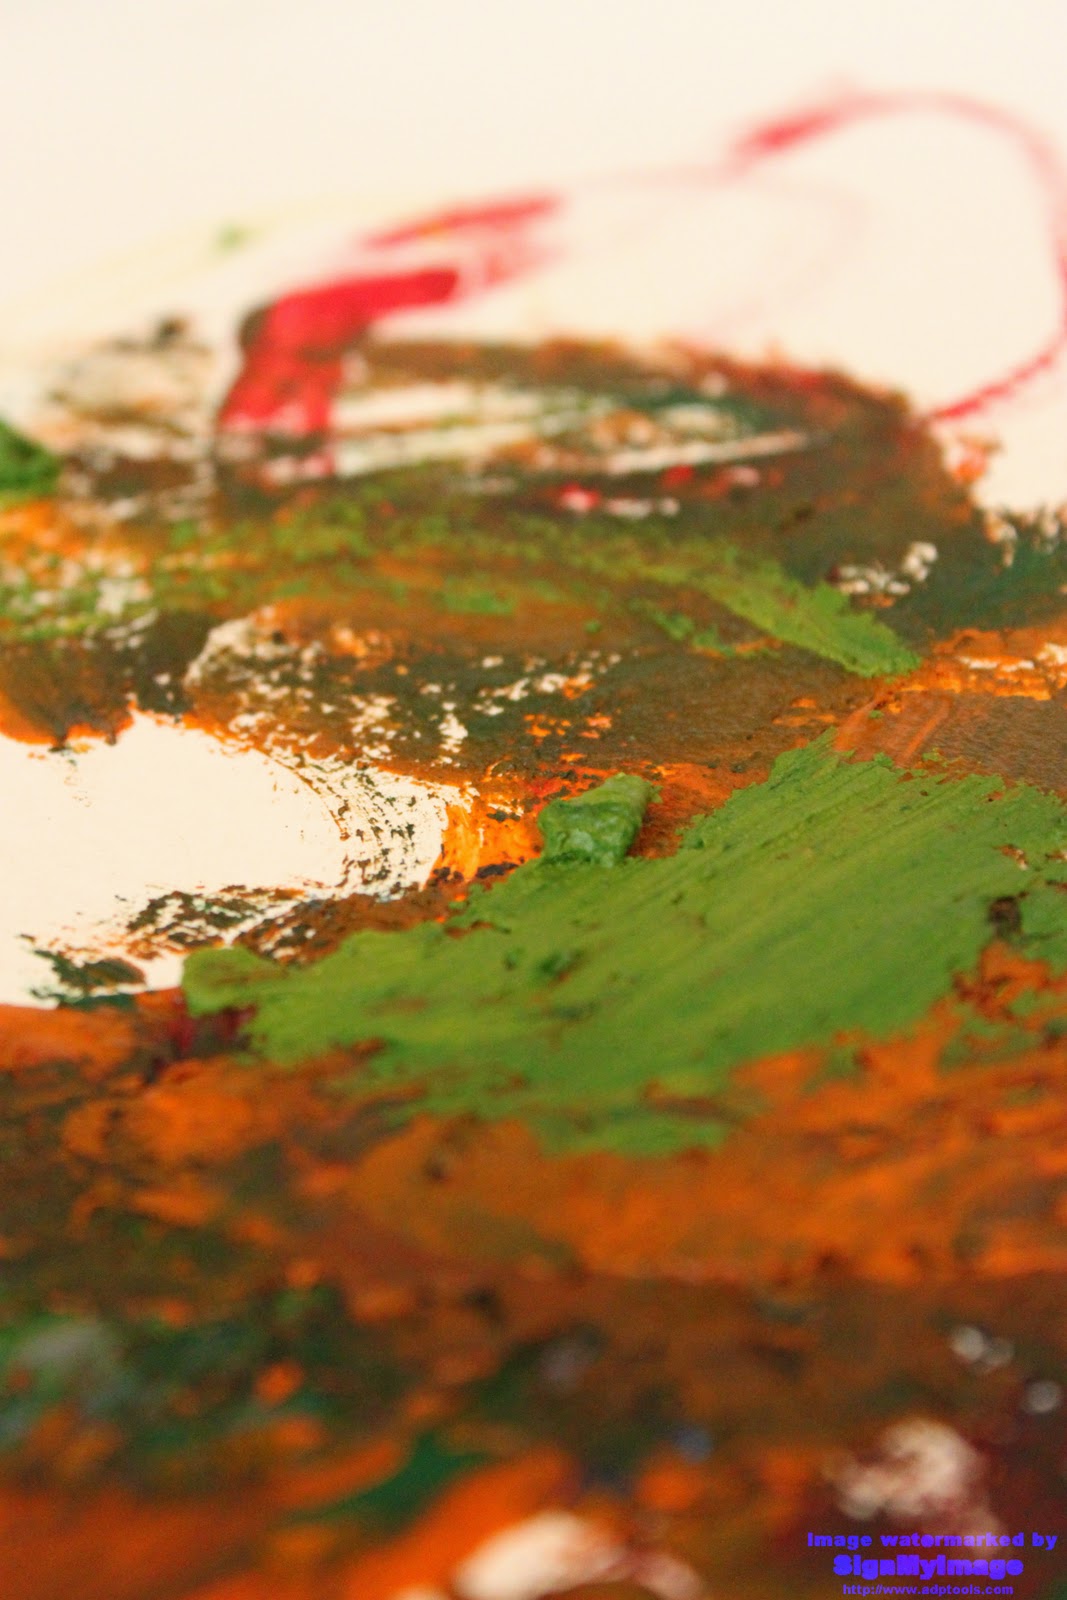
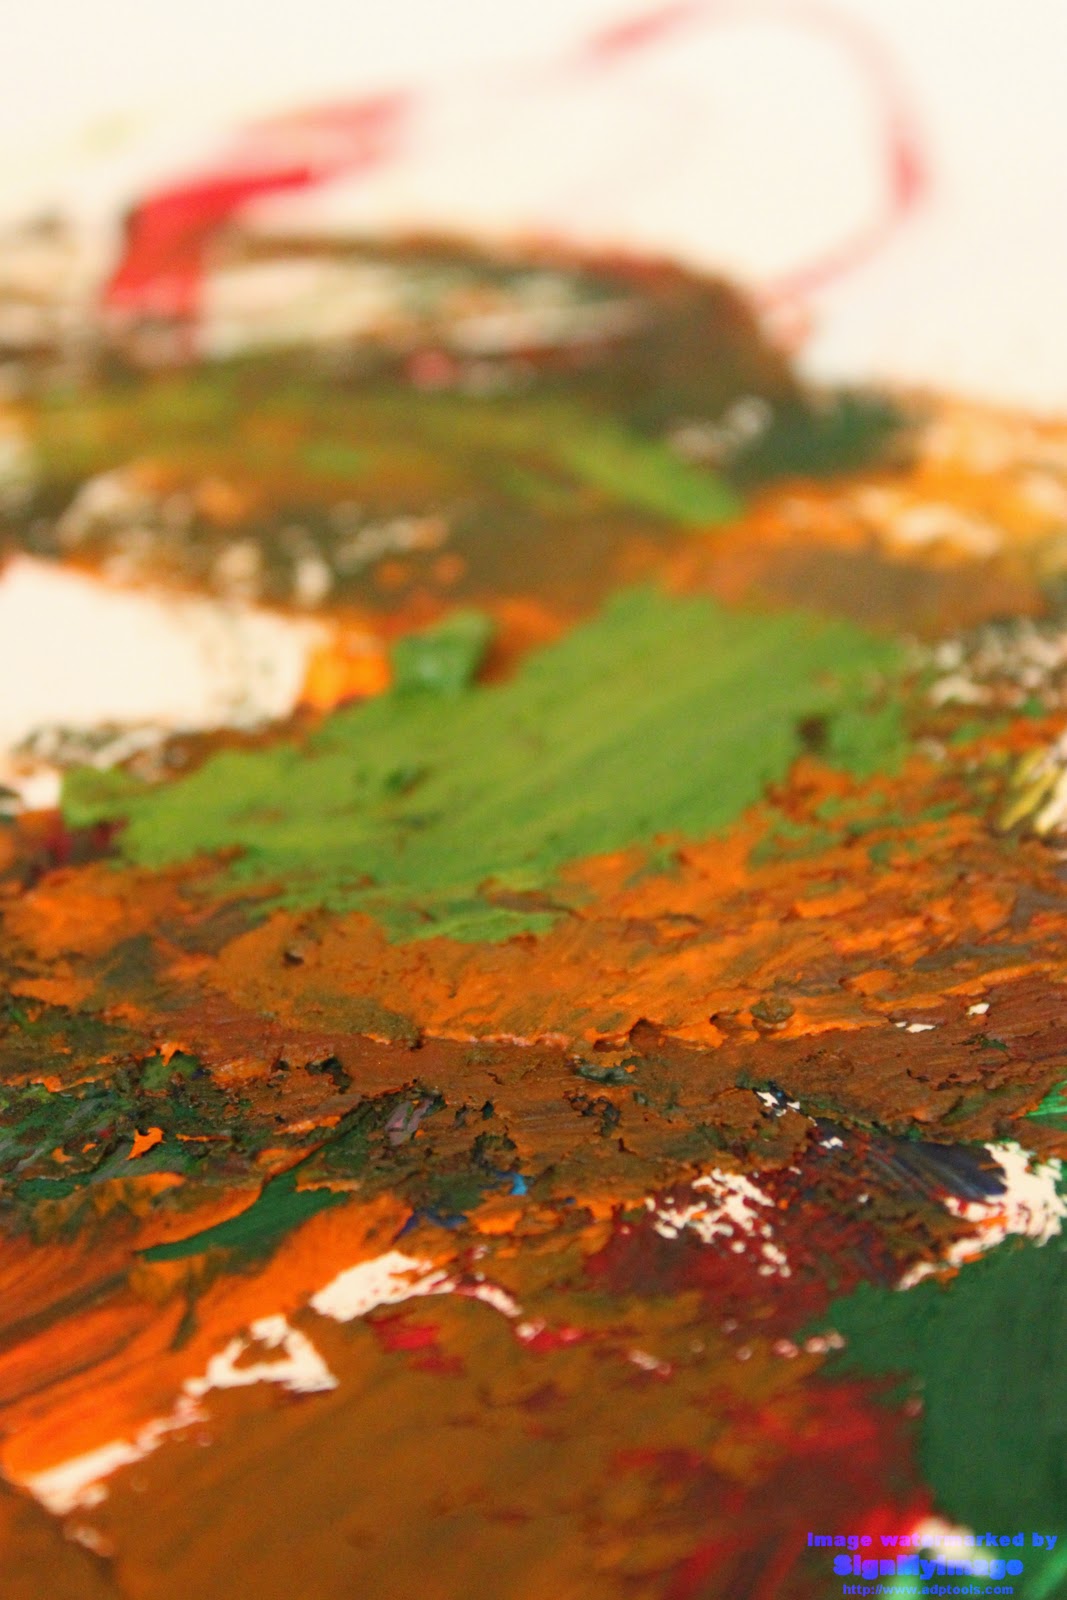
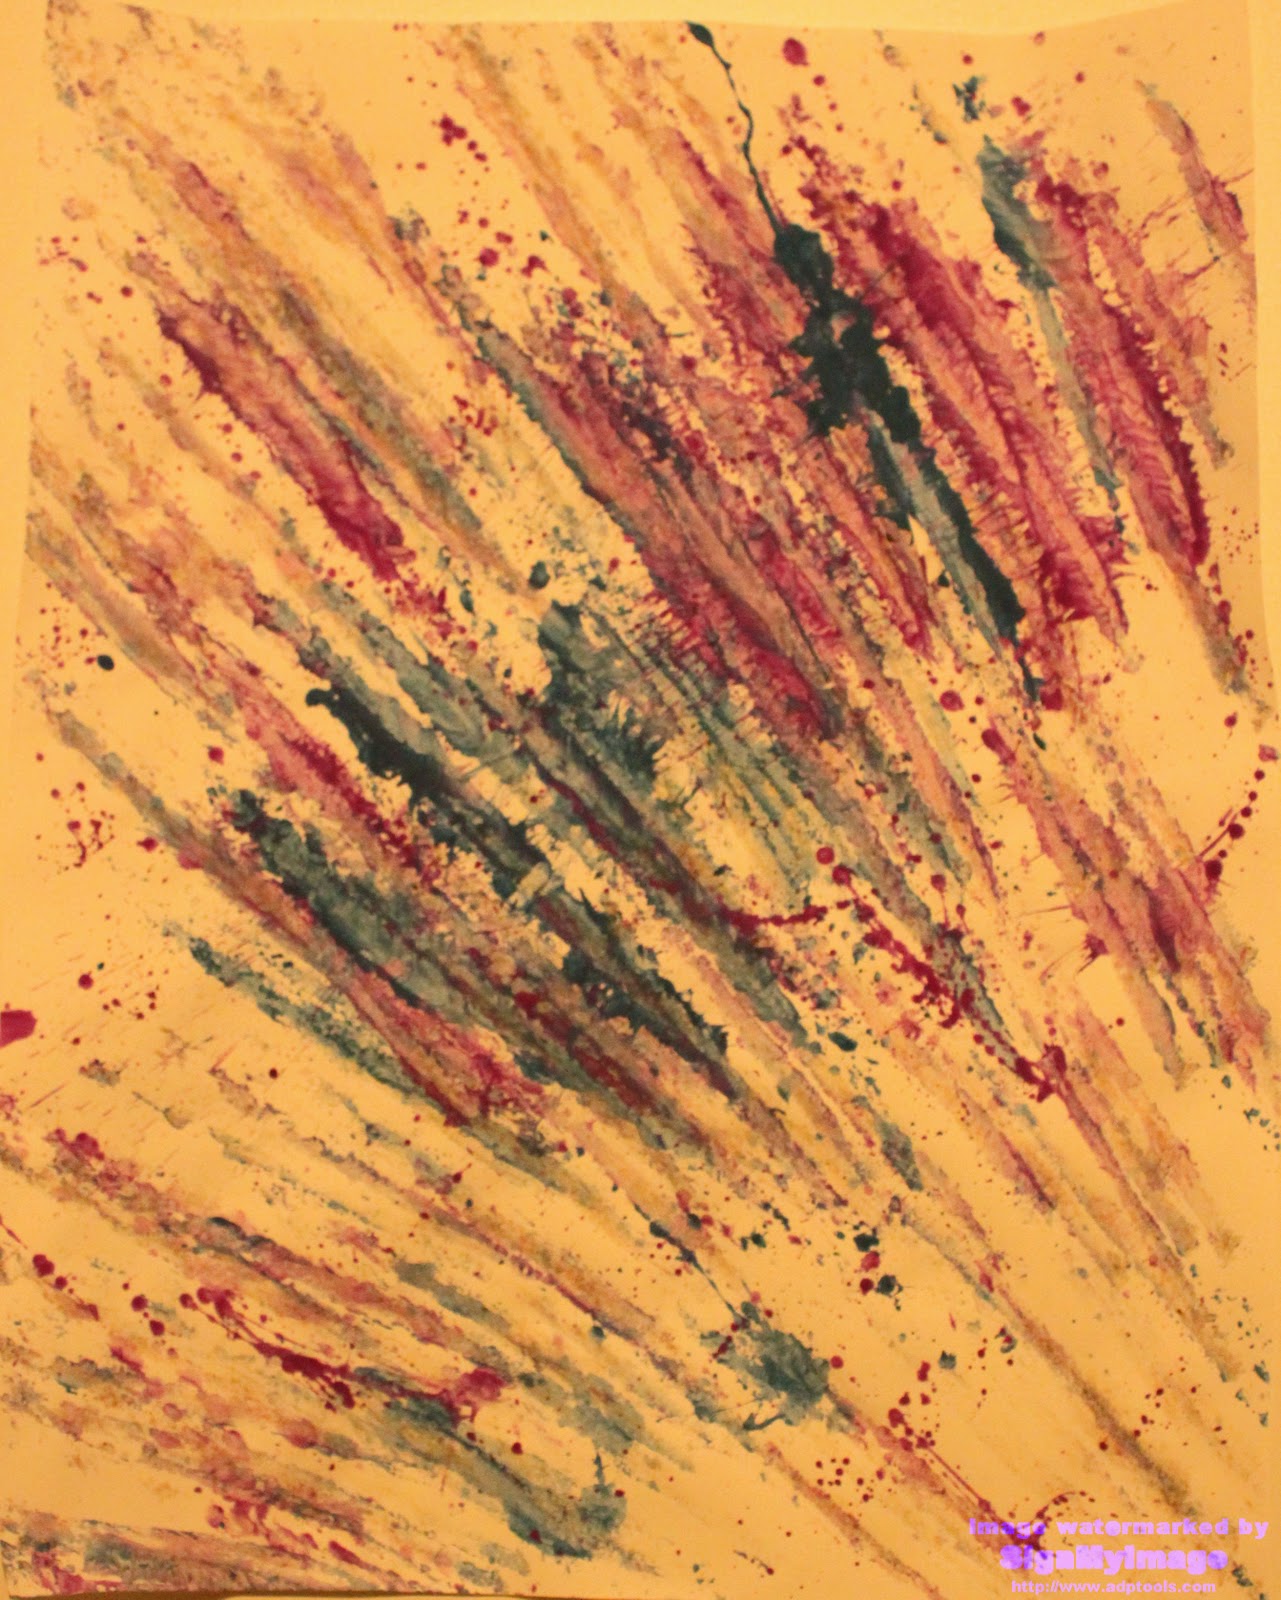
I was thrilled by the way the wax cooled and built layers upon layers
It reminds me of oil painting
I'm still debating trying watercolor resists on some of the paintings
it's a hard decision because I love them the way they are but watercolors might add an awesome pop.
Maybe next time...

