
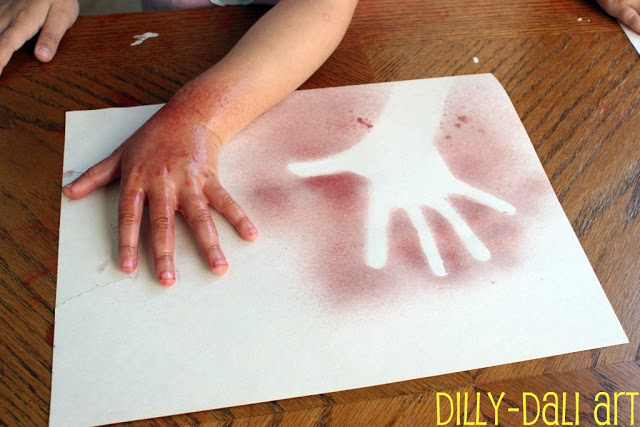
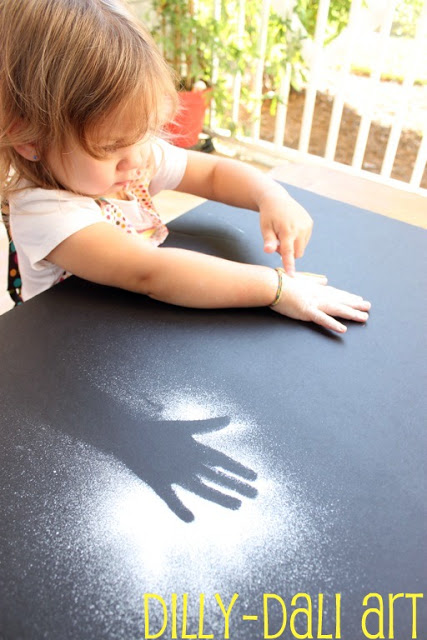
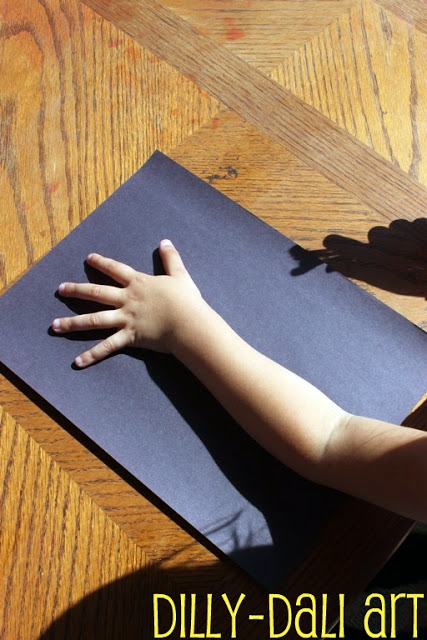
We made negative art by spraying paint on top of our hands!
Now, I know that this has been done many times before
in fact
that's the reason we did it!
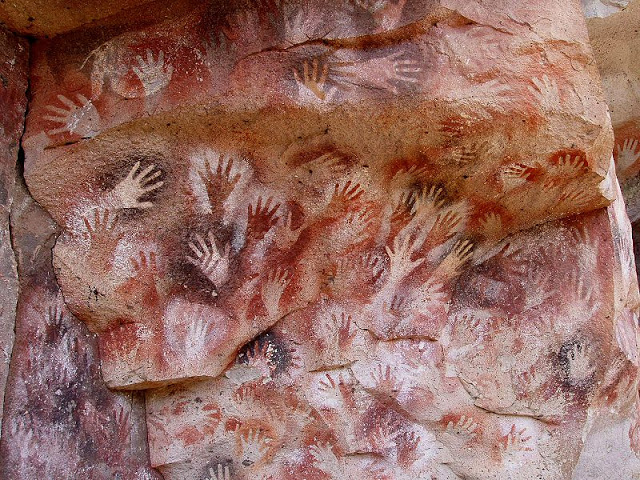
While studying about Argentina
we came across
Cueva de las Manos
(cave of the hands)
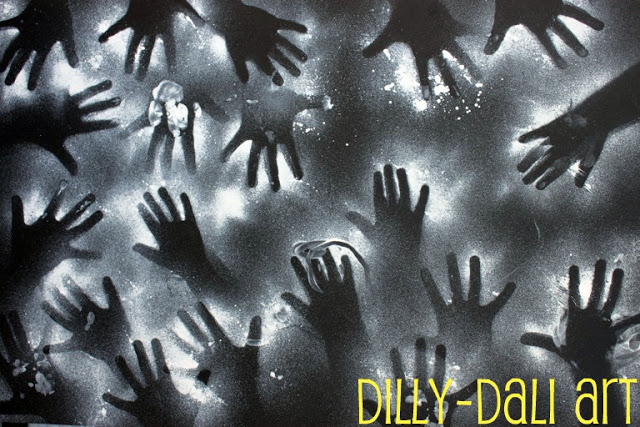
which has hundreds of negative stencils on the wall
over 800 of them
(I read that only about 30 of them are right hands)
 |
| wikipedia.com |
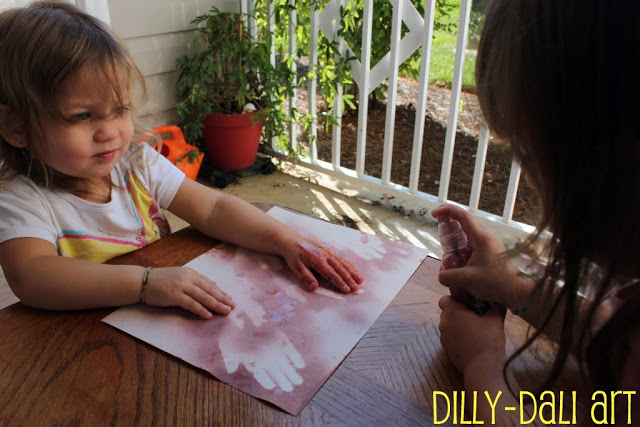
At first the girls sprayed each other's hands with watered down paint
then
I decided to let them try it the way it was originally done at Cueva de las Manos
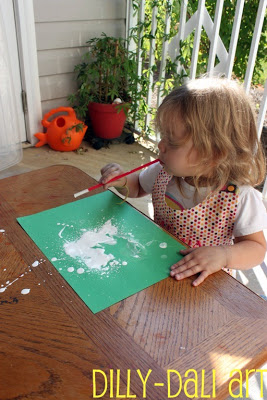
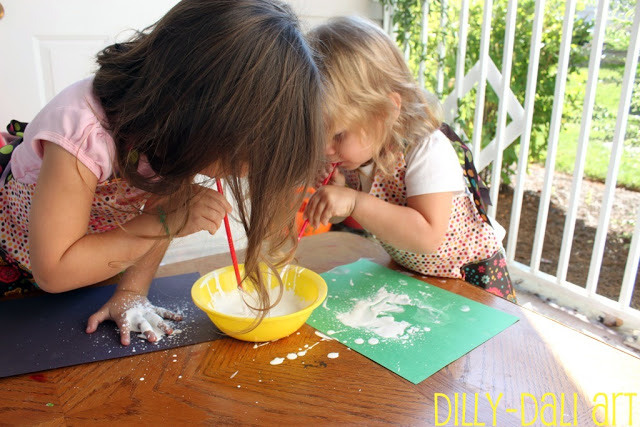
with paint (mineral pigments) blown through straws (bones)
They had fun sucking up the paint
(there was a hole cut into the top to keep them from sucking all the way up)
and then blowing it out
but it was a pretty big fail as far as getting handprints
the paint seeped under their fingers into a big blob
So we moved back to spraying with the bottle
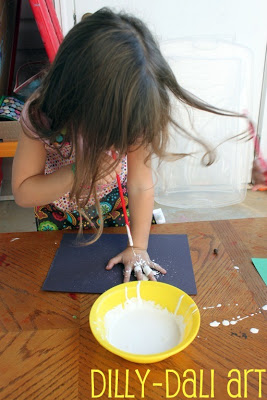
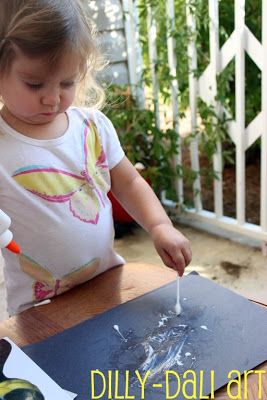
We sprayed with white paint on black foam core board
to recreate the wall at Cueva de las Manos
I like it!
I wanted to use the black foam core board to make something spooky for Halloween
but I liked the results so much I decided to keep it the way it was
so we did more spraying!
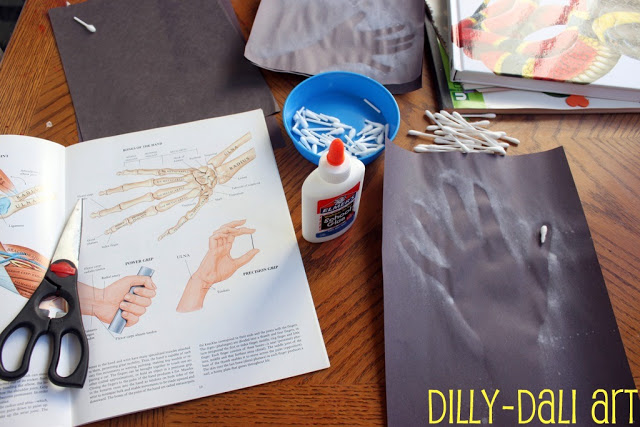
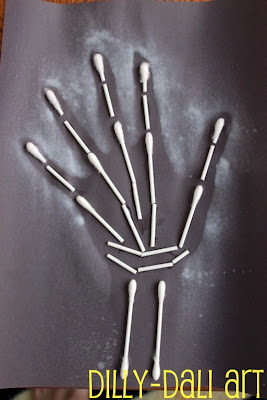
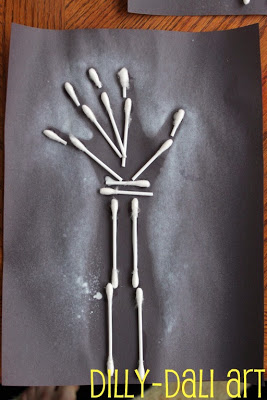
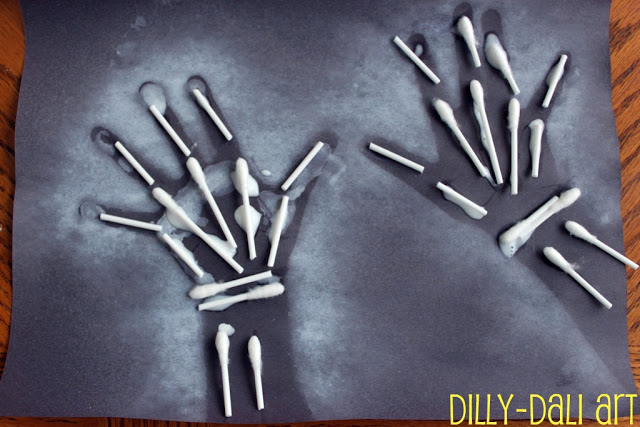
I got out our anatomy book and we examined the placement of bones in the hand
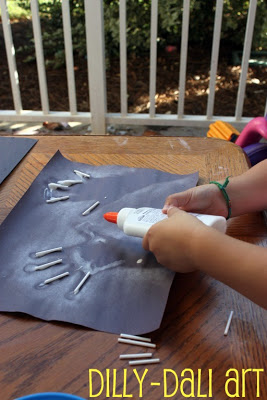
and used cotton swabs as bones to fill in our negative hand prints
I think they turned out perfectly spooky and just right for Halloween
This activity is linked to these awesome linky parties:
Show-and-Share Saturday
The Play Academy
The Sunday Showcase
It's Playtime!


These are awesome! I love the negative handprints as much as the skeleton bones.
ReplyDeleteI LOVE THIS!!! we're doing this soon! what a fun idea!! also sharing this on my fb!
ReplyDeleteThanks Brooke and Andie!
ReplyDeleteWhere do you find these ideas? Stopping by from the blog hop and now a new follower of your blog thru GFC and Facebook. I would love a follow back when you get the chance. Thanks so much for your help and have a wonderful weekend! Oh, by the way, I am having my first giveaway, Eclipse Spa Products, and would love for you to enter.
ReplyDelete[email protected]://www.mmbearcupoftea.com
Love this! Super cool effects and a simple idea!!
ReplyDeleteOh, loving this, thank you!
ReplyDeleteWow! Very cool. Thanks for sharing!
ReplyDeleteOh, my goodness I love those...Looks like they did a pretty good job, too.
ReplyDeleteFound you from The Clumsy Coquette Blog Hop. I'd love you to come visit if you're into scrapbooking at all...digitalscrapbooklessons.com and thanks so much.
I LOVE your site.
Thanks you so much everyone for stopping by! I appreciate all the kind words!! Thank You!!!!!
ReplyDeleteReally effective - I love the way it references some of the earliest artwork known, and it looks so similar. Interesting that only about 30 show right hands, presumably most of the artists were doing their own artwork, and were right-handed!
ReplyDeleteThis is so FUN! I especially love the q-tip skeleton hands. We plan to make toothpick skeletons and this is such a fun twist!
ReplyDeleteWould love to invite you to share on the Sunday Showcase -
http://momto2poshlildivas.blogspot.com/search/label/Sunday%20Showcase
bern
I love it and am going to feature it this week on the Sunday SHowcase! Thank you for linking up to the The Sunday Showcase
ReplyDelete