9.23.2012

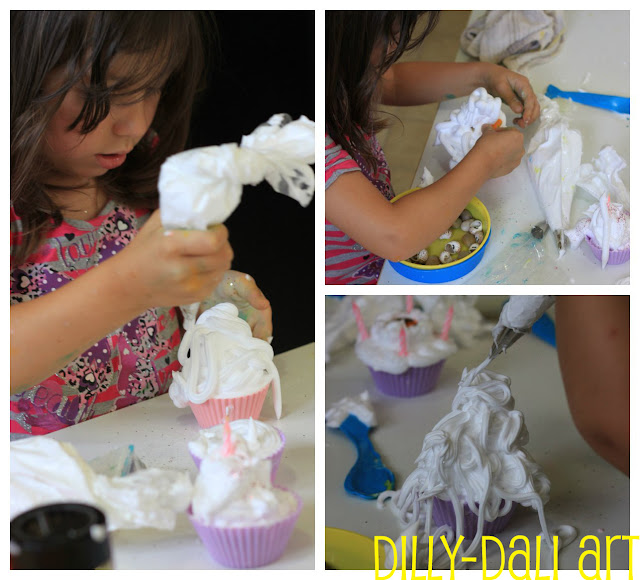
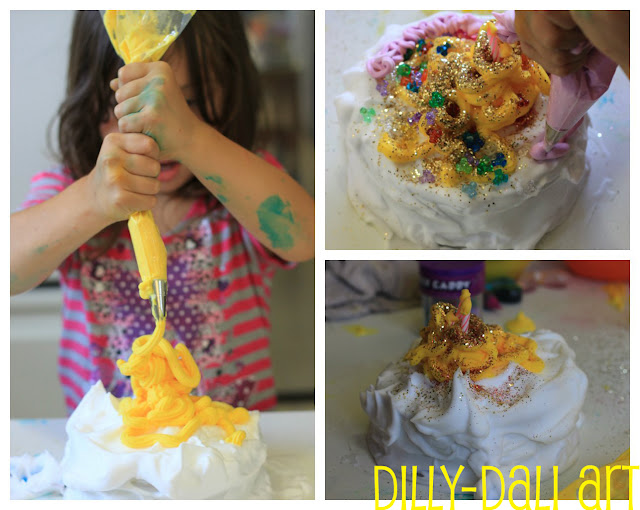
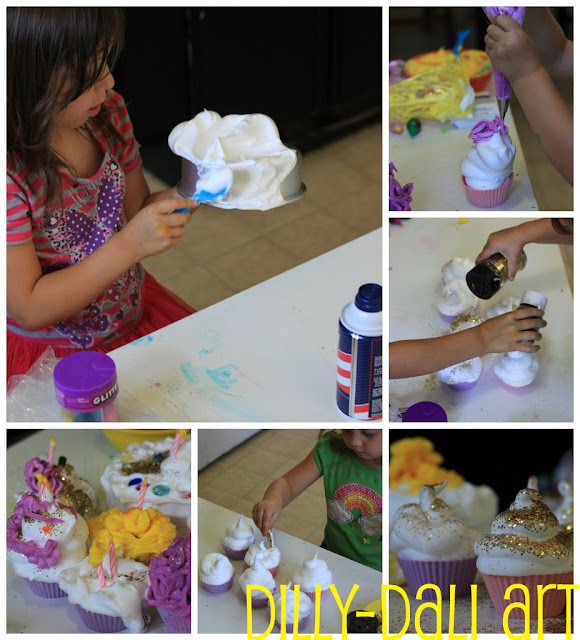
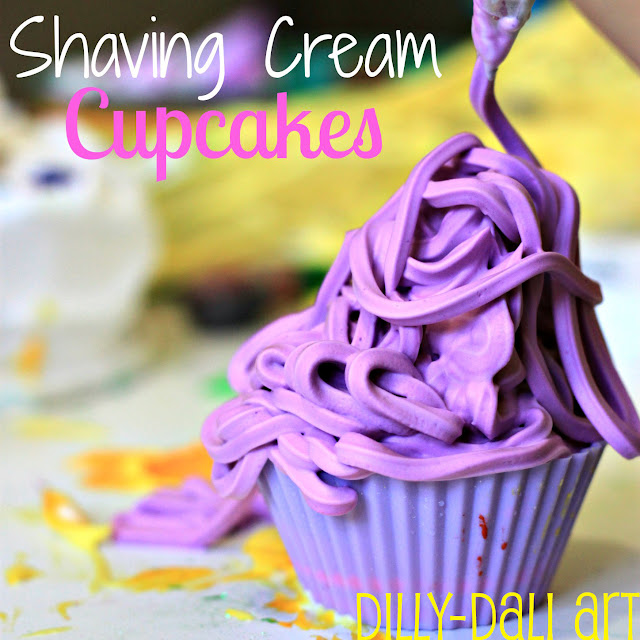
Shaving Cream Cupcakes

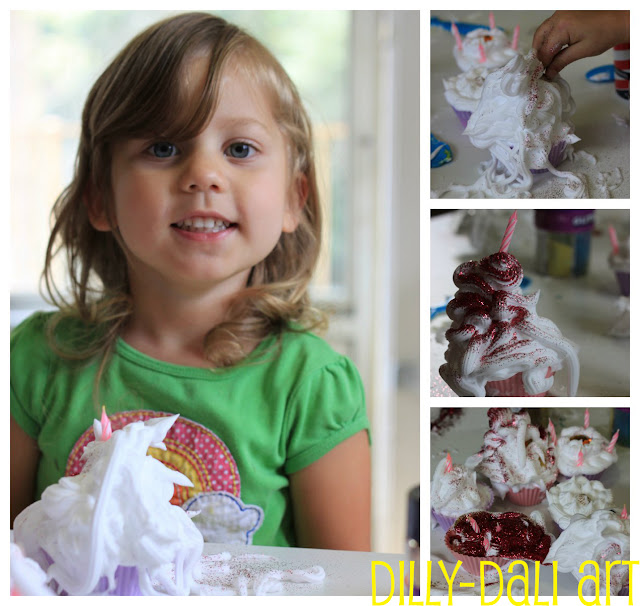
My baby just recently turned 3!
She's my little mess maker 
so last year I planned a messy art activity for her birthday
Little A had so much fun getting messy last year I decided to plan another messy art activity for her this year


This is a pretty simple activity but it kept the girls involved for a couple hours

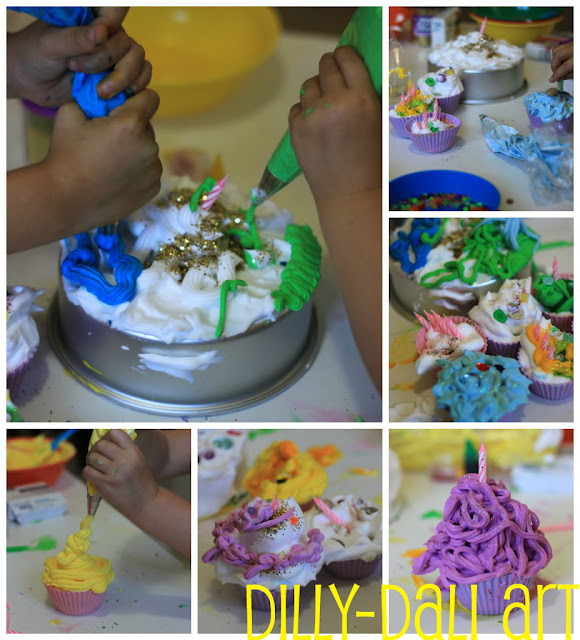
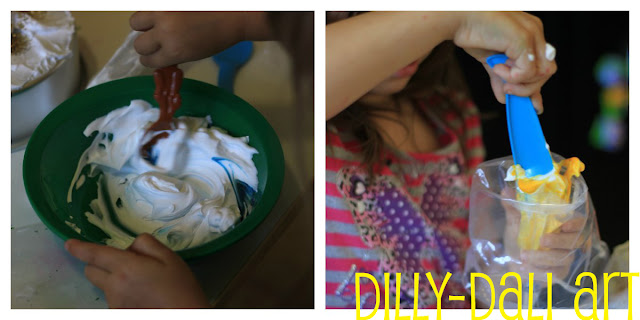
All I did was set out shaving cream, bowls, food coloring, piping bags, piping tips, glitter, buttons, beads, shells, pasta, candles, silicon cupcake liners, and a cake pan.

If you don't have piping bags or tips a plain sandwich bag will work just as well, 
just cut the corner off one side

Once the girls were done decorating one batch,
 I rinsed the cupcake liners and cake pan and they started all over again.
They made 4 different batches of cupcakes

Enjoy the pictures of all the fun the girls had!!
Happy Birthday, Little A!!!!

Before you go,
check out how
Experimenting Mom
made
Shaving cream cup cakes
with her little one
Photobucket

9.19.2012

Color Mixing Flowers

I love Deep Space Sparkle's 
Colorwheel Flowers Art Lesson 
so much that I adapted it into a color mixing project for my girls


Here's how we did it

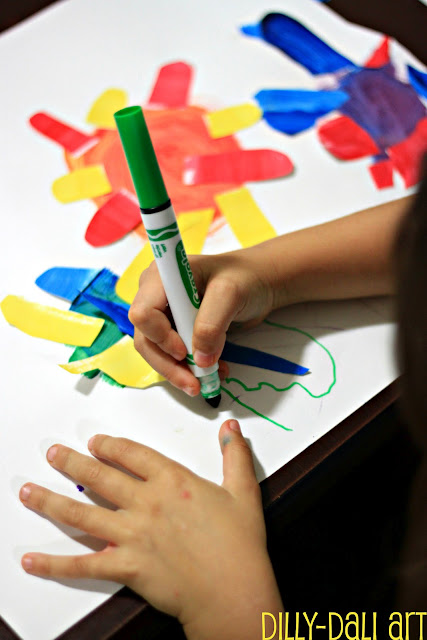
First we painted red, blue, and yellow stripes,
make sure the stripes are wide enough to cut petals out of.

While you're painting you can discuss how red, blue, and yellow are 
primary colors
they cannot be made by mixing any other colors.


Set your stripes aside to dry and grab a clean sheet of paper
To make the centers of your flowers 
mix the primary colors together

Yellow + Red = Orange
Red + Blue = Purple
Yellow + Blue = Green

Don't forget to mention that orange, purple, and green are 
secondary colors

Leave enough room between the centers to add petals


Little A didn't quite follow the instructions 
but
she kept saying
"I did it! I did it!"
after making green 
so I let her do her own thing


Once your primary color stripes are dry, 
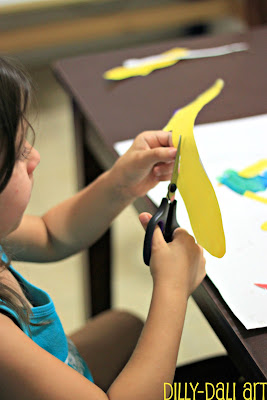
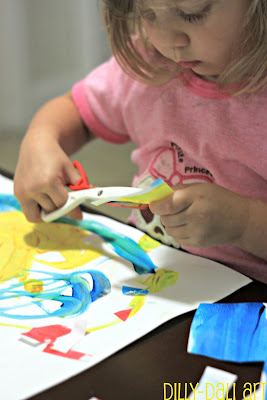
cut them out
and
then cut petals out of them.


Glue your petals around the flower centers
For our project we glued the two primary colors that mix together to make the secondary colored center

After the petals are glued on add stems, leaves, etc.
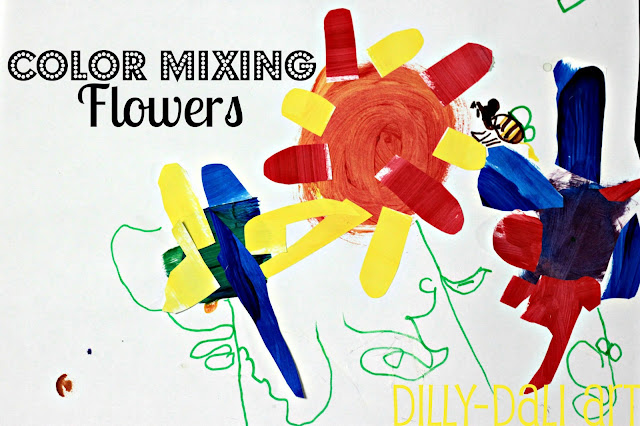
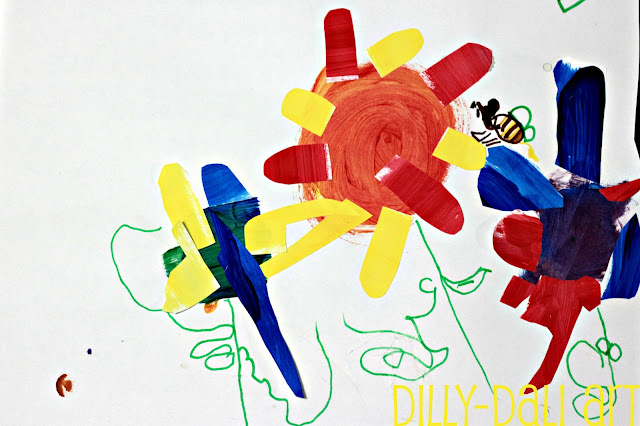
Miss C added a cute little bumblebee to her garden


Voila!
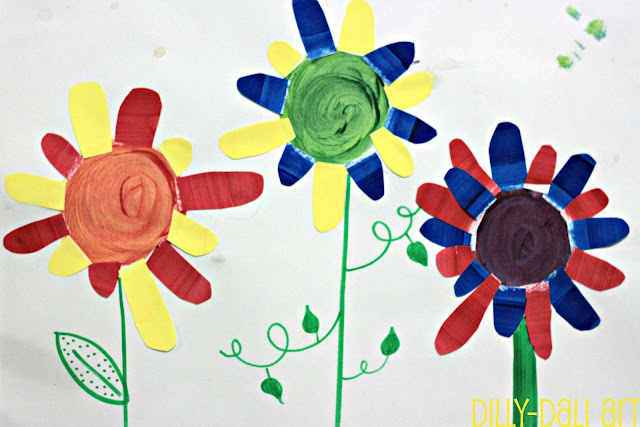
A garden of color mixed flowers
A quick visual for your child to see which primary colors mix to make a secondary color

Here are my flowers

Miss C's flowers

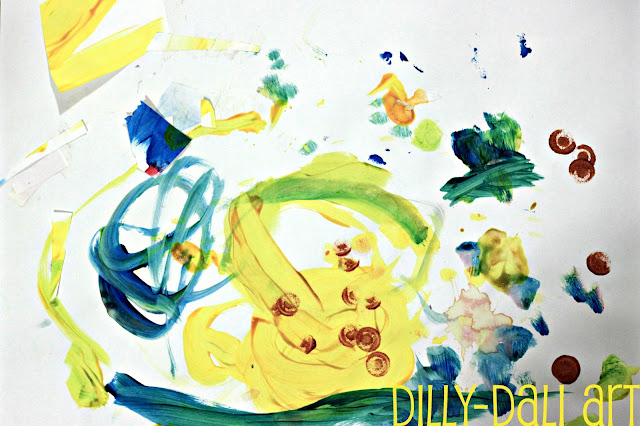
Little A's independent art project

Photobucket

9.11.2022

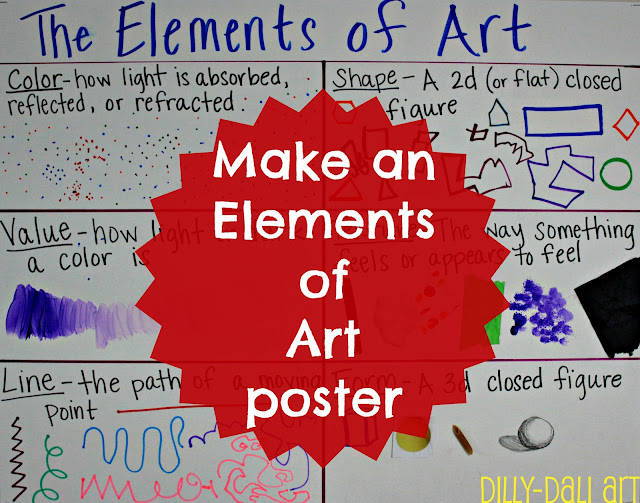
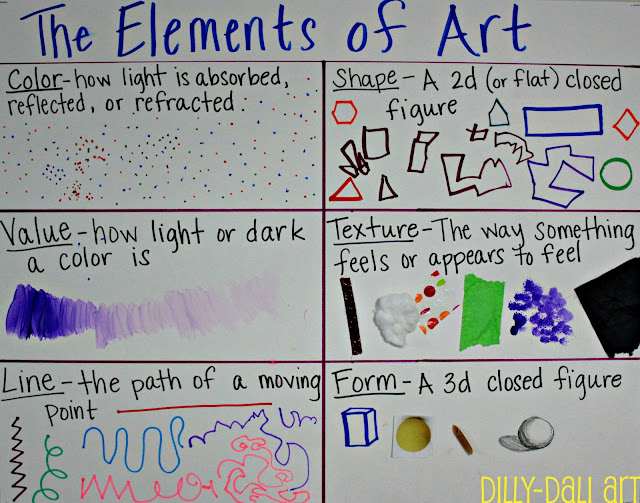
Elements Of Art Poster


Since I'm getting ready to teach the girls about the elements of art,
I thought we should make a poster as a quick introduction
and also
to have as a reference for later.
You can make one for your home, too!


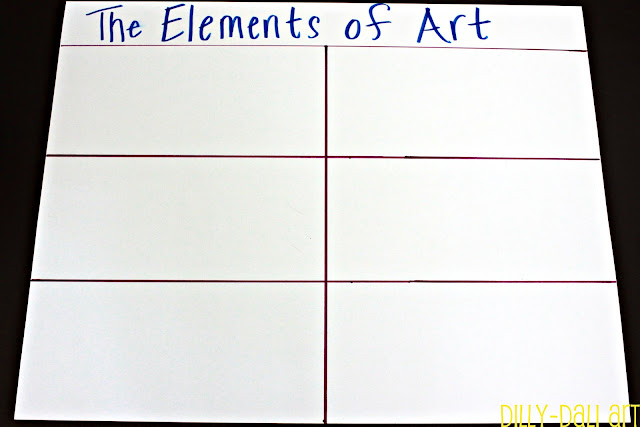
We started with a piece of poster board
titled it and made 6 spaces for the elements
Before we started I explained that the elements of art are the building blocks of art,
every piece of art has at least one or two elements


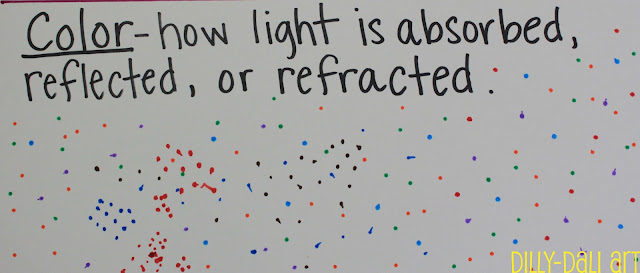
I started with color,
telling the girls that light contains all of the colors
the colors that we see is light bouncing off an object
all the other colors are absorbed.
White is all the colors being reflected,
black is all the colors being absorbed


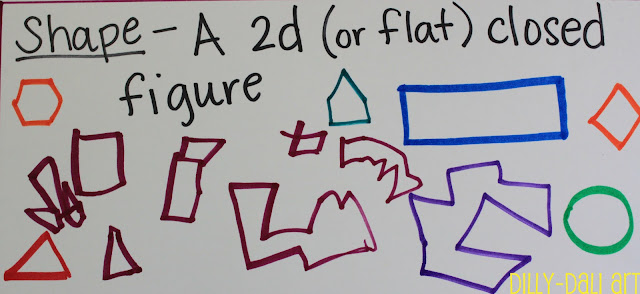
Next we talked about shape
starting with the basics
square, circle, triangle, etc
then we had fun making up our own shapes!


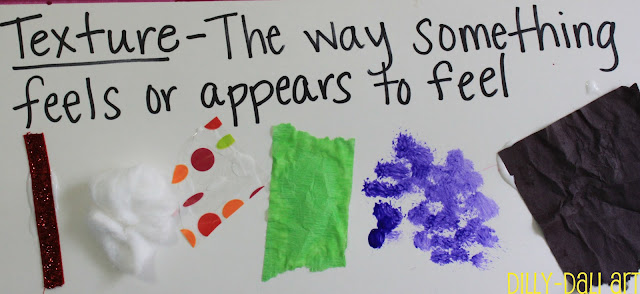
Texture was a fun element to discuss,
I sent Miss C on a texture hunt and she came back with some great choices
She also demonstrated the appearance of texture with paint


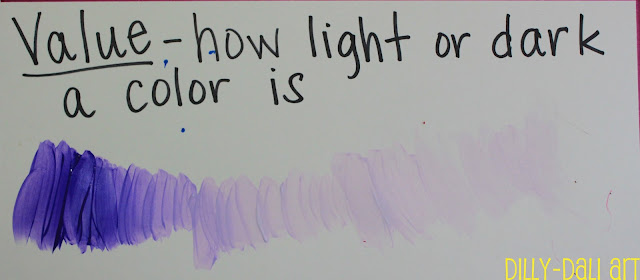
Value was Miss C's favorite element to depict.
Her favorite thing to do is paint and she really was surprised to see the final result of adding white to purple after each stroke she painted
  

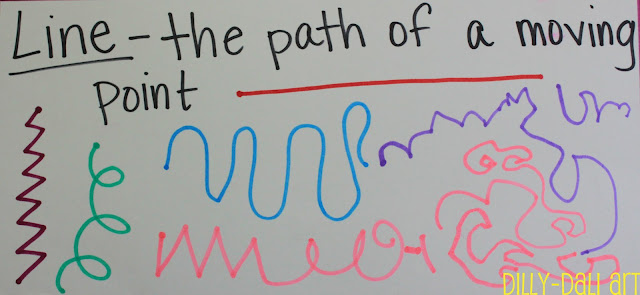
I described line by holding a marker to the poster board until it made a small point and then moving it forward
Line can also be described as the path between two points.


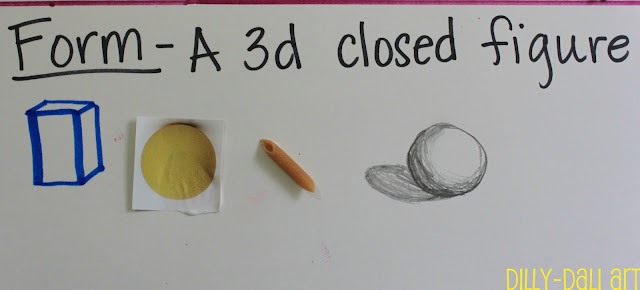
Form (in my opinion) is the hardest to show on paper.
Form is a 3d figure,
it has height, width, and depth. 
Shape only has height and width.
Sculptures are a great example of form
but you can create the illusion of form with shading and perspective


Here is our completed poster!

If you make one for your home remember to have fun with it
get creative with finding textures
get silly with drawing lines
and make unique shapes and name them!

Art is fun!!

Photobucket

9.06.2023

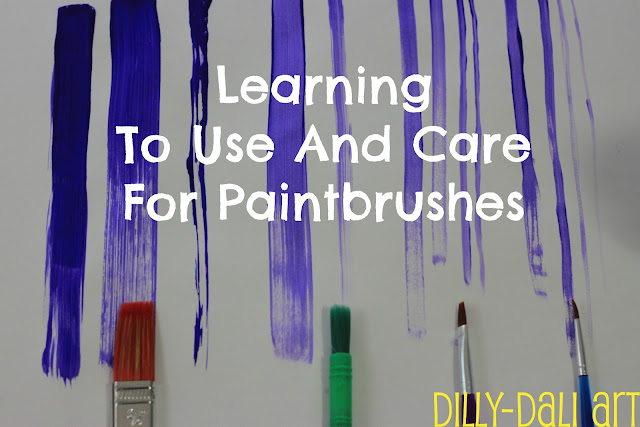
Learning To Use And Care For Paintbrushes


Recently I was cleaning out the paintbrush drawer and this is what I found


Does anybody else have brushes that look like these?!

YIKES!

While I was going through the brushes one by one
I decided it was time to teach the girls how to care for their paintbrushes 

I suppose I should have taught them sooner
but
better late than never!


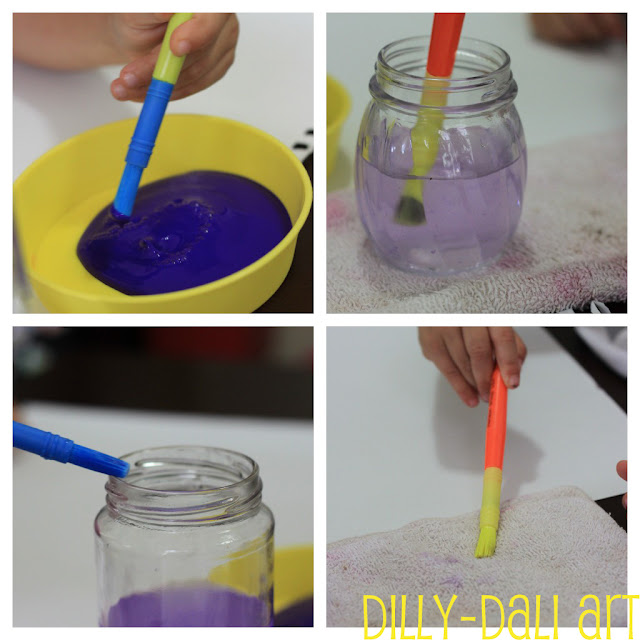
Here's what we focused on:

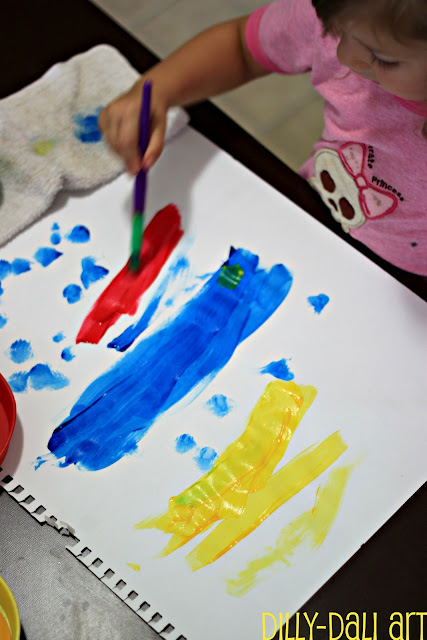
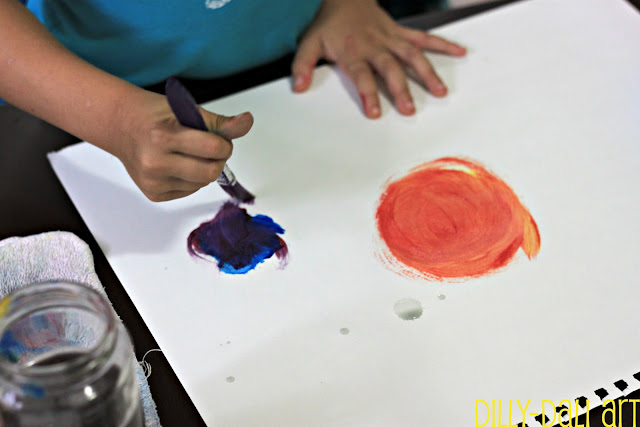
Holding the brush like a pencil
This was hardest for Little A (2) but once she got the hang of it she had so much more control over her brush strokes

Loading the brush
Instead of sticking the paintbrush all the way into the paint we found out that sticking the bristles in halfway works just as well 
AND 
it's less messy

Rinsing the brush in water
Usually the girls are jabbing their brushes down into the bottom of the jar causing the bristles to bend or break,
swirling the paintbrush gently around will keep the bristles like new

Getting the excess water off
Tapping the brush on the edge of the jar flicks water everywhere,
we practiced rubbing the bristles across the edge instead

Blotting the brush
Blotting the brush on a washcloth (or paper towel) soaks up the water before dipping the brush back into the paint


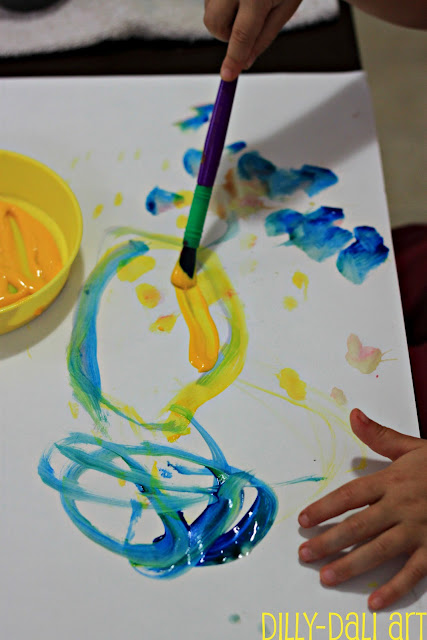
Next,  I worked with Miss C (4) on painting lines

My main goal for this was to help her realize that one brush can make several different lines by just adjusting how hard you press the brush onto the paper

She really had a difficult time with this

Once I placed my hand around her hand I soon realized she's been pressing about as hard as she can every time she paints

Holding her hand lightly gave her the chance to feel 
light pressure versus heavy pressure

As soon as she knew the feeling she really enjoyed seeing what lines she could make


When we were done with painting I had the girls clean their brushes

a little swirl around in some warm soapy water
gently reshaping the bristles
(not squeezing!)
then setting them in the jar to dry before placing them back in the drawer

Now that we've learned the basics it will become routine and we should be able to use our brushes for years to come!

Do you do anything to keep your brushes like new?
Photobucket