I'm soooooooooo excited to be a part of a huge group of amazing bloggers that are working together to bring you a
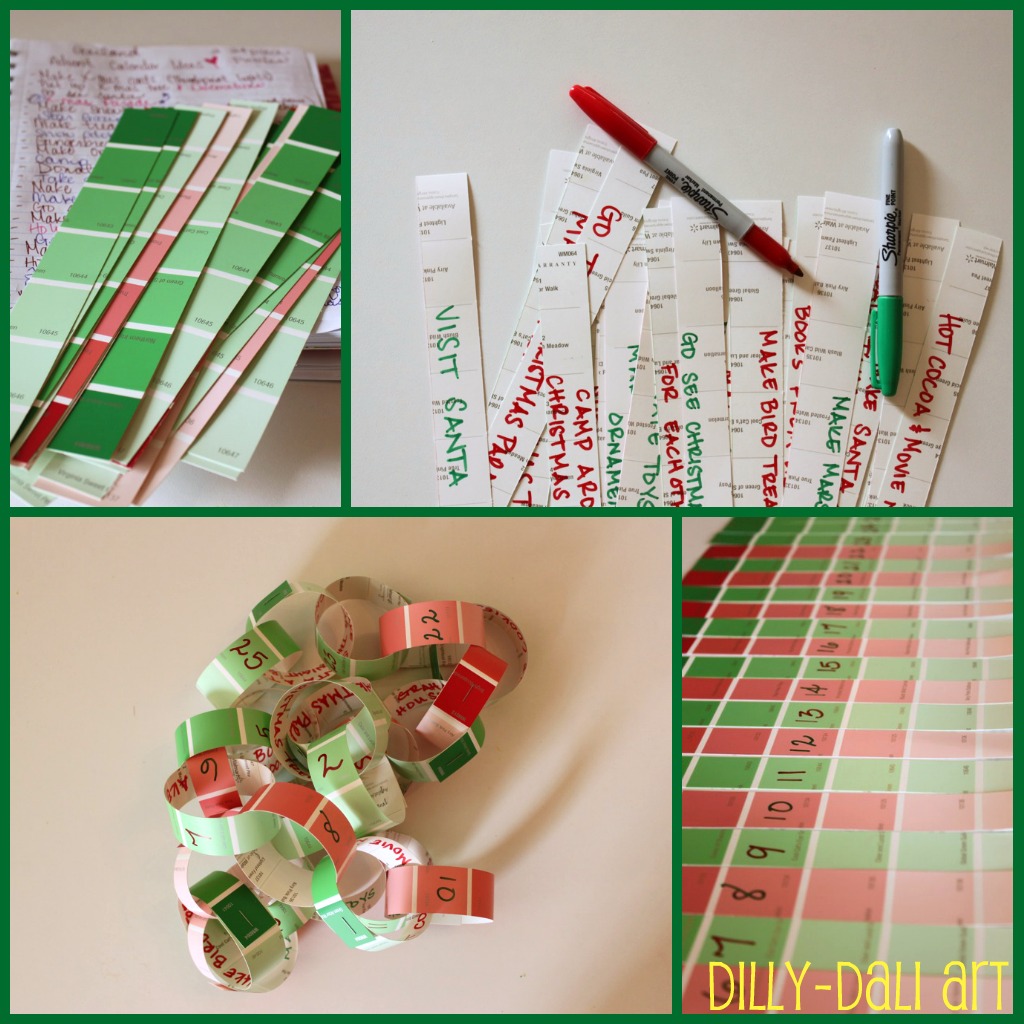
Creative Christmas Countdown
Each day leading up to Christmas Eve on December 24th a different blogger will be posting a different
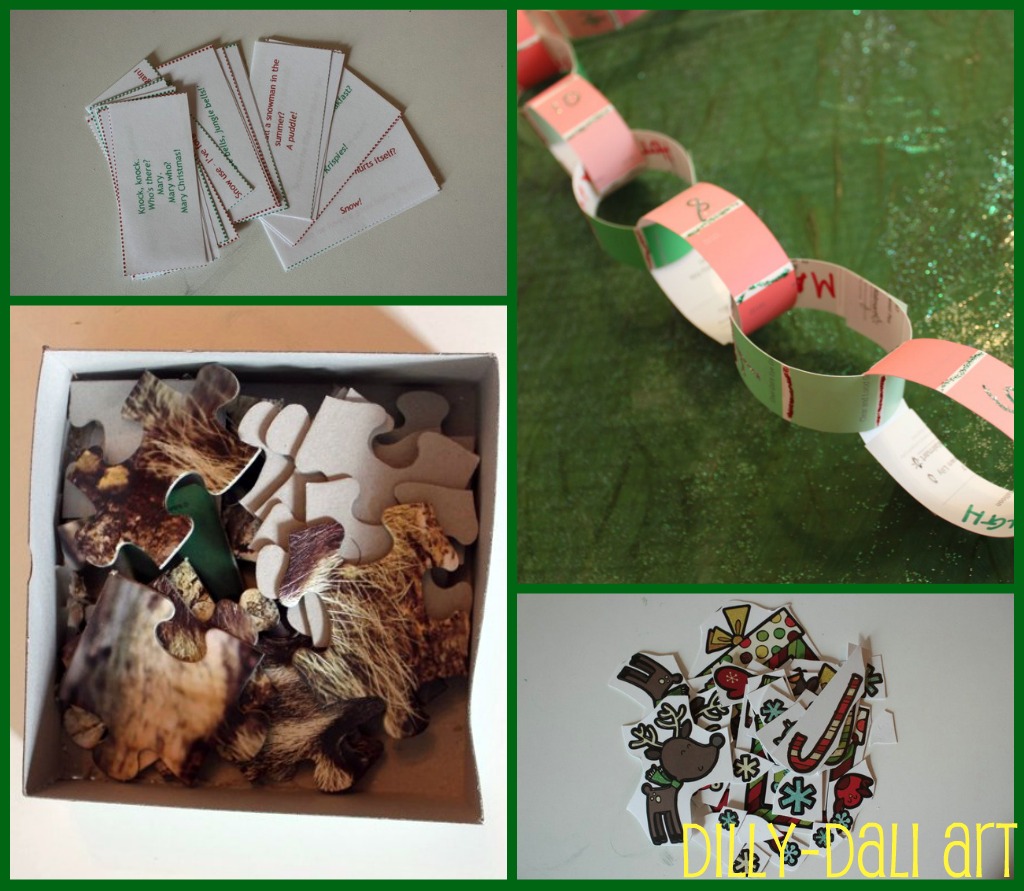
craft, tradition, recipe, or family activity
There is going to be a ton of creative talent posting each day so make sure you come back!
You will find this calendar

at the link above on the blog
Creative with Kids
or click the button on my left sidebar
Alissa (the blogger at Creative with Kids) is the creative genius who gathered all of us up for this Christmas Countdown
Every day she will be filling in the calendar with the link for each post
So make sure you visit her blog EVERY DAY!
You really won't want to miss a thing!
Check out this extraordinary list of bloggers involved:
1. Let Kids Create
3. Red Ted Art
4. Teach Preschool
5. Angelique Felix
6. Rainy Day Mum
7. The Imagination Tree
8. Mama Pea Pod
9. Mom to 2 Posh Lil Divas
10. Nurture Store
11. A Mom With A Lesson Plan
12. hands on : as we grow
13. Frugal Family Fun
14. Art for Little Hands
15. Kitchen Counter Chronicles
16. Living at Whitehead’s Zoo
17. My Creative Family
18. Sun Hats & Wellie Boots
19. Toddler Approved
20. Dinosaurs & Octopuses
21. Creative With Kids
22. Science Sparks
23. The Outlaw Mom Blog
24. Creative Connections For Kids
24 days of holiday magic starts tomorrow!!!
Click here for a printable list of the activities to place in your own calendar
To receive each day in your inbox, subscribe by email here