

Are you addicted to Pinterest?
I am.
And if you are too you would have seen some melted crayon art floating around
from JK Create's Etsy shop.
(she also has a Facebook page)
It was love at first sight! I repinned it immediately and started thinking of ways to put my own spin on it.
Tape resists popped into my mind
so
that's what I did!
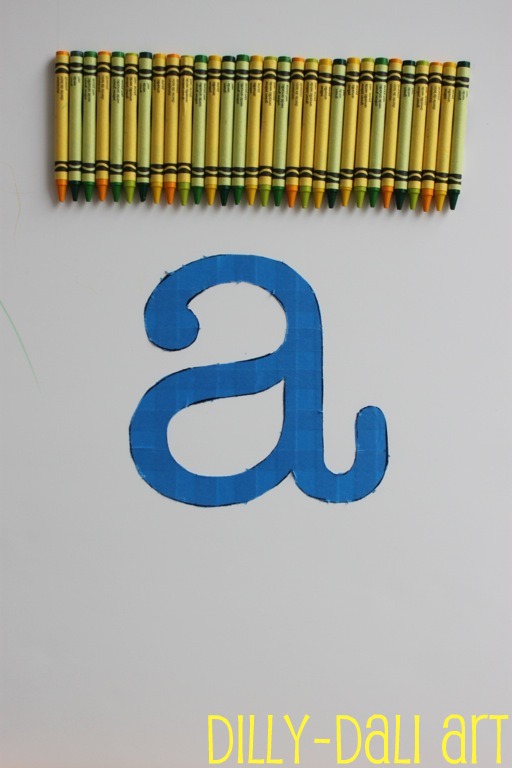
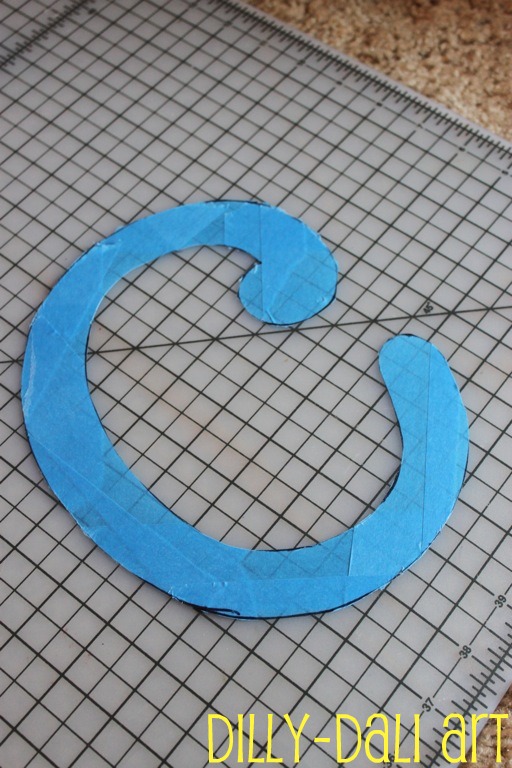
I printed out the girls' initials with the intention of cutting them out of contact paper
I tested a small amount on foam core board
(that's what I used instead of canvas)
the contact paper ripped to foamcore board
so I used blue painter's tape.
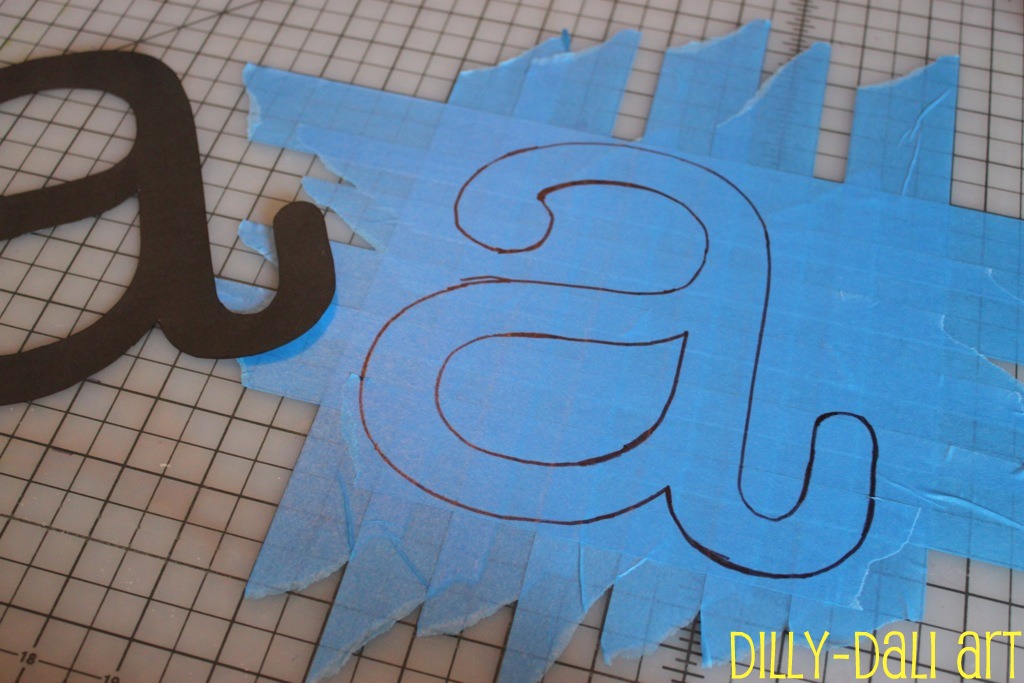
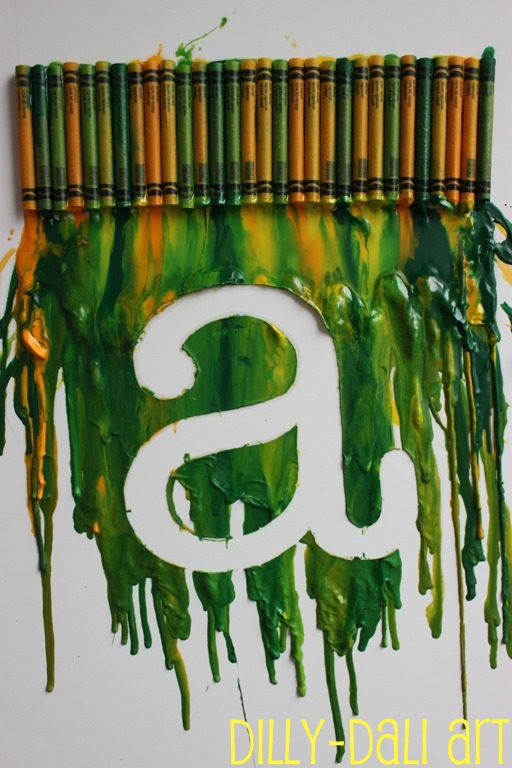
A for Little A!
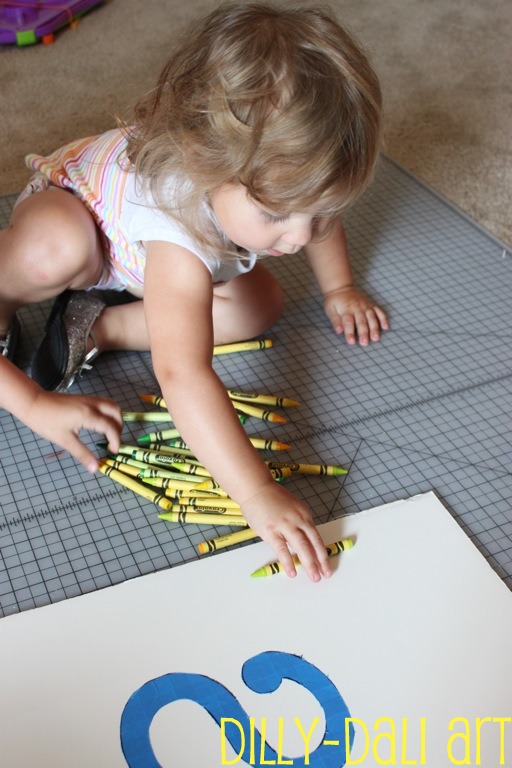
Little A helped me pick out the order that her crayons would be glued on.
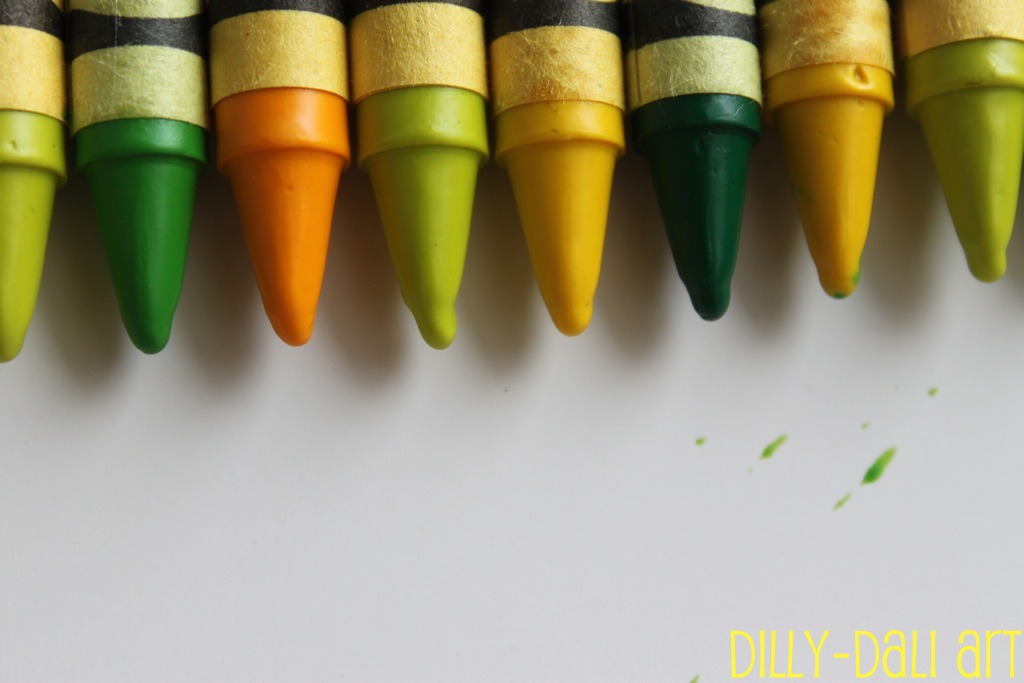
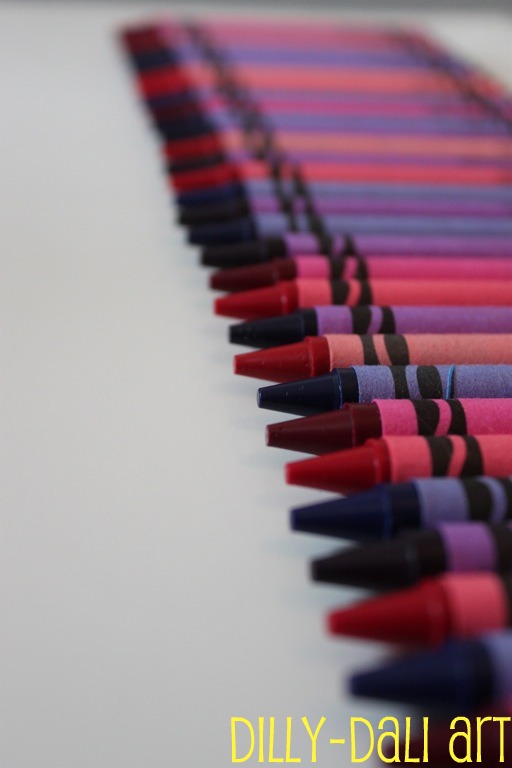
C had already picked out her colors and I used the leftover colors for A's.
C had already picked out her colors and I used the leftover colors for A's.
 |
| Just starting to melt at the tips |
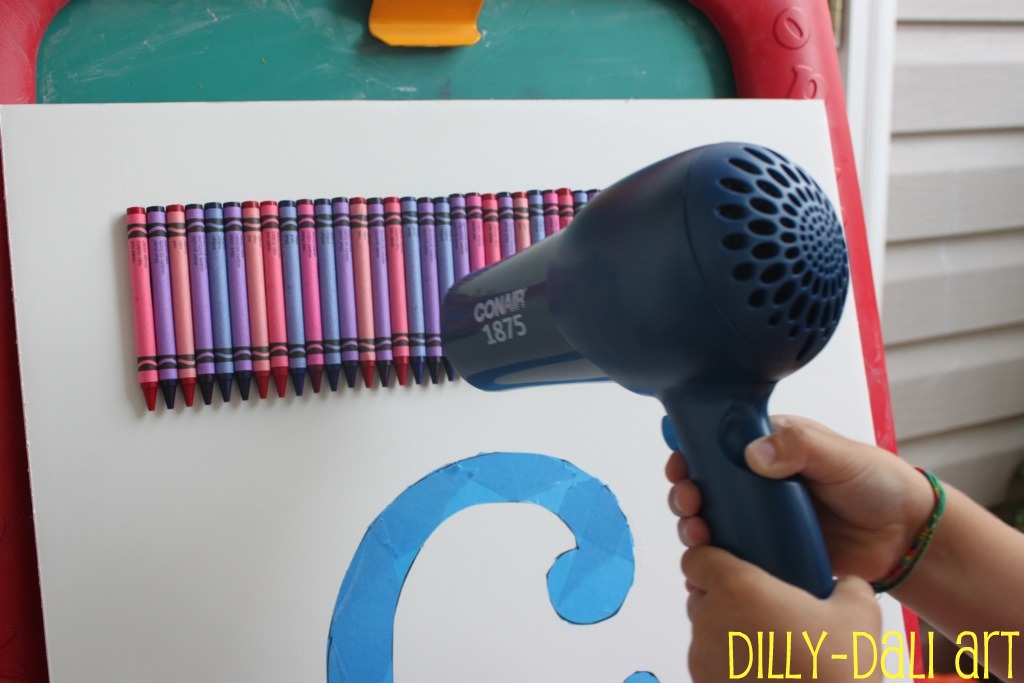
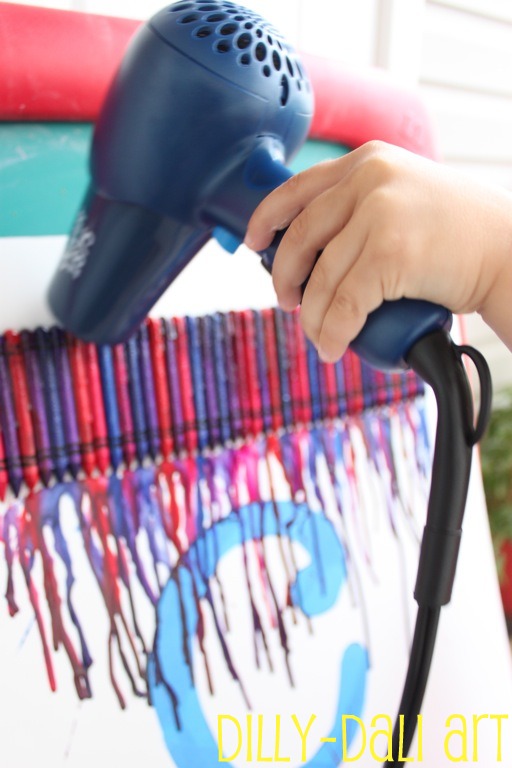
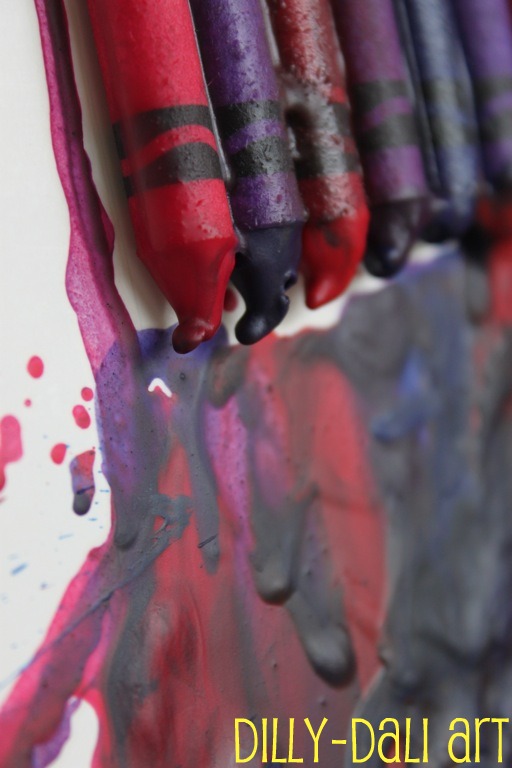
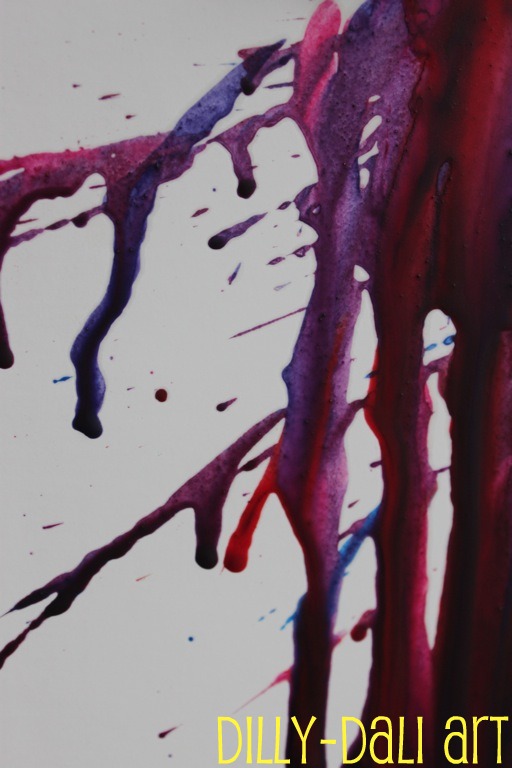
There is definitely a science to getting the crayons to melt a certain way
If you're using a hairdryer
(like me)
be wary that there will be splatters on high heat
(I tried low heat and it did absolutely nothing)
Holding the hairdryer over the middle of the crayons will cause it to start oozing out of the bottom
it surprised me with how quickly it all started happening
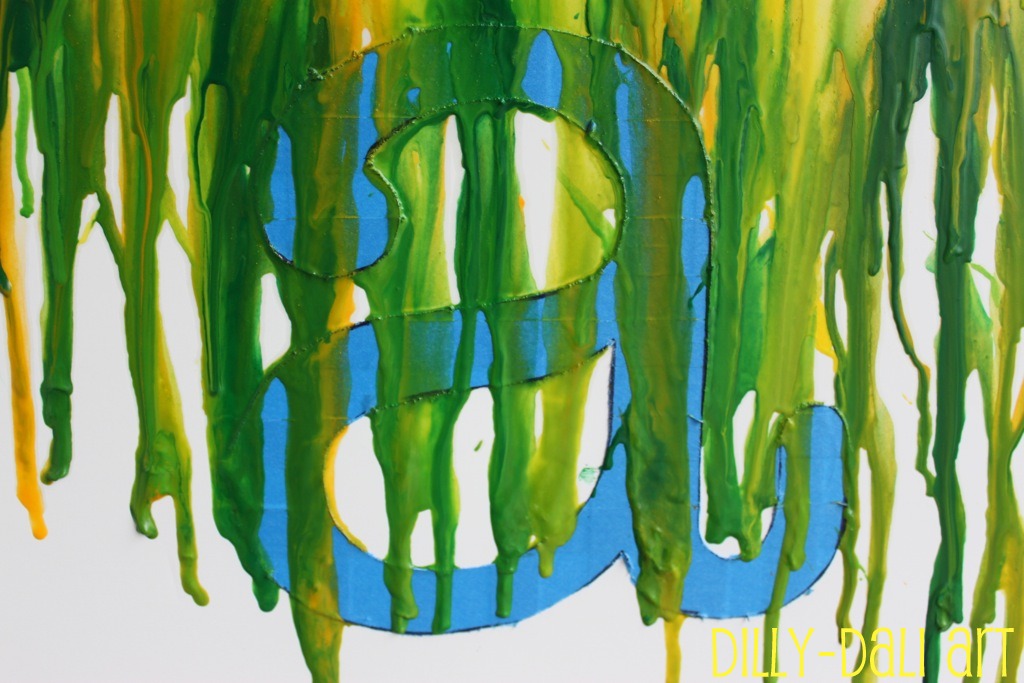
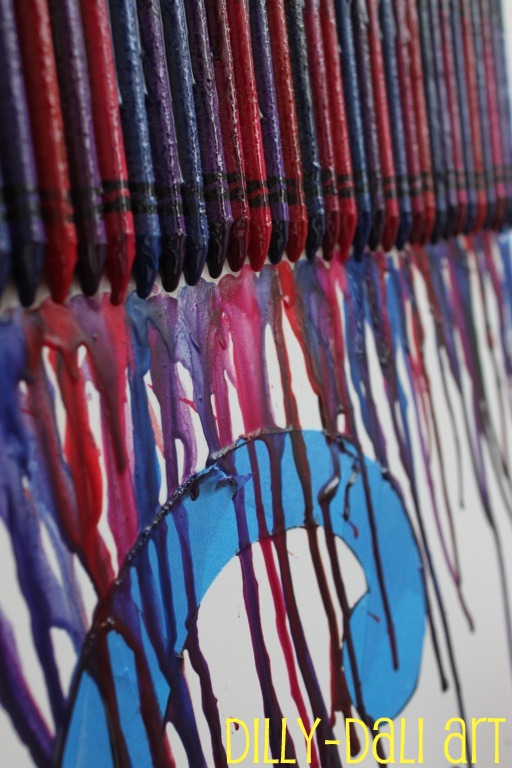
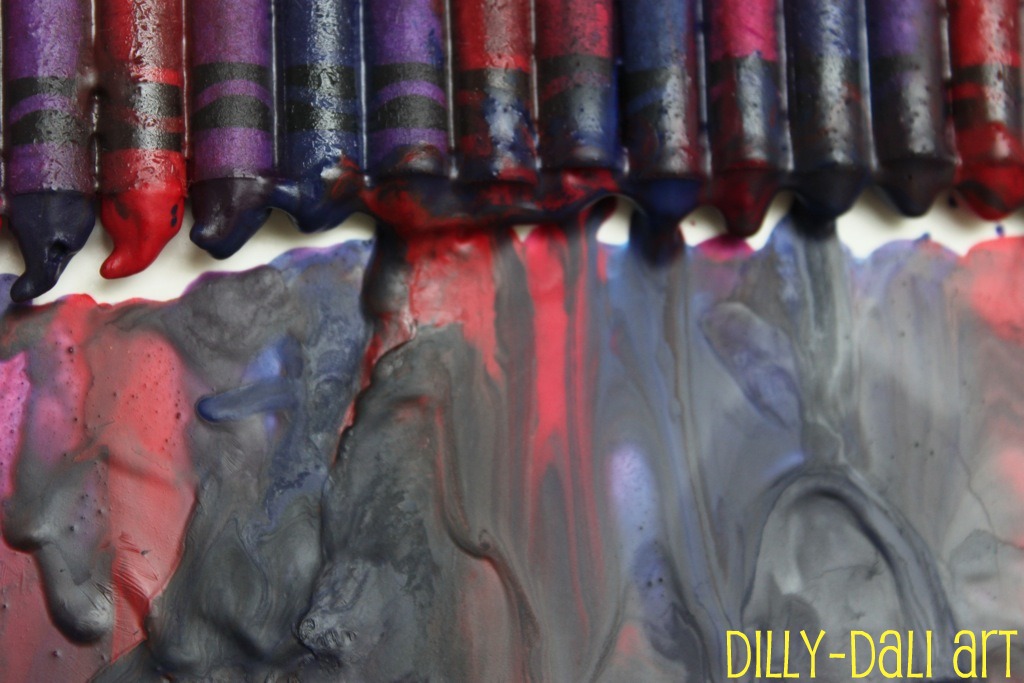
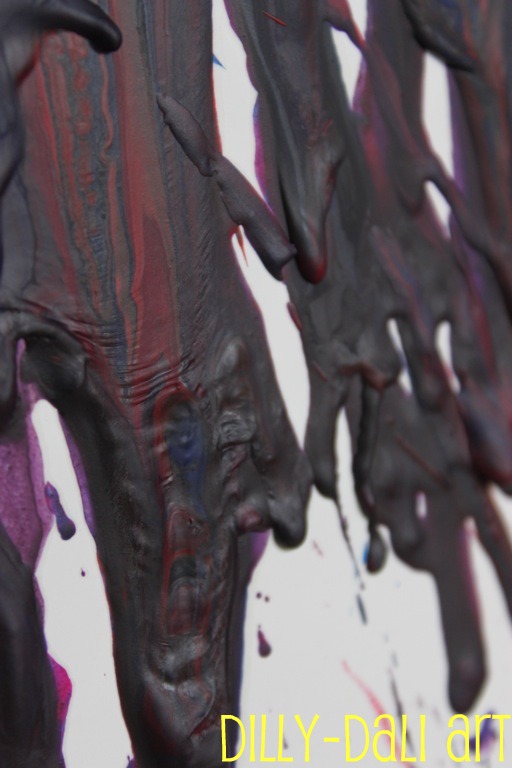
then I got this lovely build-up
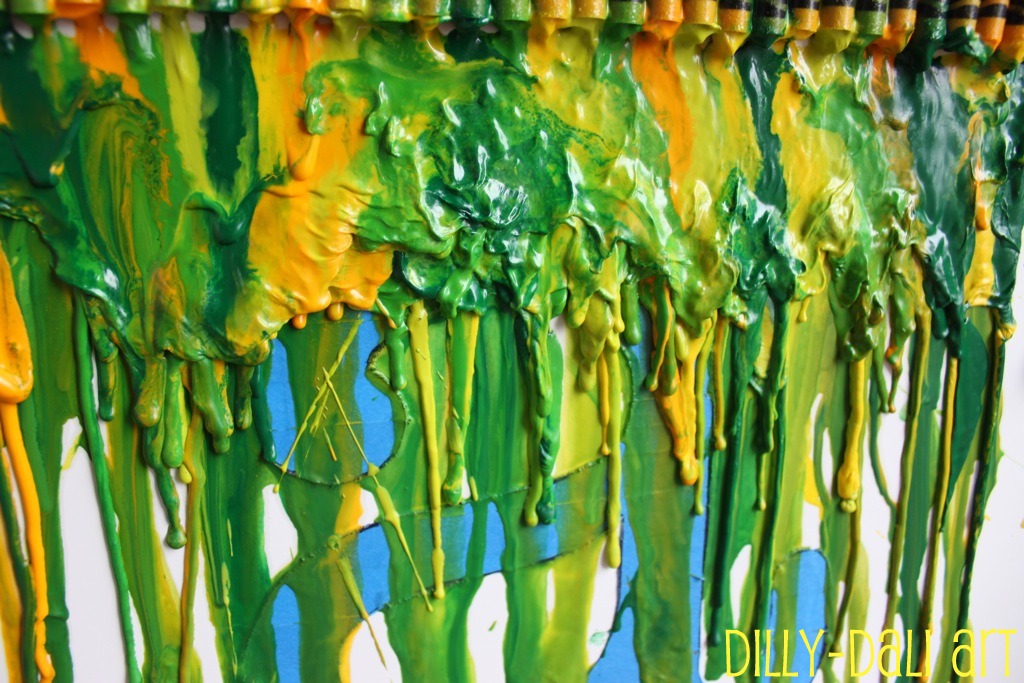
which I loved but wouldn't be able to peel the tape off underneath it
So I melted the build-up down
and was able to pull the tape off easily
(do it before it cools completely)
I LOVE the result!!
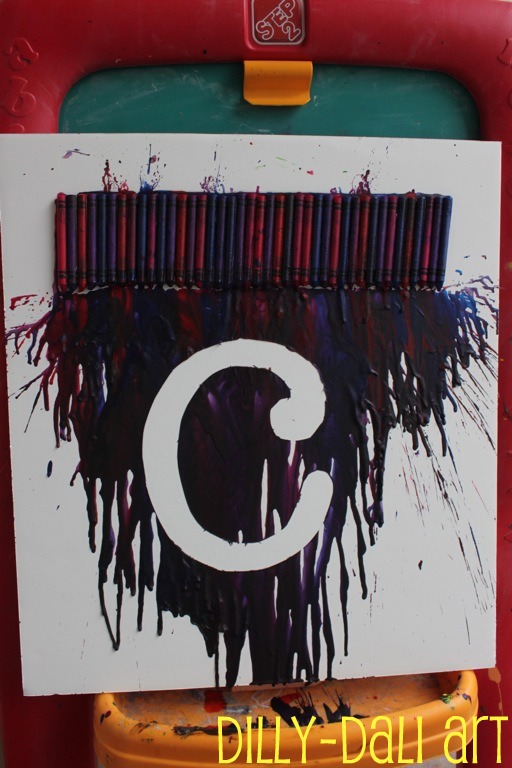
We did the same exact process over again with C's.
Miss C was willing to hold the hairdryer
unlike Little A
who was watching me from a distance with both hands over her ears
C chose red, blue, and purple as soon as I asked her what colors she wanted
she kinda has this 'thing' for Spider-Man
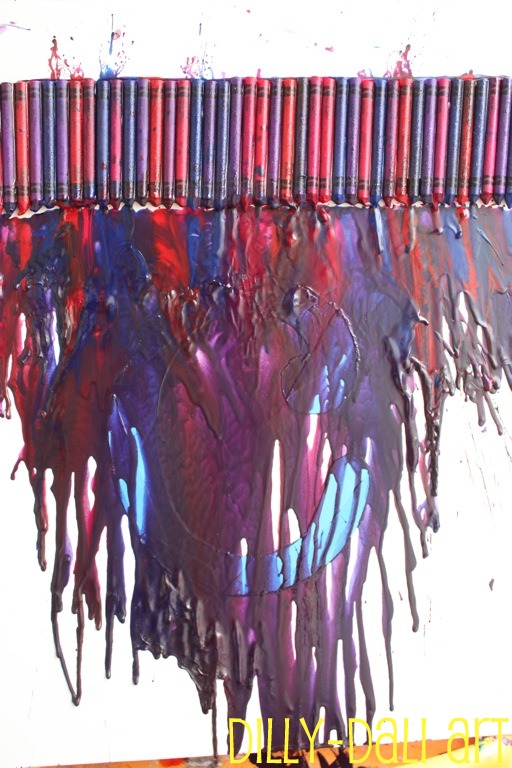
I love how C's turned out
from a distance it looks dark, almost black,
but once you get closer you can see the colors swirling together
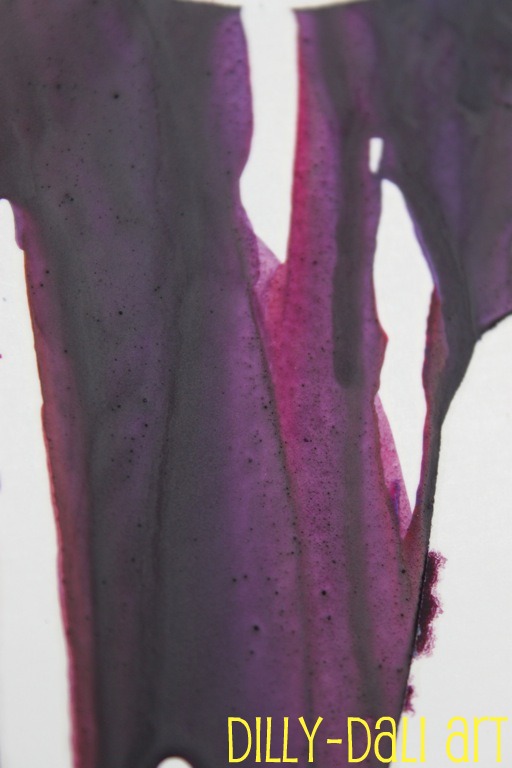
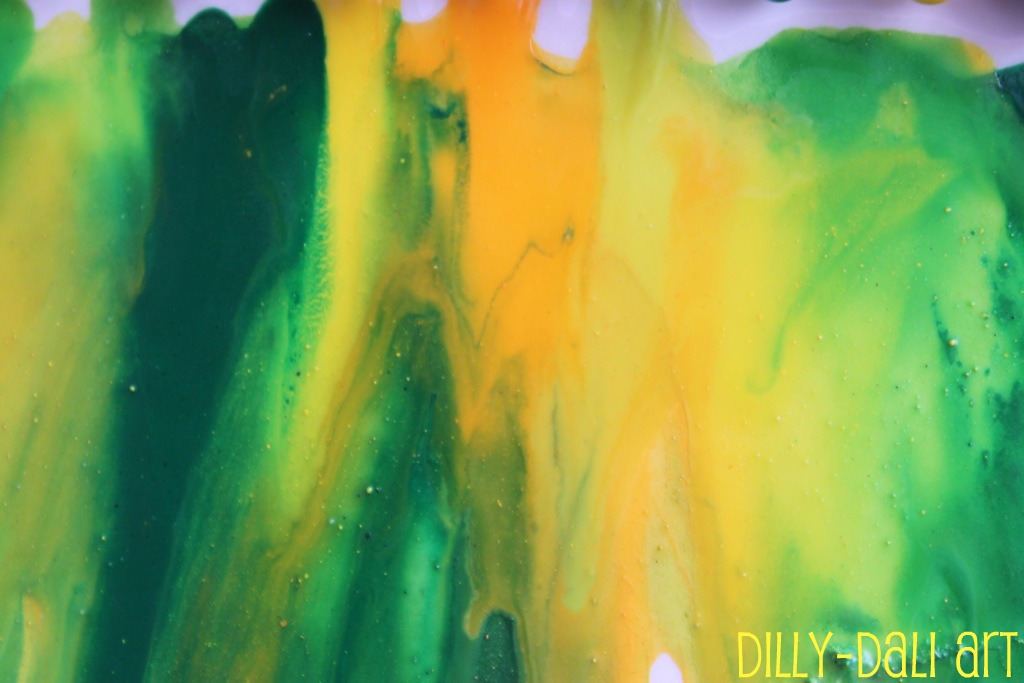
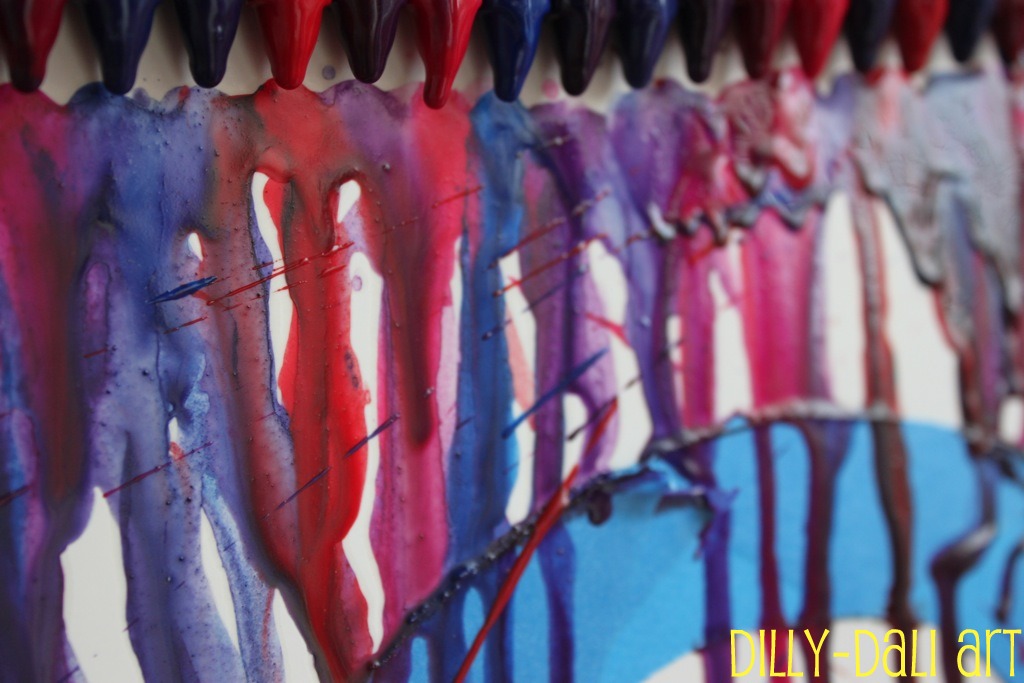
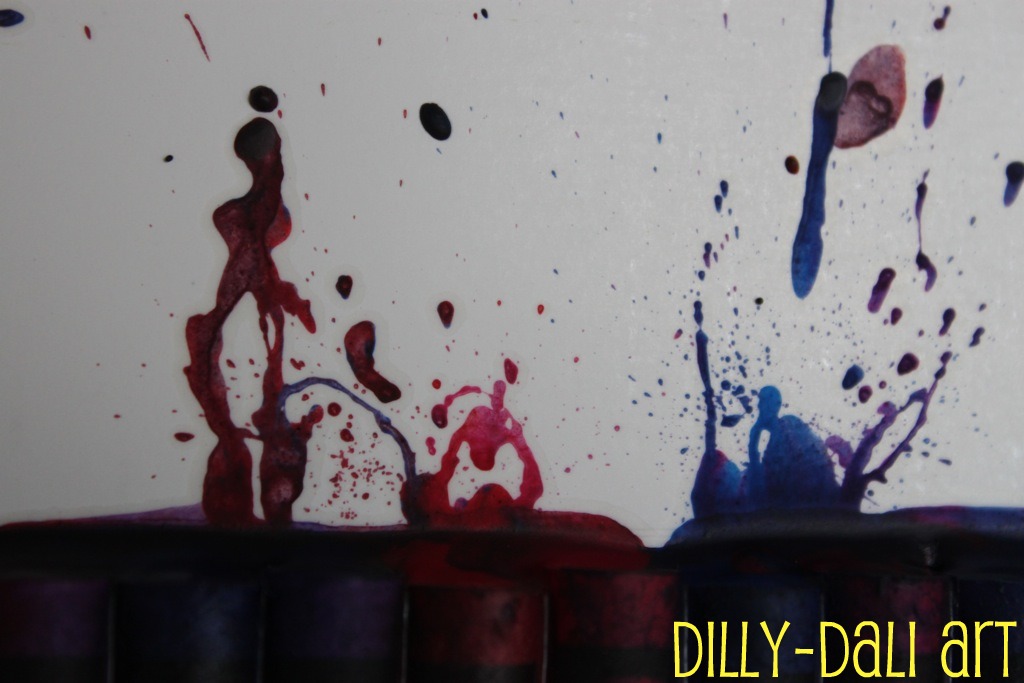 |
| Love these little "explosions" |
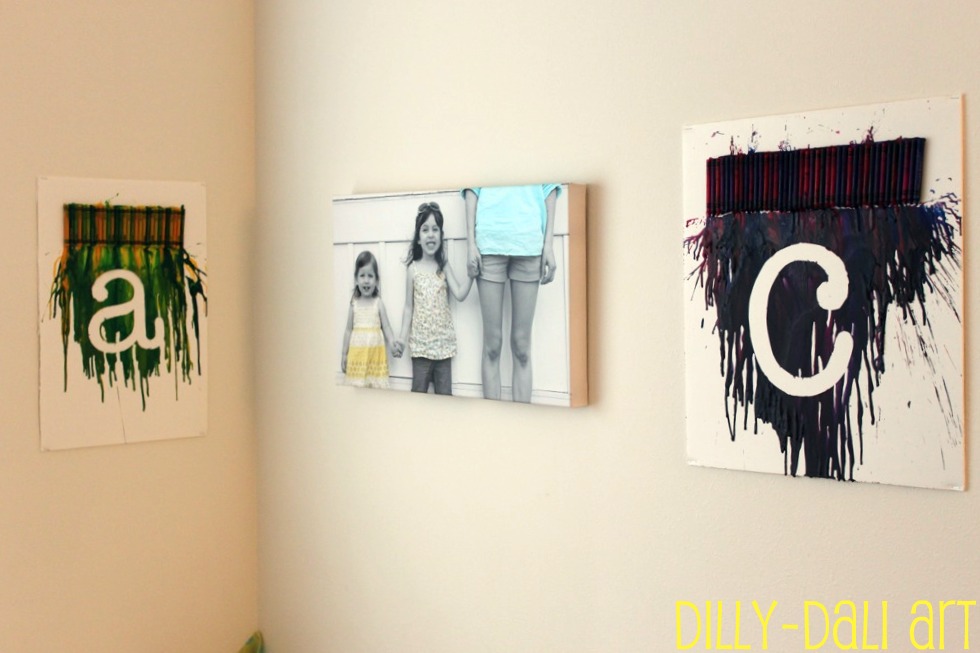
I hung the initials over top of their bed
I think they look cool enough that the girls will want to have them over their bed even when they're in college
and when they look at it
they'll always have that wonderful memory of making it with their mom
:)
That is such a great take on the melted crayon art! I, too love pinterest and had pinned one of those floating around. :) I think I'll pin yours...it's my favorite!
ReplyDeleteThis is Wonderful! You are so creative.....I'm yet to do this!!! I would love to find a new spin on this idea too! We shall see!
ReplyDeleteI am obsessed with pinterest! Love this idea! Thanks for sharing. Reposting at http://meandthekids.net!
ReplyDeleteAwesome! I love the added letter! Brilliant idea :)
ReplyDeleteThanks for visiting everyone!
ReplyDelete@Melissa, can't wait to see your take on it
@Jessi, thanks for pinning!
@Meghan, thanks for reposting
@Jamie, I love the letter too! :)
This is very clever and I love your take on the melted crayon art. I too have been admiring all the examples floating around, but I really like yours with your daughters' initials :-)
ReplyDeleteI like this take on the melted crayon art! Thanks for stopping by Reading Confetti! I'm a new follower.
ReplyDeleteYes, I love your new spin on this. These would make great gifts too. You could tailor the colors to different decor. Great job!
ReplyDeleteVicky @ http://messforless.blogspot./com
Thanks for stopping by to comment Kate, Lorie and Vicky! I appreciate the feedback :)
ReplyDeleteThank you for following Blog Hops Everyday. I am now following you back. Please spread the word to help us grow. Thank you in advance.
ReplyDeleteBobby
Your One Stop Blog Hop Shop
Blog Hops Everyday
A Mommy’s Blog Design Studio
Review and Giveaway Blog Directory
Wow is this cool. You can bet we will doing this?
ReplyDeletewww.everydayonpurpose.blogspot.com
Yes, I'm addicted too! Great idea to add in some tape resist.
ReplyDeleteLovely to see you at the Play Academy
i love this sooooo much better than just a plain one!!! we just may have to try this!!
ReplyDeleteps. thanks for the fb shout-out! you rock!
Wonderful stuff Alecia! I especially like the melted crayon initials, they are just awesome!
ReplyDeleteI found this through Pinterest since I am an addict myself lol. My boyfriend and I had this same stencil idea about a month ago and we just opened up our Etsy shop this week. We plan on experimenting a lot with different techniques over the next week so please take a look at our shop after that for new listings.
ReplyDeleteThanks!
-Colleen
[email protected]
I love your take on this your letters turned out so cute!
ReplyDeleteThanks everyone! I hope if any of you give it a go you'll share the picture with me on my FB page!
ReplyDeleteThat is AWESOME! with the letters makes the crayon melt picture even more funky!!
ReplyDeleteLOVE THIS! Like most everyone, found this on pintrest but wanted to do something different than just the colors of the rainbow. Love this idea!! My name is April, so I may use your "a" idea. Thanks for sharing!!
ReplyDeleteI love how you added the letter into it!! What font did you use?
ReplyDeleteThanks for asking, the font is actually American Typewriter on Mac
DeleteLove this! I've seen many variations, but yours is definitely my favorite! Just wondering, but do you know the name of the font you used for the letters? And what size canvas did you use? Wonderful job! Thanks for the pointers!
ReplyDeleteThanks for the comments! Anon and Lauren, I have no idea what font this was, I wasn't even really paying attention, I just picked one that I liked the most.
ReplyDeleteAlso, Lauren, I'm not quite sure how big the foamcore board is either. I picked the font I liked best, made the letter as large as it would print without cutting off and then added enough crayons to cover the entire letter, I did all of this before gluing the crayons down so I cut the foamcore board to size after figuring out how many crayons and positioning of the letters. The C and the A turned out to be two different sized boards
i had the same problem with my hairdryer...but when i used my girlfriend's hairdryer, it got hot enough on Low to be able to melt the entire crayon! it was awesome! it only left the wrapper of the crayon sitting where we had it, no splatter, nothing! just melted crayon!
ReplyDeleteso. moral of the story: it really does help to have a nice hairdryer.
Do you do this on paper or what?
ReplyDeleteThanks for the question Anon, it's done on foamcore board. It's like two sheets of poster board with foam sandwiched between.
ReplyDeleteI tried this and crayon got under the tape and I had a hard time getting the crayon to go over the tape (i.e. on yours the middle and under side of the "a" wouldn't have had any crayon so you wouldn't be able to make out the letter, the dripping would go ON to the tape but wouldn't go over the edge... Can't figure out why, any suggestions?
ReplyDeleteDid you use foamcore or canvas? Maybe pressing around the edges of your tape a few times to make sure it's all the way stuck down. I did have a few little spots where wax got under the tape.
DeleteAs far as the wax dripping over the edge, we let the wax melt a bit, then cool a bit, then melted it again, then let it cool again and repeated the process until the letters were covered all the way. If you look up at the pictures you'll see the green and yellow one with the "build-up" we just continued melting that build-up down the board.
For those wondering the font, I took the time and scrolled through all the fonts Microsoft Word offers and the one that seems the most similar or even THE font is called Vani.
ReplyDeleteHope this helped! And thanks for this GREAT idea. I'm using it to give as a gift for my friend.
AdrianaD,
DeleteThanks for taking the time to find a similar font on Microsoft Word. I use a Mac and finally went through the fonts. The font that was used for this is called American Typewriter :)
Thanks for the info!
DeleteI have a question though: I also used painter's tape and as I was melting the crayons with the hair dryer the tape peeled off and I wasn't able to melt the crayon over the letter.
Did you use a specific tape? Or would you suggest I stick with foam core board (I used canvas)?
Adrianad,
DeleteI've used painter's tape on canvas before, it doesn't hold. Neither does contact paper. I'm pretty sure masking tape would, though I haven't used it before. Maybe you might want to try that?
I would stick with the foamcore if you are wanting to make a negative image, at least until you find something that sticks to canvas!
Thanks for asking!
how did you tape the letter down? is it just the painters tape cut out or is there something else that you did?
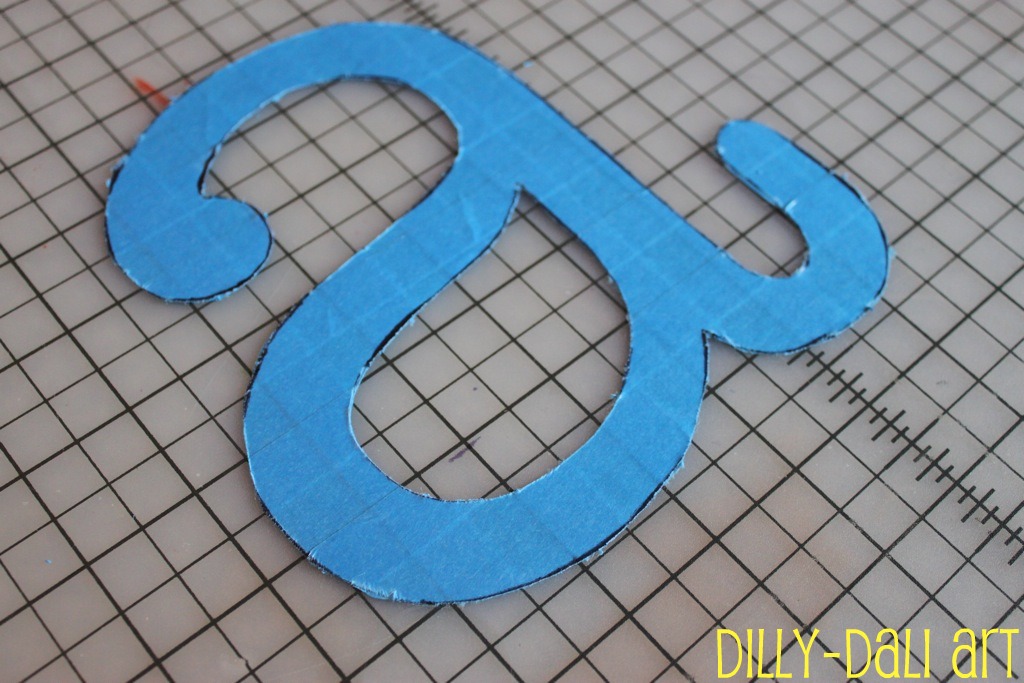
ReplyDeleteThanks for asking Rebecca! The letter is actually just cut out of the painters tape. I peeled it off of my cutting mat and stuck it on the foamcore board.
DeleteIs it best to melt from the top of the canvas....the "bottom" of the crayons? Great job, I thought of doing this too before I saw your pic on pinterest, but I wanted to do my daughters whole name. Its Izzy (Isabella) so its easy. Great work! Wish us luck!
ReplyDeleteGood luck Leanne! We melted the crayon from all directions. We started in the middle and worked the hair dryer up and down to control how we wanted our melted wax to drip
DeleteI love this idea!! A question though- How did get your letter to stick to the foam core board? just tape? or some kind of glue?
ReplyDeleteThe letter is just cut out from blue painter's tape so it stuck to the foam core board by itself and was easy to remove
Deletehow did you hang the foam core board to the wall?
ReplyDeleteThanks for asking Daci, I just stapled it to the wall. Will eventually get them professionally framed though since they are such odd sizes
DeleteI love this! I actually did the crayon rainbow and melted it (like the ones you see everywhere on the internet). I have been trying everywhere to figure out out to do the stencil idea that you used! Thank you so much! I have to ask though, did the tape just peal off? and should you peel it off before or after the crayon dries?
ReplyDeletePeel the tape off before the crayon fully dries
DeleteSo cool! I've been trying to do something like this but the heat from the blowdryer causes the tape to lose its stickiness.
ReplyDeleteDo you think vinyl stickers would work? .....I'm thinking no?
ReplyDeleteJayarep,
DeleteI don't know! You can always buy some vinyl stickers and test out how easily they come off foamcore, you can also try canvas
Since it is in the 100 degrees I am sure this will work outside. I think I will try it the first week of school while I introduce colors. What a fun project. I saw several of these at the county fair this weekend too.
ReplyDeleteThank you for your pinspiration! I recently tried this too... (
ReplyDeletecan you us somthing else rather than crayon????
ReplyDeleteAmy, I suppose you could use something other than crayon. Of course it wouldn't be called melted crayon art but I'm sure you could use another type of wax (candles?) and also drip paint from the top like pour painting.
DeleteCan't wait to try this!!
ReplyDeletedoes anyone actually read these comments in the comment section.
ReplyDeleteits fun as writing them!!!!!!!
Yes I do
ReplyDeleteThanks for the page views!
I LOVE this! It's fun and colorful, but still tasteful. I think it would make fun wallart for a classroom or craft room. I just wanted to comment to let you know that it was so great that I added it as one of my 5 favorite crayon craft tutorials with a link back to your site so other people could try it. Great job!
ReplyDeleteThank you, Zylo!
DeleteHello, how did you use the tape to make the stencil, so that it would stick to the canvas? what did you stick the tape on first to then cut around it? looks great by the way xx
ReplyDeleteHi Nicki-noo,
DeleteI layered several strips of tape over eachother then traced around the letters I printed out, then I used a razor blade to cut the tape out. I have a large cutting mat that I do all my cutting on, that's the thing with the grid you see in the first few pictures of the tape letters
Was there a specific place you were able to find mostly crayons of one color? Say if I wanted to find crayons that were mostly blueish, do you know where I would find some of just blues?
ReplyDeleteGreat question Judy, I have no idea. I always buy several packs of crayons during back to school season when they are ridiculously cheap and just pick colors out from those!
DeleteMaybe Crayola's website sells them individually by color?
Here you go Judy
Deletehttp://www.crayolastore.com/custom_box.do#back
You can create a custom box of crayons over at Crayolastore.com
How do you get the crayons to stay put while your doing this?
ReplyDeleteHot glue
DeleteInstead if initials, I'm going to do this with my kids hand and foot prints
ReplyDeleteThat is an adorable idea!
DeleteI just wanted to let you know that your idea is awesome! I just made a rainbow on canvas for my best friend, and I was looking for more creative projects to do with the rest of my crayons. :)
ReplyDeleteThanks!
DeleteI adore this!!! These artworks are gorgeous!!!
ReplyDeleteI am just wondering if you could clarify how you used the tape to actually stick down the letter? I can't seem to work it out from your images... I must seem so silly!
I cut the letter out of the tape and stuck the tape onto the foamcore board, then when the wax melted over it I pulled the tape up revealing the negative shape of the letter
Delete